- Home
- Sunday School
- Father's Day Crafts
Sunday School Father's Day Crafts that Are Easy for Kids to Make
by Karen & Grace Morris
Celebrate dad with Sunday School Father's Day crafts. Some Bible verses used in the crafts are, Exodus 20:12, Psalm 127:3-5, and Joshua 24:15. Kids will have fun making the easy crafts and Dad will like receiving them.
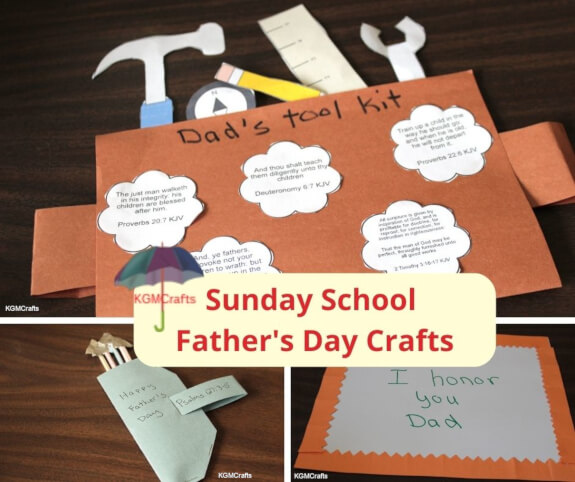
There are also some cards and bookmarks that kids can make that do not have Bible verses. These would be great to give to show Dad how much you love him.
By the way, the all the crafts are super easy! Even a preschooler can make them!
Click the pictures to go to the individual Sunday School Father's Day crafts.
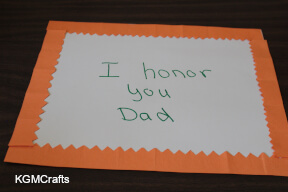
Honoring Your Dad
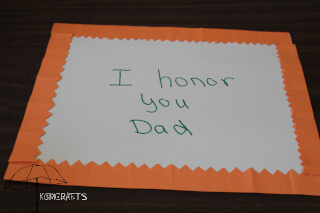
In the Scriptures, it says to honor your father. Honor means to hold in high esteem, respect, value, etc. Let's tell Dad by giving him cards on his special day.
You will need;
- 12 by 9 inch construction paper for background
- Colored marker or pen
- Strips of construction paper for the sides
- Scissors
- Glue stick
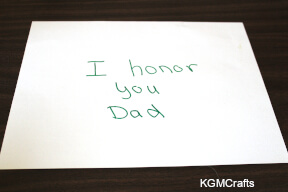
In the center of the background piece, write, “I Honor You, Dad” with a pen or marker.
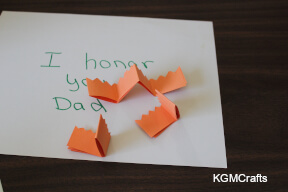
Cut four 12 by 1 inch strips from construction paper. Fold one of the strips in half. Fold in half again. Fold in half one more time. You will have a 1 1/2 by 1 inch bundle. On one of the cut sides, make zigzag cuts. Unfold.
Do the same with the other three strips.
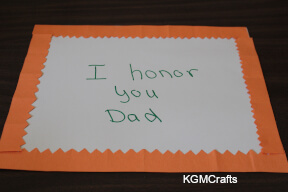
Glue one strip to the top of the background and the other to the bottom.
Cut the other two strips so that they will fit on the sides of the paper.
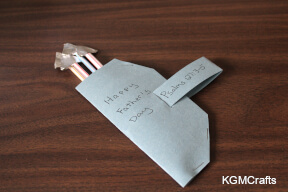
A Quiver full Craft
In Psalm 127:3-5 we read that children are a heritage of the Lord and happy is the man whose quiver is full.
Supplies;
- Construction paper
- Card stock (a 3 × 5 index card will work)
- Drinking straws
- Aluminum foil
Let's start by making the arrows for the quiver.
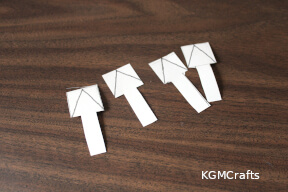
To make the arrows, cut the bendable part of the straw off. Cut a 2 1/2 by 1 inch rectangle from card stock. Draw a 1-inch square at the top. Trim 1/4 inch from each side up to the square.
Find the center of the square. Then draw a diagonal line from each corner to the center point.

Cut on the line. You should have an arrow shape.
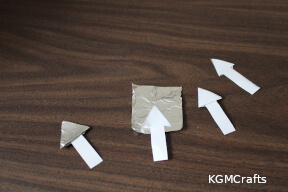
Cover the top of the arrow with aluminum foil.
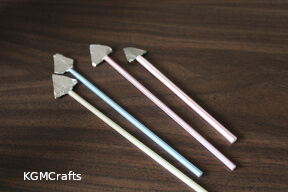
Bend the bottom slightly and push through the top of the straw.
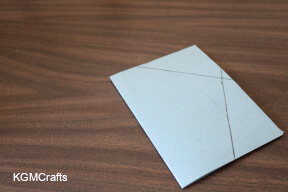
To make the quiver, cut a 9 by 6 inch rectangle. Fold in half. On each corner, draw a 4 1/2 inch diagonal line.
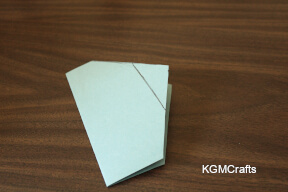
Cut on the lines.
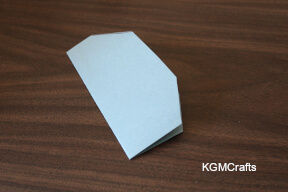
Then cut off the center point.
1 inch from the cut edge, fold and make a 1-inch slit for the handle.
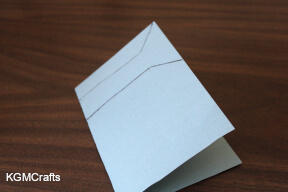
To make the handle, fold a 9 by 1 inch rectangle in half. From the fold, draw a 3-inch line on the top and bottom.
At the cut edge, draw a 1 1/2 inch diagonal line on each side to make a triangle with a 2 1/2 inch base.
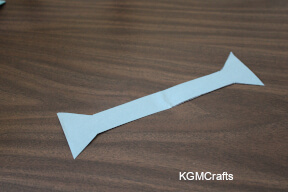
Cut along your lines and unfold.
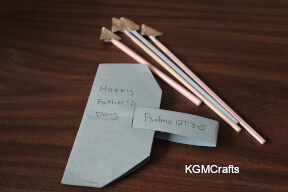
Fold each triangle slightly so that it fits in the slits on the quiver. Staple the bottom and side of the quiver. Place the arrows in the quiver.
On the quiver write, "Happy Father's Day." On the handle write, "Psalms 127:3-5."
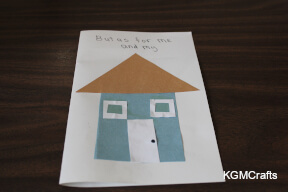
As for My House Card

The last part of Joshua 25:15 says, but as for me and my house, we will serve the LORD. KJV
You will need;
- White construction paper
- Colored paper for the house
- Brown construction paper
- Scraps of colored paper for the door and windows
- Marker
- Glue stick
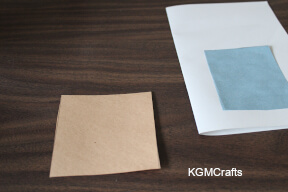
Fold the white paper in half to make a card.
Cut a 4 by 3 1/2 inch rectangle from colored paper. Try to use the color of the child's home or their Dad's favorite color. Glue the rectangle near the bottom of the white paper.
Cut a 4-inch square from brown paper.

Fold the paper from corner to corner. Cut on the fold. You will have a triangle.

Glue the triangle on the top of the rectangle for the roof.
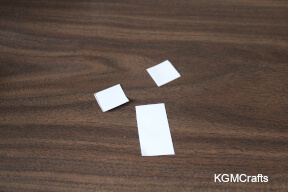
Cut a 2 by 1 inch rectangle for the door. If you want windows, cut two 1 inch squares.

Glue the door to the bottom of the house shape. Draw a circle to one side of the door for a doorknob.

To make the windows, fold the squares in half and cut out the center. Glue the windows above the door.
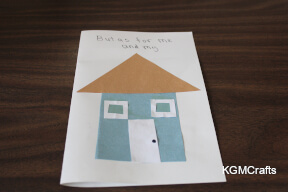
On the front of the card, write, “But as for my” above the house. On the inside write, “We will serve the LORD. Joshua 24:15” Also, write, “Happy Father's Day.”
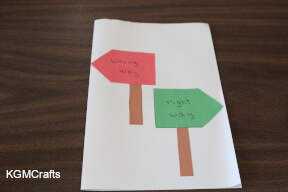
Train Up a Child Card
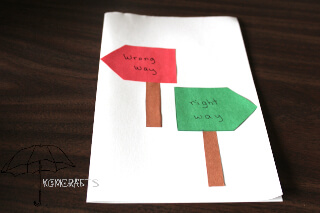
In Proverbs 22:6 it says to train up a child. In this craft, thank your dad for showing you the right way to go.
Supplies;
- White construction paper
- A scrap of red paper
- A scrap of green paper
- A scrap of brown paper
- Glue stick
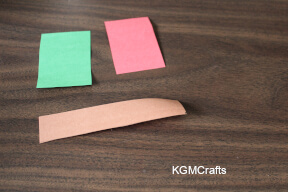
Cut a 3 by 2 inch rectangle from red construction paper. Cut another rectangle from green paper.
Cut a 1 by 4 inch strip from brown paper.
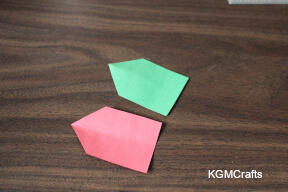
On one end of the red and green paper cut a point.
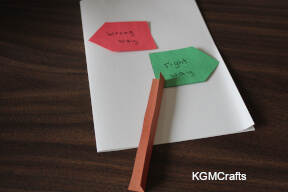
Fold the strip in half, then cut so that you have two 1/2 inch pieces. Write wrong way on the red paper and right way on the green paper.
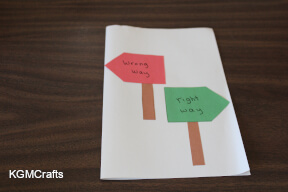
Glue the brown strips to the back of the green and red signs.
Glue the red sign so that it is pointing to the fold of the white paper. Glue the green sign so that it is facing the cut edge. On the inside write, “Thank you for showing me the right way, Happy Father's Day.”
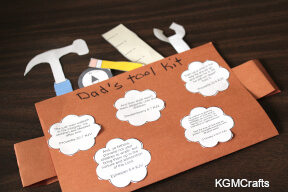
Dad's Tool Kit
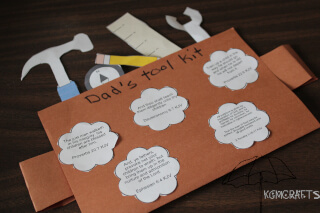
Here are some Bible verses to help your dad raise a happy family.
You will need;
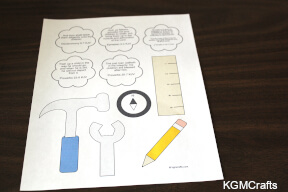
- PDF of tools and Bible verses
- Construction paper
- Marker or pen
- Glue stick
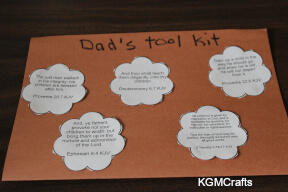
Fold a 12 by 9 inch piece of construction paper in half. Cut out and glue the five clouds with the Bible verses to the front of the folded piece of paper.
Above the verses write, “Dad's Tool Kit”.
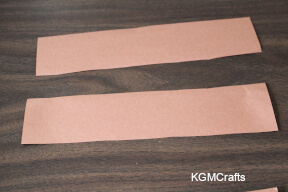
To make the belt, cut two 9 by 2 inch strips from construction paper.
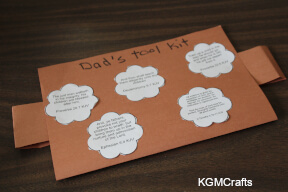
Unfold the paper with the verses. Glue about 1 inch of the strip to the side and inch 2 inches from the top of the paper. Do the same with the other strip.
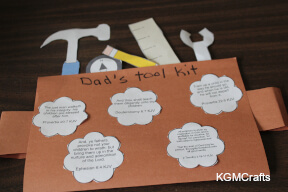
Cut out the tools from the PDF. Glue to the inside top of the folded paper.
Sunday School Father's Day Crafts
No Scriptures
Sometimes you want to give a card or gift just to remind Dad that you are thinking of him on his special day.
The Best Dad Card

Tell Dad he is special.
Supplies;
- White construction paper
- Red paper
- Scrap of orange paper
- Black pen
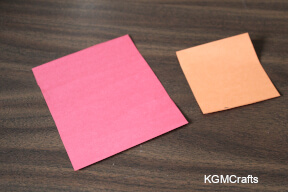
Fold the white paper in half so that it looks like a card.
Cut a 5 by 4 inch rectangle from red paper.
Cut a 3-inch square from orange paper.
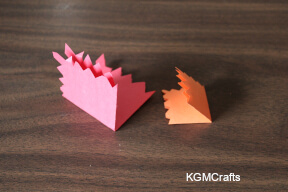
Fold the paper in fourths. Then make zigzag cuts along the cut edges.

Glue the orange paper in the center of the red paper.
With a pen or marker, write, “The Best”.

Glue it to the center of the folded white paper.
On the inside of the card, write, “Happy Father's Day”.
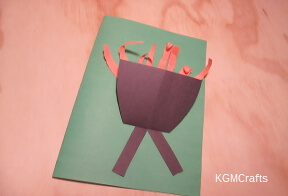
Dad's BBQ Card
Hamburgers, hot dogs and other yummy things that daddy loves to cook on the barbecue and we love to eat. :)
You will need;
- Construction paper, black, orange, and a background color
- Glue stick
- Color crayons optional
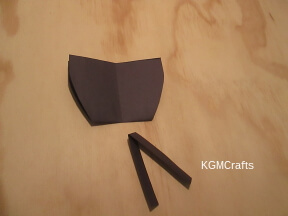
Fold a 12 by 9-inch sheet of black construction paper in half. Fold in half again. Cut out a 4 1/2 by 3-inch rectangle. Fold in half again so that it is 2 1/4 by 3 inches. Cut off the side at an angle.
Unfold the side. It should look something like a BBQ.
Cut a strip of black paper 6 by 1/2 inch. Fold the strip in half at an angle. This will be the barbecue's legs.
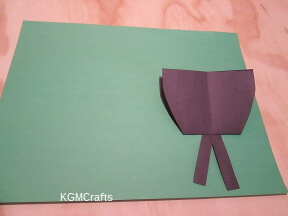
Glue the leg piece to the center of the BBQ.
Glue the back of the BBQ and legs to the background piece. If you glue it to the right side, you can fold it for a card and give to your dad for Father's Day.

To make the flames, rip up small strips of orange paper.
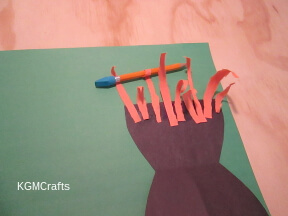
Glue to the inside of the barbecue.
If the tops of the flames don't curl enough, you can curl them around a pencil.

Glue the BBQ together.
Draw a picture of Dad if you want too.
Bookmarks for Father's Day
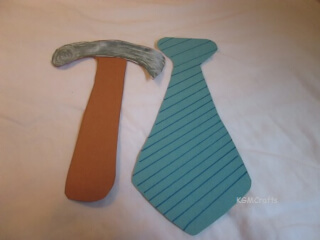
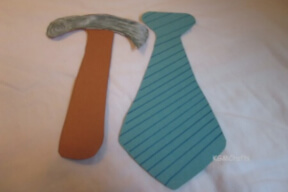
Bookmarks are useful to use in even car manuals! Your child can choose to make a hammer or tie. We have included a PDF pattern, so the project is easy enough for preschoolers. You can download your PDF here.
Supplies;
- PDF of bookmarks
- Construction paper or colored printer paper
- Color crayons or markers
- Scissors
- Glue
Print the PDF and cut the tie or hammer out.
You can use the PDF as a pattern, then make the tie and hammer out of construction paper like it is in the picture. Or you could print using colored paper.
An optional step is to cover your bookmark with clear contact paper (shelf liner). This will make your bookmark sturdier and last longer.
You could also use the bookmark as a Father’s Day card. Just write your message on the back.
Have fun making Sunday School Father's Day crafts. Be sure to tell Dad that you love him.
