Not So Scary Scarecrow Crafts for Kids
by Karen & Grace Morris
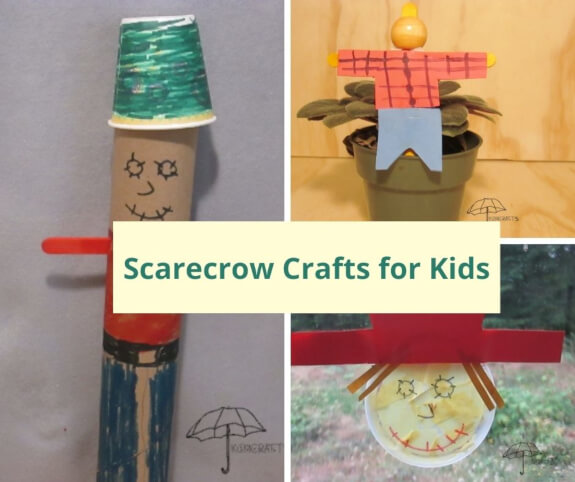
These scarecrow crafts for kids won't scare the crows in Farmer Joe's field. But they will help your mom decorate for fall. There are cute figurines to place in potted plants or set on the table.
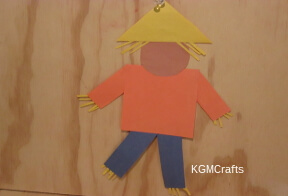
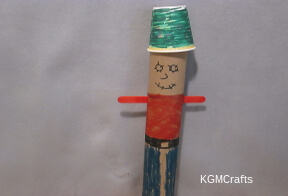
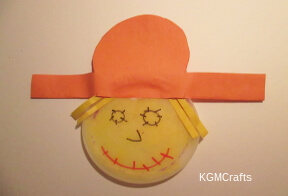
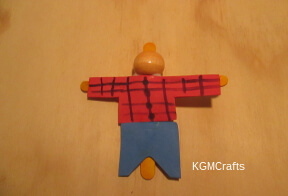
Click the pictures to find directions for the individual scarecrow crafts for kids.
The Scarecrow watches
Over all
The Pumpkins on the vine
The Corn in the field
Keeping them safe
from the
Crows in the sky
Hi My Name Is Boo
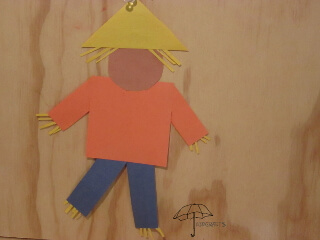
“Knock, knock!”
“Who's there?”
“Boo!”
“Boo who?”
“Oh, don't cry! I just say boo to scare the crows.”
You will need;
- PDF of shapes (link open in a new window)
- Construction paper
- Glue stick
- Tape optional
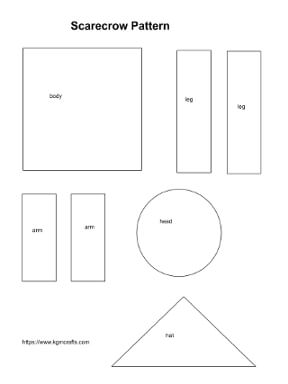
Download and print the scarecrow crafts for kids, a FREE PDF. (link opens in a new window)
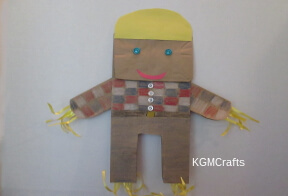
Use brown paper and the circle to make the head.
The square and smaller rectangles are for the shirt.
Use the longer rectangles to make the pants.
Make a hat using the triangle.
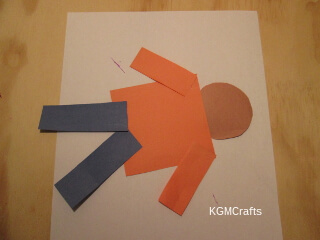
Glue the circle to the top center of the square.
Then, glue the shorter rectangles to the top corners of the square at an angle to make the arms.
Next, glue the longer rectangles in the center bottom of the square at an angle to make the legs.
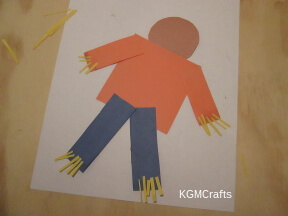
Cut small thin pieces of yellow construction paper for straw.
Turn the scarecrow over and glue three strips to the arms and legs.
Tip – You can also use tape to secure the small strips to the arms and legs.
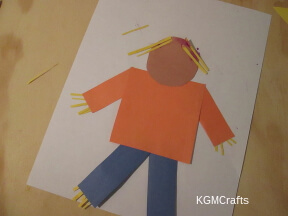
Glue two or three pieces to each side of the head.
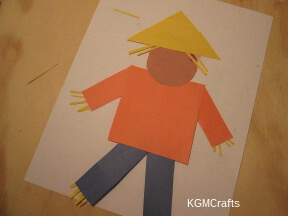
Glue the triangle on top of the circle.
Add a face if you want.
Recycled Scarecrow Crafts for Kids
It is always fun to look in the recycling bin for craft supplies, especially when we are making scarecrow crafts for kids. :)
The Fall Guy
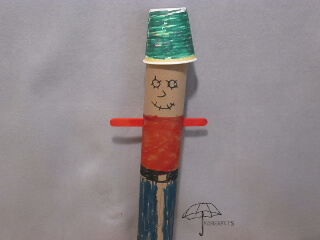
If I only had a brain…
You will need;
- Paper Towel roll
- 3-ounce paper cup
- Colored craft stick
- Markers
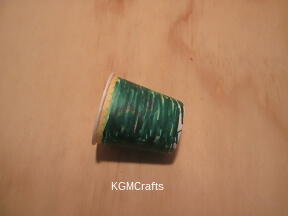
Color the sides of the cup. Mine had a yellow rim at the bottom that I didn't color.
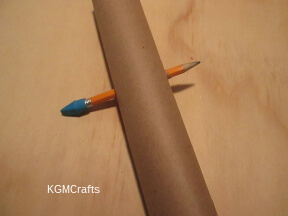
Make a hole in the sides of the cardboard tube with a pencil. The holes are approximately 4 1/2 inches from the top.
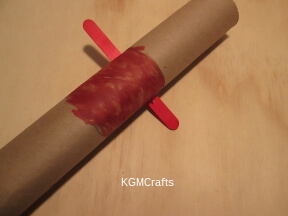
Push the craft stick in the holes.
Starting just above the craft stick, measure 2 inches. Color this section the same color as the craft sticks. So that it will look like your scarecrow has a shirt.
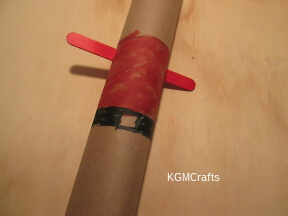
Next, measure about 1/2 inch from the bottom of the shirt. Color this black or brown to make a belt. Also, leave a small rectangle uncolored in the center for a belt buckle.
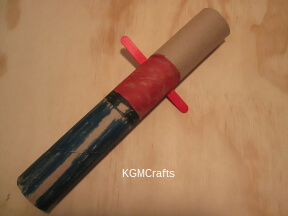
Draw a vertical line from the belt buckle to the end of the cardboard tube.
Color both sides of the line to make the scarecrow's pants.
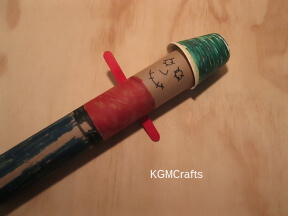
Place the hat on the cardboard tube. Draw a face between the hat and the top of the shirt. The head was usually made with a burlap bag and the eyes, nose, and mouth were sewn on. So make lines on the eyes and mouth to look like stitching.
Sunny the Man
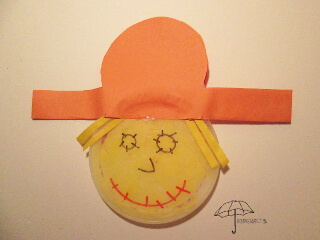
Hey, I am not even stuffed with straw.
Supplies;
- Clear plastic lid
- Construction paper
- 3 1/2 -inch circle
- Permanent markers
- Yellow tissue paper
- Glue stick
- White glue
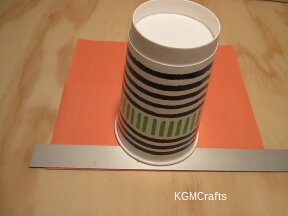
Fold a piece of construction paper in half. Measure 1 inch from the fold and draw a line 6 inches.
Place a 3 1/2 inch circle in the center of the fold. A paper coffee cup is about the right size. Draw from the line you just drew around the circle. You should have a hat shape. Cut the shape out, but do not cut on the fold.
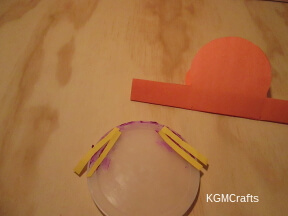
From yellow construction paper, cut four narrow strips for straw. Glue the strips on the sides of the plastic lid. You will want them so that they will fit under the hat.
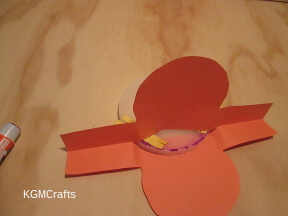
On the fold, make a slit in the center so that the lid will fit.
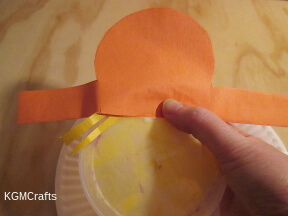
Cut pieces of tissue paper. Glue the tissue on the inside of the lid.
Add a drop of white glue at the top of the plastic lid. Place the hat on the glue hold together so the lid and paper stick.
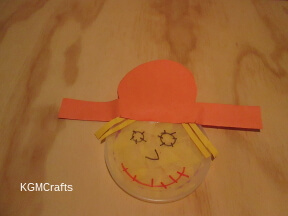
With permanent markers, draw a face on the lid.
Pumpkin Man
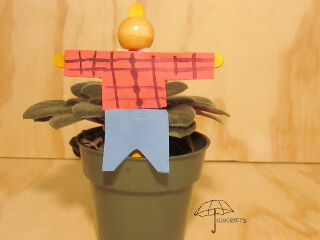
Burr, it is getting cold out here in the fields. Can you bring me a cup of hot cider?
You will need;
- 2 Popsicle sticks or craft sticks
- 6-inch piece of pipe cleaner
- Wooden bead
- Craft foam
- Markers optional
- Tacky glue
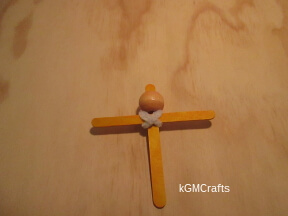
Place the two Popsicle sticks together to make a “t” shape. Twist the pipe cleaner around the two sticks.
Place the wooden bead on the top of the t for a head. Some of the Popsicle stick should stick out of the bead.
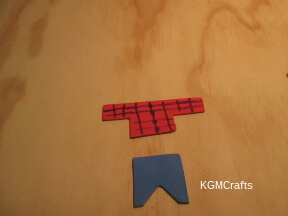
Cut a shirt piece 4 1/2 by 1 1/2 inches out of craft foam. The arms are 3/4 inch wide. The bottom of the shirt is 1 5/8 inches wide. Draw lines on the shirt to make it plaid.
Cut a 1 3/4 by 1 5/8 inches piece for the pants. Make a triangular cut in the center to make the pant legs.
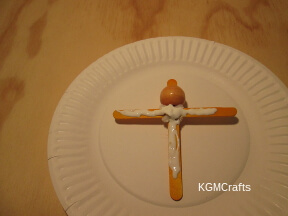
Place tacky glue on the craft sticks.
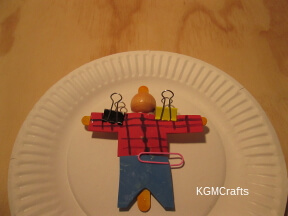
Use paper clips and binders to hold the craft foam on the craft sticks. Let dry. Now you have two scarecrow crafts for kids that can decorate your houseplants.
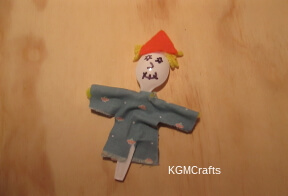
Spoon Man
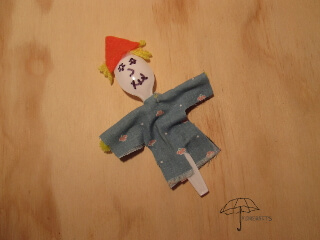
Spoon into something with pumpkin spice and everything nice. Or make this craft instead.
You will need;
- White plastic spoon
- 12-inch pipe cleaner
- A scrap of fabric
- Yarn
- Scissors
- Permanent markers
- hot glue
- Glue
- A scrap of felt
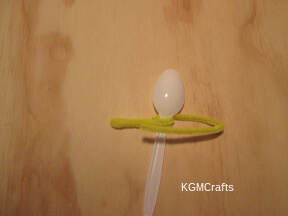
Place the spoon in the center of the pipe cleaner. Wrap the pipe cleaner around the handle once. Fold the arm so that there is about 1 inch beyond the spoon handle, wrap the extra piece around the spoon. Do the same with the other side.
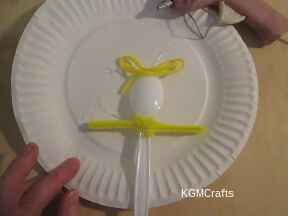
Cut a 12-inch piece of yarn. Fold it back and forth to make hair. With a hot glue gun, glue the yarn to the top of the spoon. Cut the loops of the yarn.
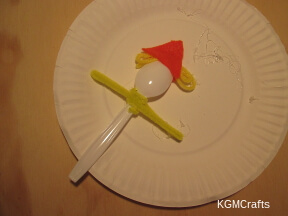
Cut two triangles from a piece of felt. With hot glue, glue the triangles together on the top of the spoon.
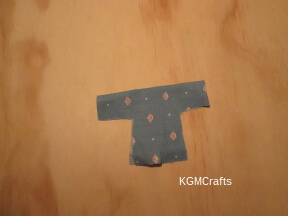
Fold a piece of fabric in half. Cut a “T” shape 4 by 3 inches. The body of the shirt is 2 inches wide.
Cut a small slit in the top of the “T” so that you can push the spoon handle through.
Cut a small slit in the bottom of the fabric approximately 1/2 inch so that it looks like pants.
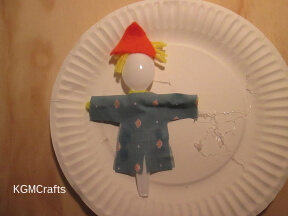
Put the fabric on the spoon.
Glue the fabric together. You will want the pant legs to be on the sides of the spoon handle.
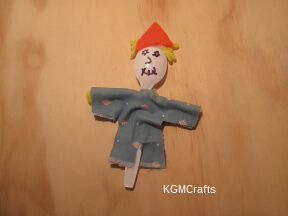
Add a face to the spoon. Stick the spoon in a houseplant, then you have a cute Halloween decoration.
More Scarecrow Crafts for Kids
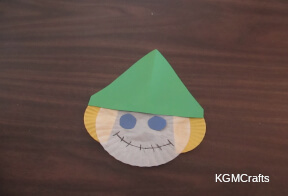
A Simple Hay-man
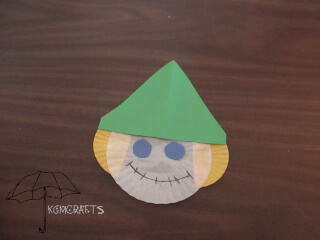
There is no hay used in this easy man.
You will need;
- Yellow or white regular cupcake liner
- Yellow mini cupcake liner
- Scissors
- Construction paper
- Glue stick
- Marker
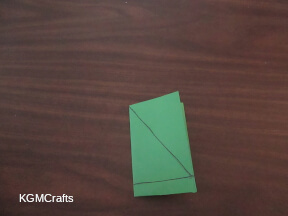
To make the hat, cut a rectangle 5 1/2 inches by 4 1/2 inches. Fold the paper in half.
Measure 1/2 inch from the bottom with a pencil, make a line to the fold.
Now draw an angled line from the top of the fold to the line.
Cut on the angular line. You should have a triangular hat shape.
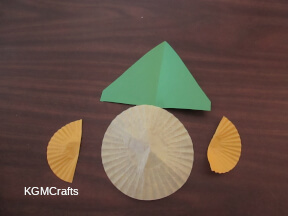
Flatten the large cupcake liner. Cut the mini liner in half.
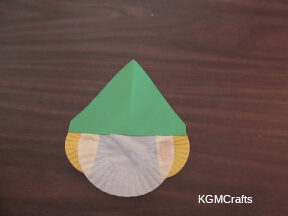
Glue a mini liner to the sides of the larger one for the hair.
Glue the hat to the top of the large cupcake liner.
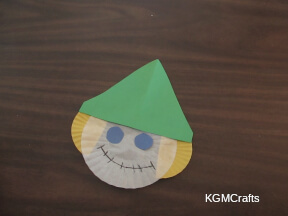
From a scrap of blue paper, cut two circles approximately 3/4 inch. Glue to the scarecrow's face for his eyes.
With a marker, draw a smile. Then add some lines to look like stitches.
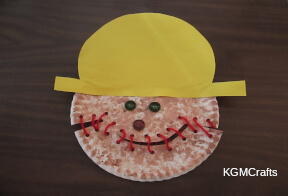
A Scary Guy
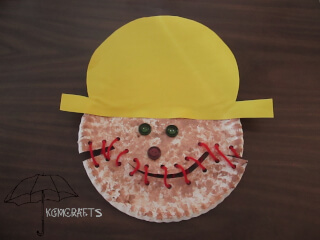
Do we need to change the title to Scary Scarecrows Crafts for Kids?
Supplies;
- 2 paper plates
- Brown tempera paint
- Bubble wrap
- Pipe cleaner (optional)
- Tape
- Paper to cover the table
- Construction paper
- Pencil
- Ruler
- Scissors
- Buttons
- Red yarn
- Hole punch
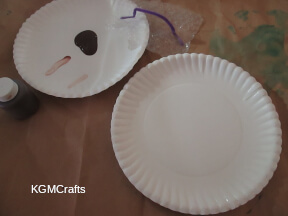
Cut a square approximately 5 inches of bubble wrap that has the small bubbles.
You can make a simple handle from a 6-inch piece of pipe cleaner. Bend the pipe cleaner into a handle shape. Tape the ends to the back of the bubble wrap.
Pour a small glob of paint on a paper plate.
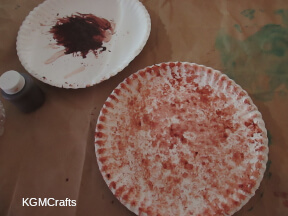
Dip your wrap “paintbrush” into the paint. You only want a small amount of paint on the bubble wrap. Dab the paint on the other plate. You want some white showing. Let the paint dry.
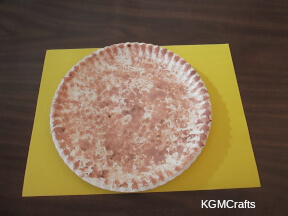
To make the hat, place the plate on the construction paper so that the rim is at the top of the paper.
Draw around the plate until you are 3 inches from the bottom of the plate.
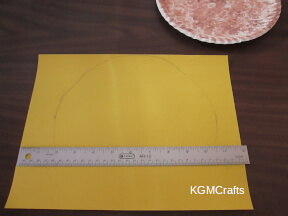
Take the plate off the paper. Place a ruler on the paper where your line stopped. Draw a line from each side to the edge of the paper and along the bottom of the ruler.
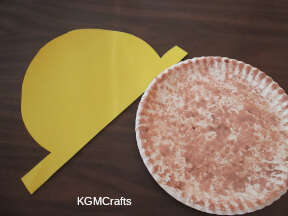
Cut the hat out.
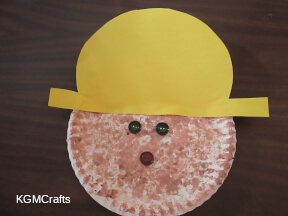
Place on the top of the paper plate. Add buttons for the eyes and the nose. When everything looks okay, glue the eyes, nose, and hat to the plate. Let the glue dry.
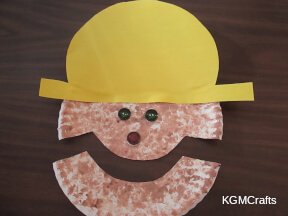
Measure 2 1/4 inches from the hat's rim on each side. Make a cut. Turn the plate over and cut on the fold line on the plate.
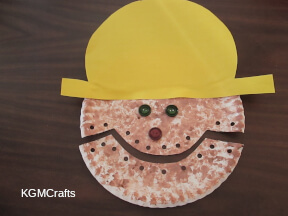
Punch holes so that you can sew the mouth.
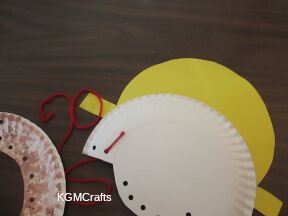
Thread the yarn through one of the holes at the end of the larger piece. Tape the yarn to the back of the plate. Sew the “chin” back on.
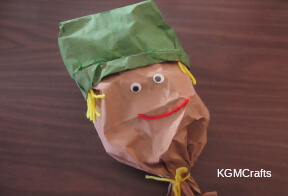
Paper Bag Scarecrow Craft
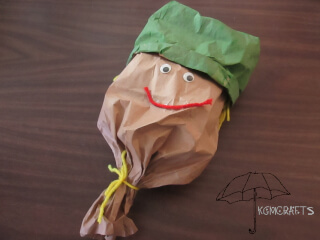
There is a Scarecrow in the Veggie Tales “The Wonderful Wizard of Ha's” that is based on the Bible story of “The Prodigal Son”.
You will need;
- 2 brown lunch-sized bags
- Paint
- Paper plate
- Paint sponge or brush
- Extra paper for stuffing
- Yarn
- Wiggly eyes
- Tacky glue
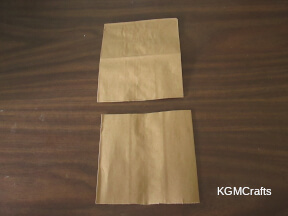
To make the hat, cut off 5 inches of one of the bags.
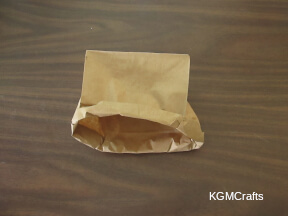
Open the bottom piece and roll some of the cut ends to make the rim. Roll gently so that you don't rip the bag.
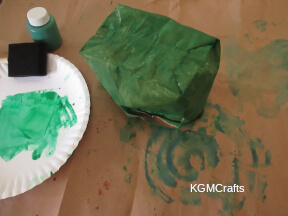
Place some paint on a paper plate so that you can dip the sponge in. Pain the bag with a sponge or large brush. Let the paint dry.
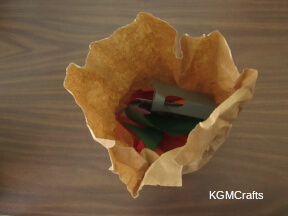
Add some scraps of paper to the other bag. You want enough so that the bag will hold its shape.
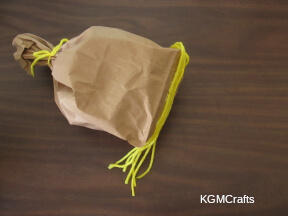
With a piece of yarn, tie the open end closed.
Cut some strands of yarn approximately 12 inches long for the hair. Glue to the top of the bag.
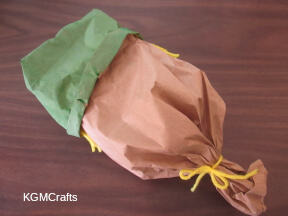
Place the hat on the head. Mark where you want the eyes to go.
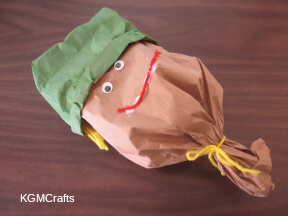
Glue the eyes to the bag. Add a yarn mouth.
Popsicle Stick Scarecrow Craft
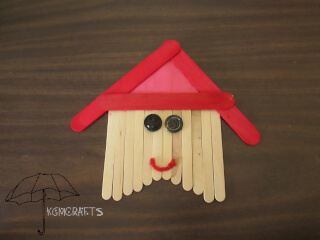
I bet that he is as friendly as Scarecrow from the “Wonderful Wizard of Oz”.
Supplies;
- 3 jumbo craft sticks
- A scrap of construction paper to match the jumbo sticks
- 12 Popsicle sticks or craft sticks
- 2 Buttons
- A scrap of yarn
- Tacky glue
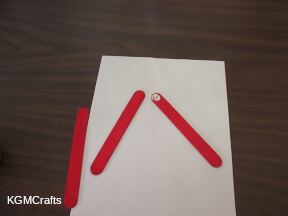
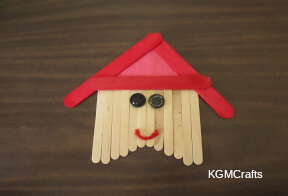
With the jumbo sticks, make an “A” shape for the hat. Glue the top corners together.
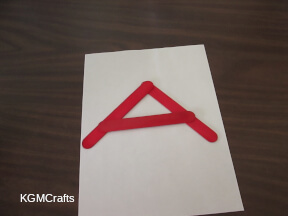
Place some glue on the ends of the crosspiece and glue to the sides.
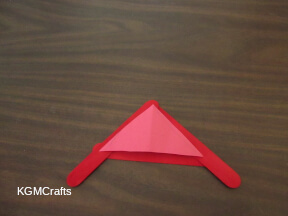
Cut a piece of construction paper to fit the opening of the hat. Glue to the sides and bottom of the jumbo sticks.
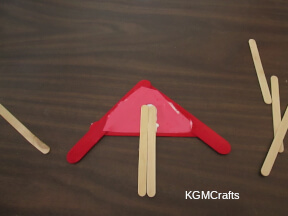
On the back, make a mark 1 1/2 inches from the top of the hat. Glue two of the Popsicle sticks here.
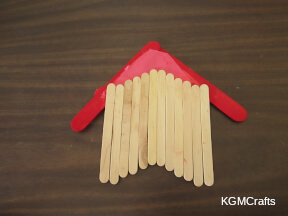
Stagger the other ten sticks on the sides of the first two. Let the glue dry.
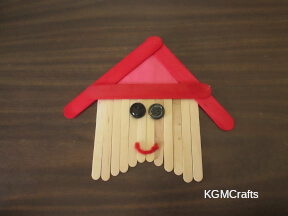
Turn the scarecrow over and add buttons for eyes and a small piece of yarn for the mouth.
Some scarecrow crafts for kids taught your child about shapes. Cutting ''straw'' help your kids develop fine motor control. Though your child thought he was just having fun.
You might like these fall pages;
Find even more scarecrow crafts for kids on our Halloween pages.
