Simple Arctic Animal Preschool Crafts
by Karen & Grace Morris
It's time to make cool arctic animal preschool crafts! Brrr! It's a bit cool out, isn't it? Let's put on our warmest coats and create some low prep crafts to warm our hands.
Click the pictures below to find directions for the individual arctic animal preschool crafts.
You won't need a lot of supplies to create these cute arctic creatures.
Paper Bag Arctic Animal Preschool Crafts
Lunch! You'll get a little hungry walking in this cold desert. But also look at all the other things you can make with this lunch sack. Look at all the arctic animal preschool crafts you can make with a bag.
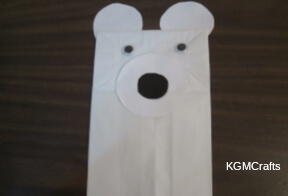
Polar Bear
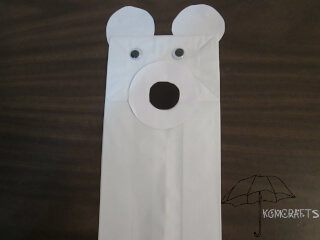
Do you want a bear hug?
You will need;
- A white paper lunch bag
- Scraps of white and black paper
- Wiggly eyes
- Glue stick
- White glue
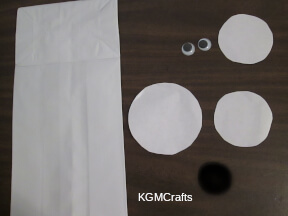
From white paper, cut a 3-inch circle and two 2 1/2 inch circles. Cut a 1 1/4 inch circle from black.
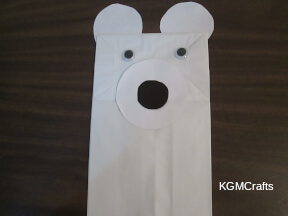
Use a glue stick to glue the large white circle on the fold of the bag. Glue the small black circle to the center of the large white.
Turn the bag over so that the folded part is on top. Glue the two medium white circles to each corner of the bag.
Turn the bag over and with white glue add the wiggly eyes.
If you don't want your child to use white glue, find wiggly eyes with the self-adhesive backing. Then they only have to stick the eyes to the bag. This tip is for all the arctic animal preschool crafts.
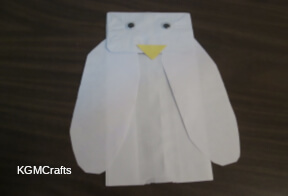
Snowy Owl

Whoooo says it is cold outside?
Supplies;
- White paper lunch bag
- White paper
- A scrap of yellow construction paper
- Wiggly eyes
- Glue
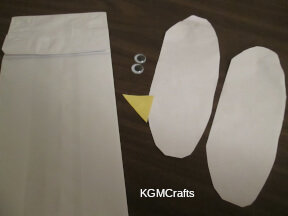
Turn the bag so that the fold is on top. Cut two white ovals 8 1/2 by 3 inches for the wings. Fold a 1 1/4 inch square in half to make a triangle.
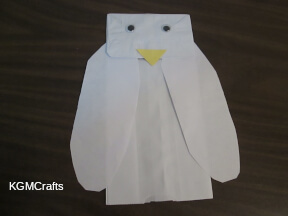
Glue the wings under the flap of the bag.
Glue the triangle to the fold of the bag.
Add wiggly eyes.
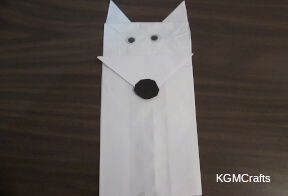
Arctic Fox
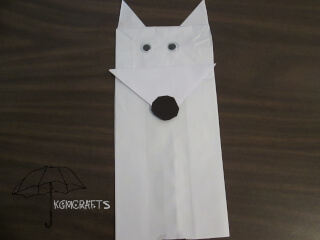
The cleaver fox said… “How much wood could a woodchuck chuck if a woodchuck could chuck wood in the arctic?”
You will need;
- White lunch sack
- White and black paper
- Glue stick
- Wiggly eyes
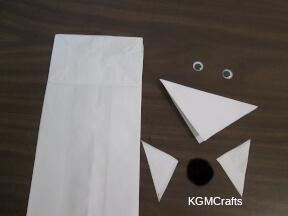
Cut a 4-inch square and fold on the diagonal to make a triangle.
Cut a black circle, 1 1/4 inch.
Then, cut two triangles, 3 by 2 by 1 1/2 inches.
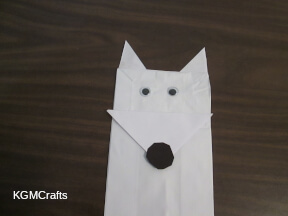
Glue the large triangle above the fold. Glue the black circle to the bottom point of the triangle for a nose. Add the eyes.
Turn the bag over and glue the two triangles to the back.
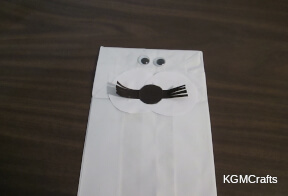
Harbor Seal
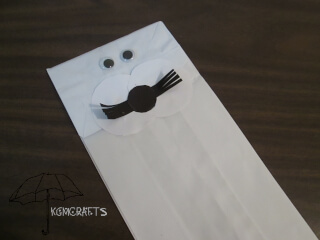
Be sure to get your “seal” of approval.
Supplies;
- White lunch bag
- White paper
- Black paper
- Wiggly eyes
- Glue stick
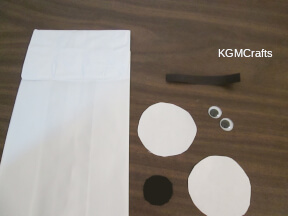
Cut two circles from white paper.
Cut a 1-inch circle from black paper for the nose. Take a black rectangle 3 1/2 by 1/2 inches and cut thin strips on each end.

Glue the two white circles just above the fold. They should overlap some.
Glue the black rectangle to the center of the white circles, fold the ends up some so that they look like whiskers.
Glue the black circle on the rectangle.
Finally, add the wiggly eyes with white glue.
Arctic Hare

With fur as white as snow. They can hide from their foes. Late in the night, they hop around. On the frozen ground. Eating twigs and leaves, before digging a hole to sleep.
What you will need;
- White lunch sack
- White paper
- A scrap of pink paper
- Wiggly eyes
- Glue
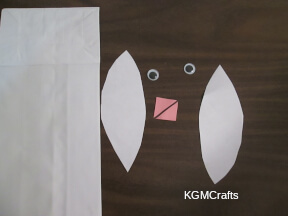
Cut two 6 by 2-inch pointed ovals to make ears.
Cut a 1-inch square from pink paper. Then cut from two corners on the diagonal.
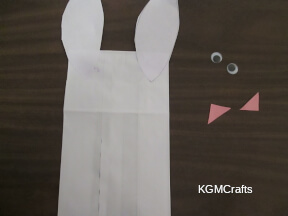
Place the bag in front of you so that the open end is facing you and the flap is on top.
Turn the bag over and glue the ears to the top.
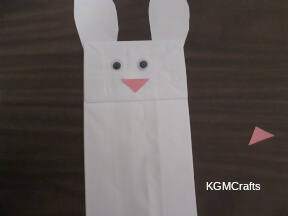
Turn the bag over. Glue the pink nose to the center. Then glue the eyes above the nose.
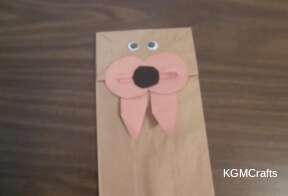
Walrus
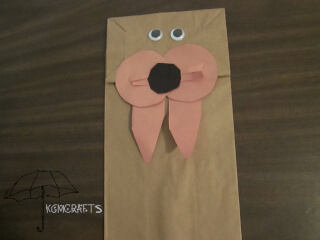
Two large tusks in his mouth. Brown and wrinkly, but warm in the cold. The pup lives with his family on the slippery ice.
Supplies you will need;
- Brown paper lunch bag
- Brown paper
- Black paper
- Wiggly eyes
- Glue
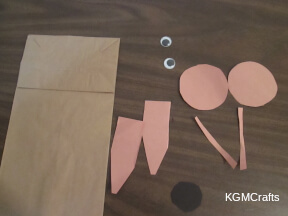
Cut two brown circles, 2 1/2 inches. Also, cut two rectangles 3 1/2 by 1 1/4 inches. Cut points on one end of the two rectangles.
Cut a 1 1/2 inch circle from black paper.
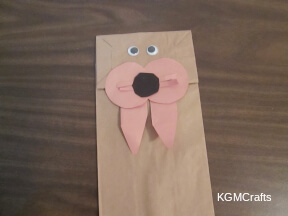
Glue the two circles together so that they overlap some and will fit on the fold of the bag.
Glue the rectangles behind each circle so that the pointy side is sticking out.
Glue the shapes to the bag.
Add wiggly eyes.
Husky

Dogs of the north. Pulling sleds and winning races.
Supplies;
- White lunch bag
- Black paper
- White paper
- Scissors
- Glue
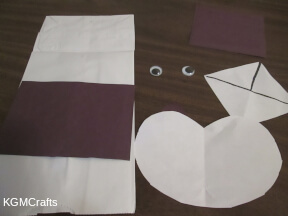
Cut a white rectangle 5 1/4 by 3 1/2 inches. Then cut a heart shape with a rounded bottom. Also cut a 3-inch square. Fold the square from corner to corner, so you have a triangle. Cut on the fold. Fold one of the cut pieces in half. Cut on the fold. You will need two of the pieces for the inside of the ear.
Cut a black rectangle 5 1/4 by 3 1/2 inches. Cut a 4-inch square, fold the square in half on the diagonal and cut on the line. Fold in half again and cut to make the outside of the ears. Also cut a 1-inch circle from black paper.
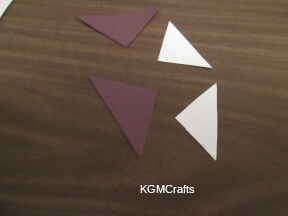
Glue the white triangles to the center of the black triangles.
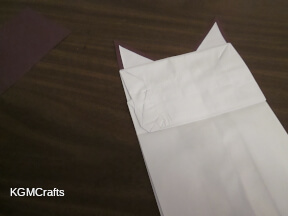
Glue the ears to the back of the folded part of the bag.
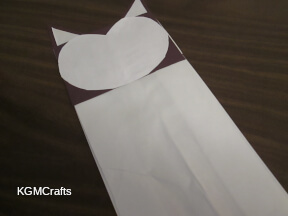
Glue the black rectangle to the fold of the bag. Glue the white heart shape to the black rectangle.
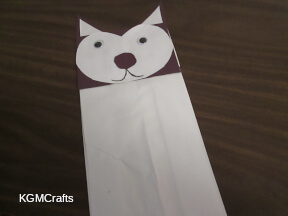
Glue a black circle to the bottom of the heart shape for the nose. Glue on wiggly eyes.
You really can make lots of arctic animal preschool crafts from a paper bag.
Making Tracks Arctic Animal Preschool Crafts
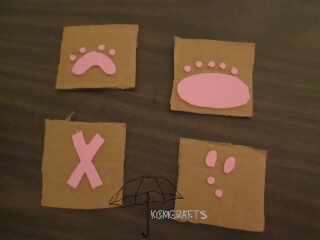
Let's make tracks! More fun and easy arctic animal preschool crafts.
You will need;
- Stiff cardboard
- Craft foam
- Scissors
- Hole punch
- White glue
- Black washable marker
- White paper
Cut a 3 to 3 1/2 inch square piece of cardboard from a shipping box.
Cut paw and toes from craft foam.
To make the Bear Print:
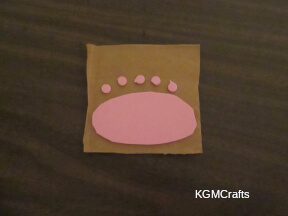
Cut an oval 2 3/4 by 1 1/2 inches. Punch five circles from craft foam. Glue the oval on its side. Glue the circles above the oval for toes. Let the glue dry.
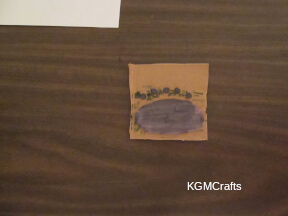
When the glue is dry, color the craft foam with a washable black marker.
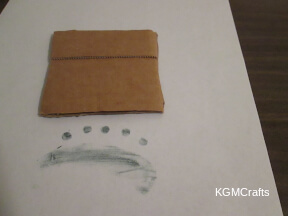
Turn it over and press on a white piece of paper. You will see a paw print. Make several prints on your paper so that it looks like an animal walking in the snow.
To Make a Fox print:
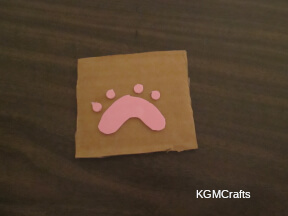
Cut a “v” shape approximately 2 by 3/4 inches for the paw. Cut four circles for the toes. Place the toes on each side of the point of the “v” shape.
To Make Owl Prints:
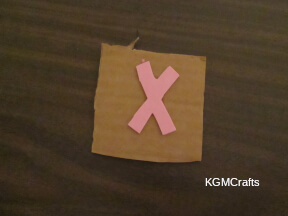
Cut an "x" shape from craft foam.
For the Arctic Hare:
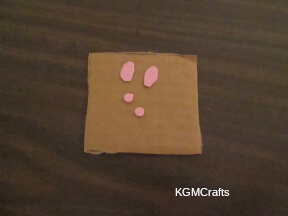
Cut two small ovals and punch two circles from craft foam. Glue the two ovals side by side on the cardboard. Glue the two circles below the ovals.
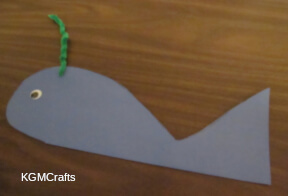
Narwhal
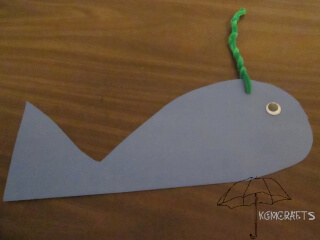
The unicorn of the sea.
You will need;
- Blue construction paper
- Pipe Cleaner.
- Hole punch
- Glue stick
- Wiggly eye optional
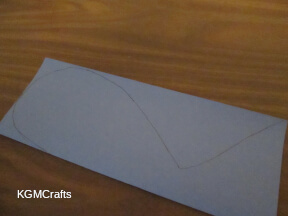
Fold the paper so that it is long and narrow. On one end, draw a “C” shape like you are going to make a heart. When you get 1 1/4 inches from the fold and 3 1/2 inches from the cut edge, draw a diagonal line to the corner opposite to the fold.

Cut on your line. You will have a fish shape.

Unfold your paper and add some glue, then fold again.

At the top of the fish's head, punch a hole through the paper.

Thread a pipe cleaner through the hole. Bend the pipe cleaner in half and twist together to make the horn.

Add a wiggly eye if you want.
Arctic animal preschool crafts are super cool to create! Heat up the hot chocolate and have fun with your polar bears and walrus.
