Paper Plate Crafts for Kids
More than a Pretty Face
by Karen & Grace Morris
They're super easy! When you need something round, paper plate crafts for kids are the way to go. Preschoolers can have a fun time cutting and gluing. So gather a container of cheap plates and some other supplies. Don't forget the kid.
Click the pictures below will take you to the individual paper plate crafts for kids.
Yes, the plates do make cute animal faces. But you can do so much more, like flowers or Christmas decorations.
Seasonal paper plate crafts for kids
Buggy paper plate crafts for kids
Make some people paper plate crafts for kids.
Celebrate with paper plate crafts for kids.
Paper Plate Crafts
for Kids are;
cheap
easy
fun
Animals Paper Plate Crafts for Kids
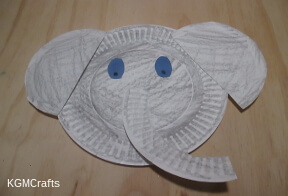
Easy the Elephant
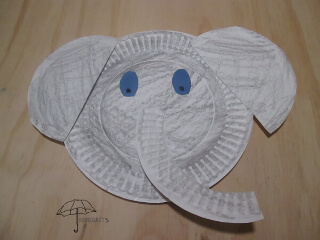
E is for elephant. So let's make this cute elephant face, so he can face the giants.
Supplies;
- 2 paper plate
- Gray crayon
- Scrap of blue paper
- Scissors
- White glue
- Black marker
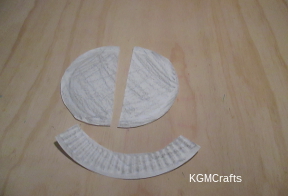
Color both plates gray with your crayon.
Cut the rim off one of the plates. You want the circle as large as possible to make the ears. The circle is about 6 1/4 inches. Cut the circle in half.
Cut a 6 by 1 1/4 inch piece from the rim for the elephant's nose.
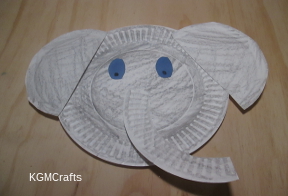
Glue the ears to the sides of the other plate. Glue the nose piece in the center of the plate. Cut two ovals approximately 1 1/2 by 1 inch for the eyes. Glue the eyes on the paper plate. With a black marker, make circles for the pupils.
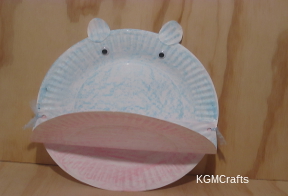
Hippy the Hippo
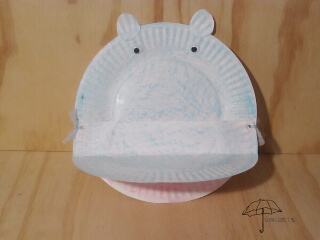
Oh, what a big mouth you have!
You will need;
- 2 paper plates
- Blue or gray crayon
- Pink crayon
- Scissors
- Googly eyes
- Hole punch
- Yarn
- Glue
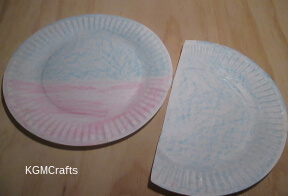
Cut 3 inches off one of the plates. Color one side pink. Turn over and color the other side blue.
Draw a line 5 inches from the top of the plate you did not cut. Color the top blue and the bottom pink.
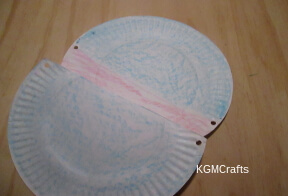
Place the blue side up over the pink part of the plate. Punch one hole on each side of the pink part of the bottom plate. Make holes on the top plate that will line up with those on the pink.
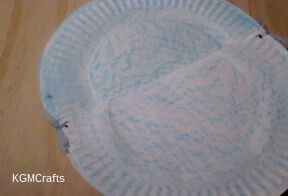
Cut two pieces of yarn to thread through the holes. Tie the yarn in a knot. Now you can open the hippo's mouth.
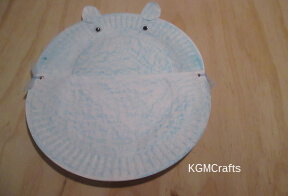
Cut two circles from the leftover piece and color them blue for the ears. Glue the ears to the top of the plate. Glue googly eyes below the ears.
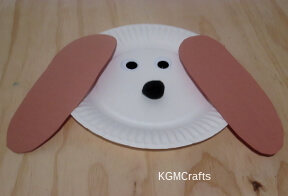
Hound Dog
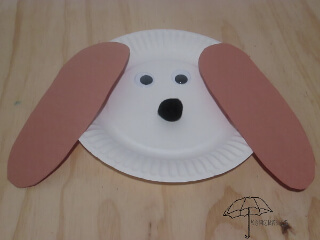
"You ain't nothing but a hound dog." Oh, yea, we are talking about crafts, not an old Elvis song. Anyway, this craft looks like a hound dog with long ears.
You will need;
- Paper plate
- Wiggly eyes
- Pompom
- Brown construction paper
- White glue
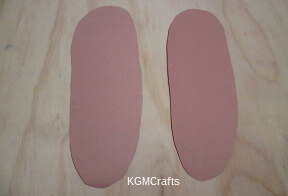
Have your child color the paper plate if he wants or he could leave it white.
Cut long ovals out of paper for ears. The ears should be long enough to cover the sides of the plate, approximately 8 1/2 inches long. Have your child glue just the tops of the ears to the rim of the plate.
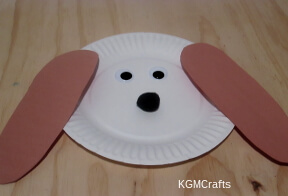
Next, have him glue on the wiggly eyes. Now your dog has puppy eyes!
Then glue on the pompom for the nose. Your dog is done.
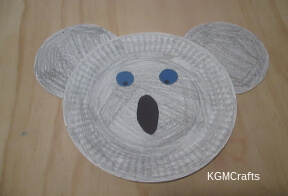
Koala Bear
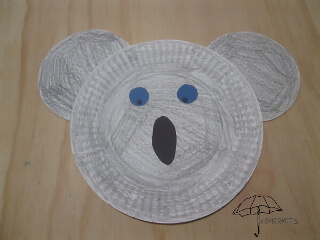
When is a bear not a bear? When it is a koala. They are marsupials, and they are very sleepy critters. They sleep 18-20 hours a day. Looks like it is nappy time!
Supplies;
- 3 Paper plates
- Gray marker or color crayon
- Blue and black paper
- Glue stick
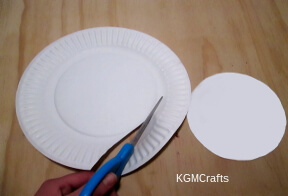
Cut off the rim from two paper plates. You will want the center circle for the ears.
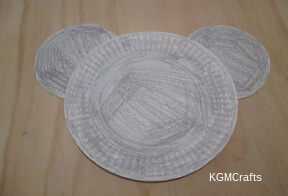
Have your child color the paper plate and circles gray.
Glue the gray circles to the sides of the plate. About half of the circle is showing. The other half is glued to the back and side of the plate.
You might need to pinch the circles to the plate a little, so you can have a good bond.
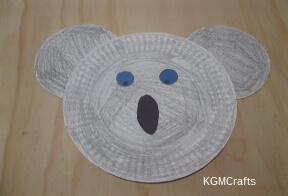
With the blue paper, cut out circles for eyes. Make the pupils by cutting a small circle out of black paper with a hole punch. Glue the eyes to the paper plate.
Cut an oval out of black paper for the nose. Glue to the plate.
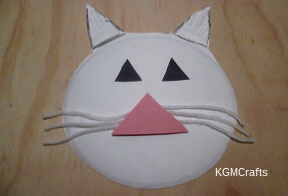
A Cat’s Face
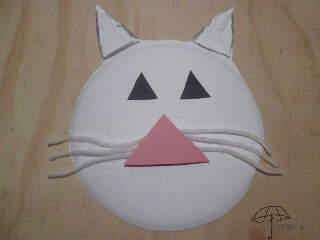
What shape does your cat's face have? This one is round, just like a plate. Some people say that cats with round faces are submissive. I don't know, most of the ones I have seen are independent.
You will need;
- Paper plate
- Pink and black paper
- Yarn for whiskers
- Glue stick
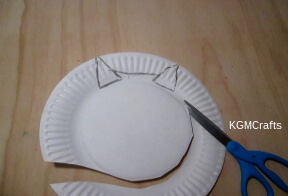
You will first want to make the cat's ears. You will want two triangles to be 1 1/2 inches apart from each other at the top of your paper plate. For each triangle, draw a base that is 1 inch, then draw two angled lines that are each 2 inches. Cut around your triangles to finish the ears.
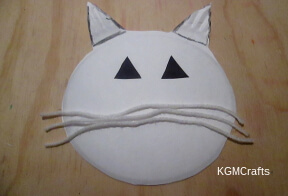
Cut two black triangle for eyes (you could also make diamonds for eyes, since cat eyes are like diamonds). You could use wiggly eyes if you want or cut circles. Glue the eyes to the plate.
Cut three strands of yarn, 7 1/2 inches for the whiskers. Glue to the plate.
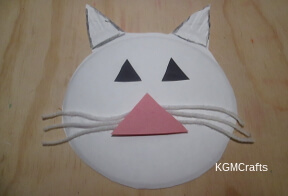
Make a pink triangle for the nose. Glue over the center of the yarn. (Meow! Purr….)
Related: another Cat paper plate crafts for kids
Fancy Eye Mask
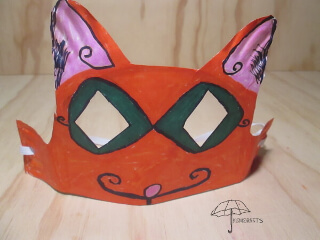
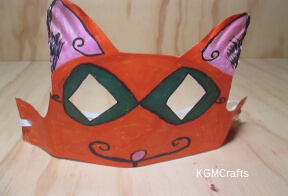
At masquerade balls, people would wear interesting masks. Most of them only covered the eyes and had fancy decorations. Some of them resembled an animal. This one resembles a fancy cat.
What You Will Need:
- A paper plate
- Markers
- Hole Punch
- Elastic
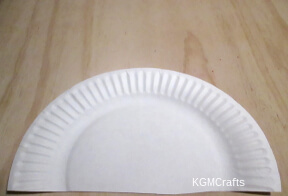
You will only need part of your plate, so cut a piece about 5 inches.
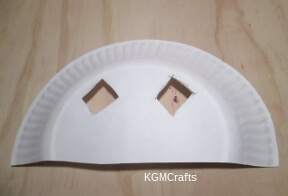
Put the plate on your face and figure out where your eyes are going to be by making a point at each location. Make two diamond shaped eyes at those points and cut out.
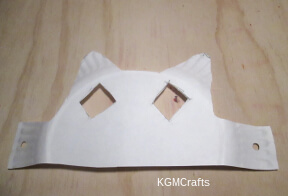
Next, you will want some ears. Above each eye draw, a triangle that has a base of 1 3/4 inches and the sides are 2 inches. Cut around the triangles. Make sure you leave two rectangles on the sides of the plate for later.
With the hole punch, punch a hole in each rectangle.
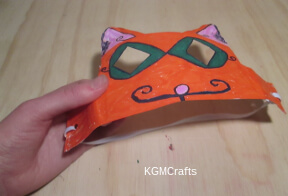
Now tie a piece of string or elastic that will fit around the back of your head.
Decorate and color your mask with the markers.
Your mask is now done! Have a party and invited your friends. See if anyone can guess who you are.
Unicorn
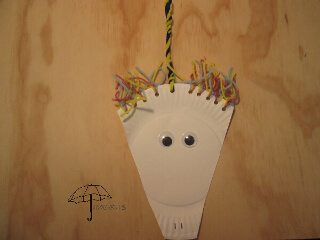
Unicorns are magical horses with a single horn.
You will need;
- Plate
- 2 pipe cleaners
- Scraps of yarn in 3 colors
- Hole punch
- Scissors
- Googly eyes
- Black color crayon
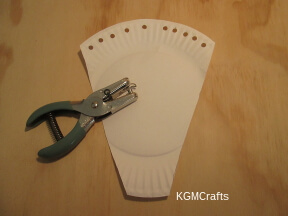
Cut the side of the plate so that the top is 7 inches and the bottom is 2 inches.
In the top, punch a hole in the center. Measure 1 inch from on each side and make a hole. Then make four more holes, equally spaced about 1/2 inch apart.
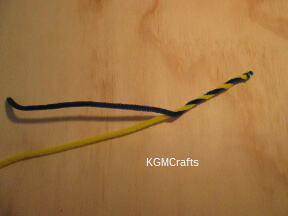
Twist the two pipe cleaners together.
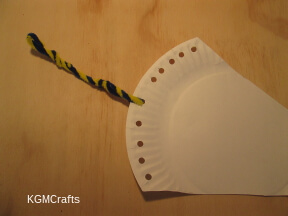
Thread about 2 1/2 inches of the pipe cleaner through the center hole and twist. Fold the top down about 2 1/2 inches so that it looks like a horn.
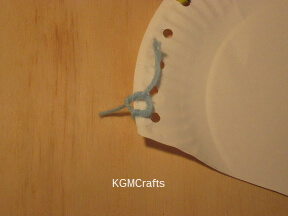
Cut pieces of yarn 6 inches long. Thread a piece of yarn in one of the holes next to the unicorn's horn. Tie a knot in the yarn.
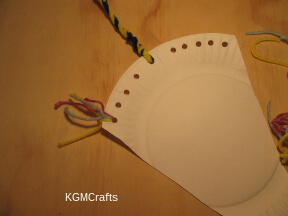
Add two more pieces of yarn to the same hole. Repeat, adding three pieces of yarn to each of the empty holes.
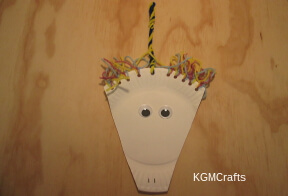
Add large googly eyes to the face. Also, make two lines near the bottom for the nostrils.
More Animal Paper Plate
Crafts for Kids
Paper plates are inexpensive and make cute animals. Here are some more pages that have paper plate crafts for kids.
People Paper Plate Crafts for Kids
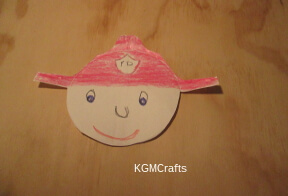
Fireman
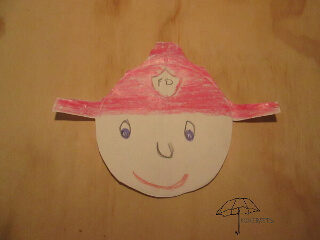
A brave person who fights fires!
Supplies;
- Paper Plate
- Template of hat PDF
- Crayons
Print the FREE PDF of the hat. Use the template to make the fire officer.
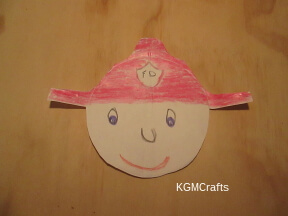
Cut around the outside of the template and cut off the rim. Color the hat red and add a face.
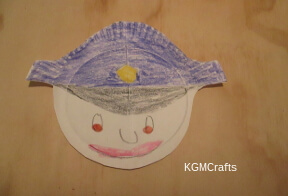
Police officer
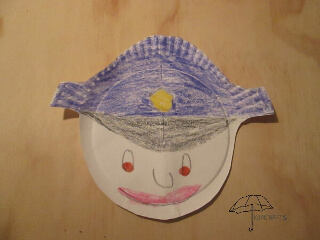
A brave person who fights crime!
You will need;
- Paper plate
- Template of hat PDF
- Crayons
Print the FREE PDF of the hat. Use it as a template to make a police officer.
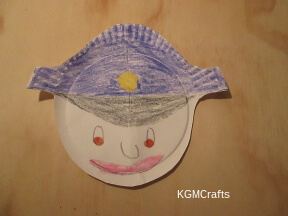
Cut around the outside of the hat and the rim. Color your police officer.
Cowhand
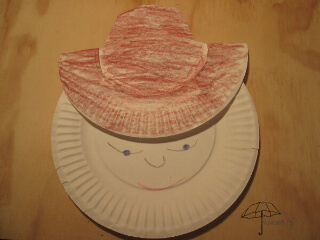
I'm sure he's the sheriff. Or possibly a hired hand. He could even be a bank robber of the wild west.
Supplies;
- 2 paper plates
- crayons
- Scissors
- Stapler
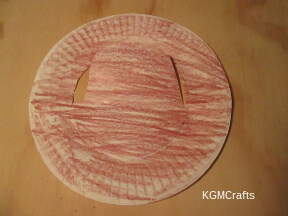
To make a hat for the cowboy, first color one of the plates on both sides.
Fold the plate in half. Start at the fold, make a small slit with your scissors. Place the scissors in the slit and cut around the inside of the rim to make the top of the hat.
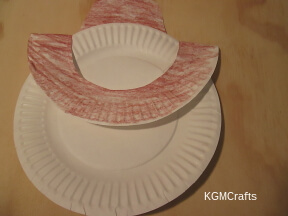
Place the folded hat on the other plate. See the part that is above the rim of the hat? You will need to remove this part.
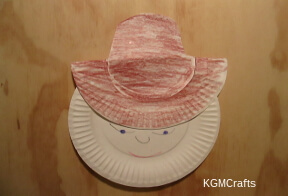
Staple the hat to the head piece. Add the facial features.
Flower Paper Plate Crafts for Kids
Sparky the Sunflower
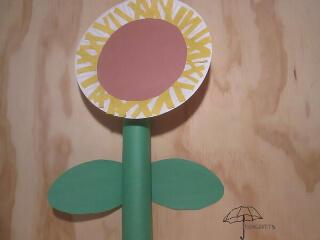
Where are the sunglasses because this flower is a star! Shining as bright as the sun. No, really it's a sunflower. Toasted seeds anyone?
You will need;
- Paper plate
- Empty paper towel roll
- Green, yellow, brown paper
- Glue stick
- Tape
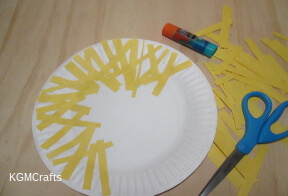
From a yellow piece of construction paper, cut narrow strips. Glue the strips to the paper plate. You will want to cover as much of the rim of the plate as possible.
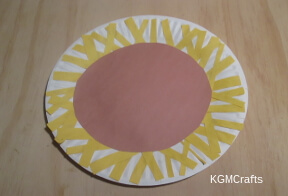
Cut a brown circle the size of the center of the plate. Glue onto the plate.
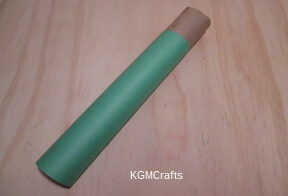
Cover the towel roll with the green paper. The paper will not cover the entire towel roll. Just start from one end.
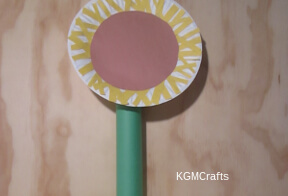
The end that is not covered will be taped to the back of the paper plate.
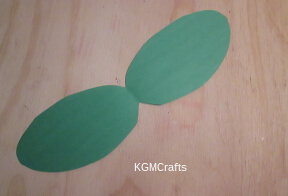
Take your green paper and fold it in half. Draw a large oval with one end touching the fold. Cut out and unfold to get your sunflower leaf.
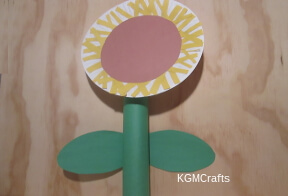
Glue the leaf to the back of the towel roll. Sunflowers are not just pretty to look at, but when they die, they produce sunflower seeds! They are good to eat.
Viny Flower
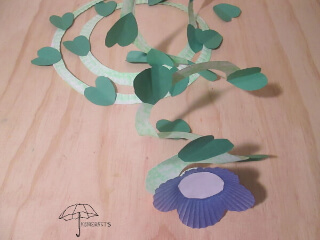
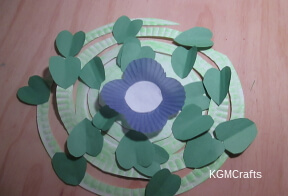
This cute flower will wind around your heart.
You will need;
- You will need;
- Paper plate
- Green crayon
- Scissors
- Colorful cupcake liner
- Green construction paper
- Scrap of white paper
- Glue Stick
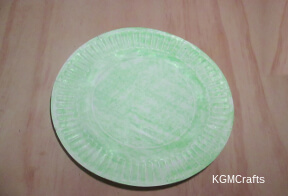
Color both sides of your paper plate green.
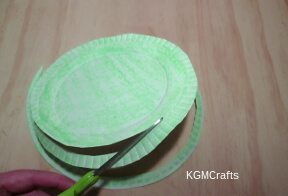
Cut the plate into a spiral.
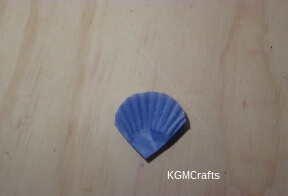
Fold the cupcake line into fourths.
Round the top of the liner. This will make a flower with four petals.
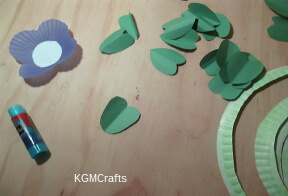
Cut a circle from white paper and glue to the center of the cupcake liner.
From green paper, cut twenty heart shapes. The shapes are 1 1/2 by 2 inches.
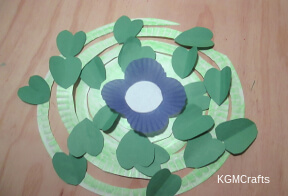
Glue the leaves to the sides of the vine. Glue the flower to the center of the plate.
Tip: The blades of safety scissors are usually made from plastic. The scissors are made so that it will only cut paper and not a child's hair or his fingers. A lot of children (and a few adults) have trouble cutting paper with them, though.
So, the best way is to teach scissor safety first. Tell your child what is okay to cut and what is not. Tell them also not to walk with scissors in their hands.
Then find a pair that will fit their hands and has blunt ends.
Insect Paper Plate Crafts for Kids
Make some bugs to go with your flower paper plate crafts for kids!
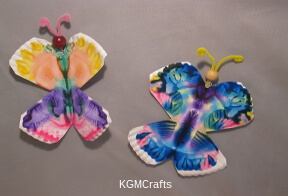
Butterfly
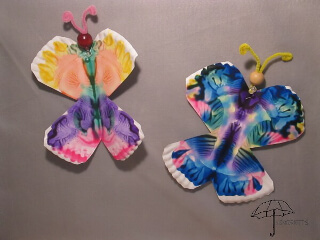
Imagine, you could fly away with this butterfly. What kinds of things could you see from high above?
you will need;
- 1 plate for each butterfly
- Scissors
- Newspaper or something to cover your table
- Paint
- 12-inch pipe cleaner
- Large wooden bead
- Stapler
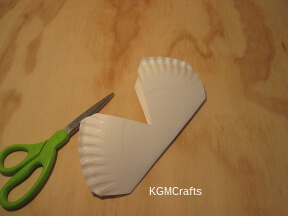
Fold the paper plate in half. At the open end, find the center. Cut out a triangle shape almost to the fold. At the top and bottom of the fold, make an angle cut. You should have a butterfly shape.
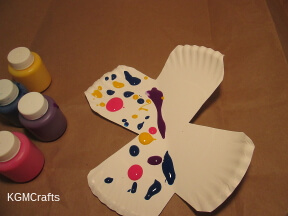
Cover your work surface with newspaper.
On the wing of the butterfly, put some drops of paint near the fold. You will only want drops on one of the wings.
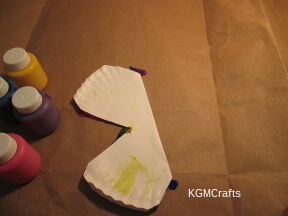
Now fold your plate on the fold line. Squish the paint like you are squishing a bug.
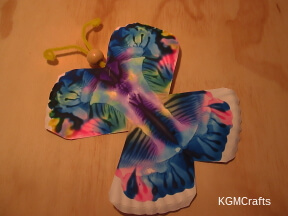
When you unfold the wings, there will be a mirror image. Don't worry if yours doesn't look like your neighbors, each one will be different. Let your creation dry.
Bend a 12-inch pipe cleaner in half. Thread through a bead. Staple the folded end to the top of the butterfly. Twist the other end so that it looks like an antenna.
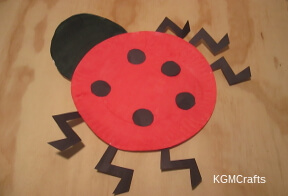
Ladybug
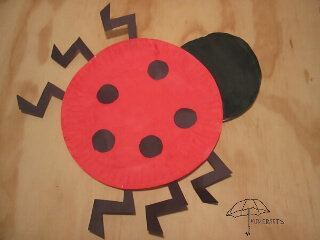
Supplies;
- 2 plates
- Scissors
- Red and black washable paint
- Painting sponge
- Black construction paper
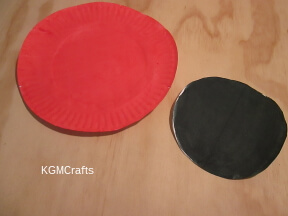
Cut the rim off of one plate. Paint the circle black. This will be the ladybug's head.
Paint the outside of the other plate red.
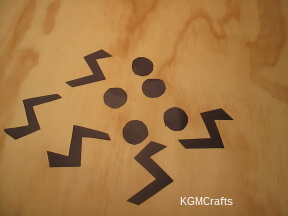
Cut circles from black paper. I cut five.
Also cut six zigzag pieces for the legs.
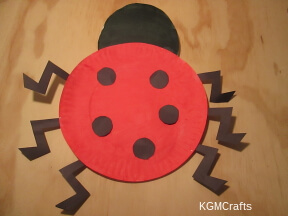
Glue the pieces together to make a ladybug.
If you wanted to make this a learning project you could make one ladybug with one dot, another with two dots, a third bug with three dots and so forth. Then have your child order the ladybugs.
Paper Plate Crafts for Kids and the Night Sky
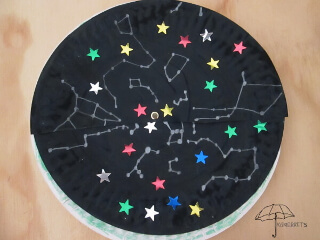
Supplies;
- 2 Paper plates
- Black paint
- Sponge
- Push pin
- Brad
- White crayon or pencil
- Color crayons to draw a scene
- Star field book optional
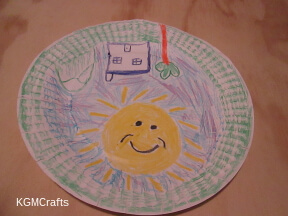
Take one of your paper plates and draw a scene with color crayons around the rim. A house on one end of the plate and a sun on the other with green grass all around is a great idea.
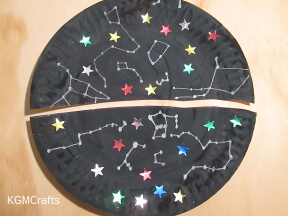
Take your other paper plate and paint it with the black paint using the sponge. Let dry.
With a white crayon, draw dots and lines to make constellations. You can also add some star stickers. Older children can use a field guild and copy the constellations for a season, such as winter. When you are all done, cut the paper plate in half.
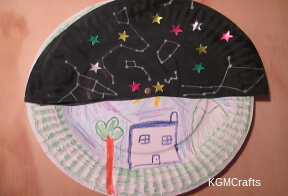
Take your push pin and make a hole in the center of each of the paper plate halves and the main plate. Line the holes on top of each other. The two halves will not be able to cover the main plate entirely, but that's okay. Take your brad and push it through all three of the holes, fastening it on the other side. Now you can take a look at your scene or the night's sky by moving the halves!
Seasonal Paper Plate Crafts for Kids
Winter;
Summer;
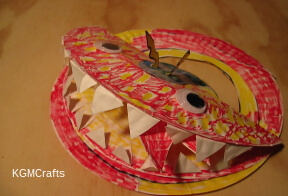
Chinese New Year's Dragon
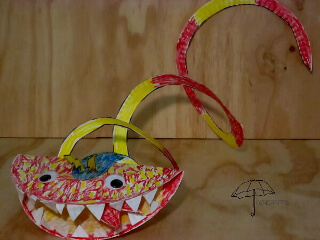
According to Wikipedia, Chinese dragons can be green, yellow, or red. Usually more than one color is used.
What you will need;
- Three paper plates
- Tape
- Wiggly eyes
- Markers
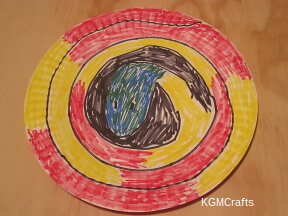
Take one of your paper plates and color it in a spiral, making your lines about 1 inch. Alternate between red and yellow. Stop coloring with the red and yellow when you get to the center. You will want to color the center blue and green. Turn the plate over and color it the same as above.
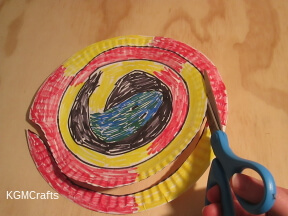
Cut the plate above in a spiral using your colors as a guild line. When you get to the center, shape it to look more oval. By folding one side of the oval, cut a slit. Unfold, then do the same to the other side.
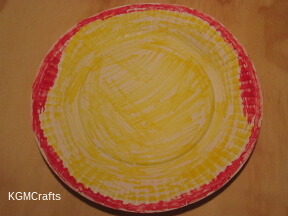
Take another paper plate and color it yellow, then trace the rim with a red marker.
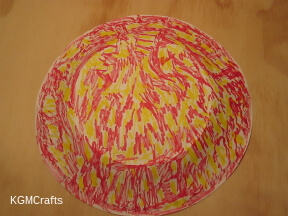
Flip it over and make quick marks with a red marker, then fill in the gaps with yellow.
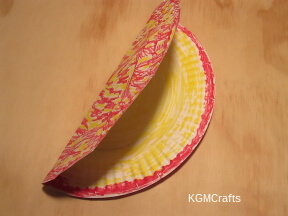
Fold this plate in half, with the red and yellow on the outside.
Attach the center of the spiral plate to the top of the folded plate.
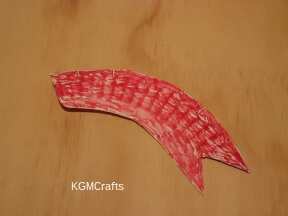
To make the tongue, cut a 6 1/2 inch piece from the rim of the last plate. Cut a “V” on one end. Color the tongue red. Fold 1 inch on the other end and glue it to the center of the folded plate.
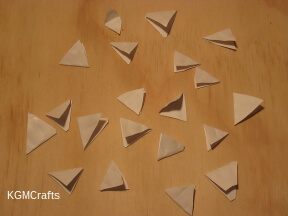
To make the teeth, cut twenty 1 inch pieces from the rim of the white plate. Shape the pieces like diamonds. Fold each piece in half. Glue them to the inside of the folded plate. Leave the teeth white. The color is usually associated with death.
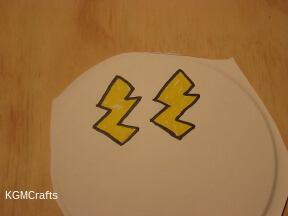
Now cut out two zigzags 2 by 1/2 inches and color them yellow. Fold each one of their ends about a 1/4 of an inch. Stick them into the slits that you made in the spiral plate.
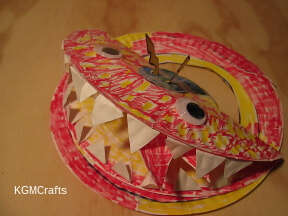
Take two large wiggly eyes and stick them on the red and gold plate.
Lift your dragon up and do the dragon dance.
More Holiday Paper Plate
Crafts for Kids
Easy to make decorations.
You can make a wreath for any season.
Make a shamrock for St. Patrick's Day
Easter Paper Plate Crafts for Kids
Halloween Paper Plate
Crafts for Kids
Thanksgiving Paper Plate
Crafts for Kids
These turkeys would look nice for Thanksgiving decorations.
Christmas Paper Plate
Crafts for Kids
Melting Snowman
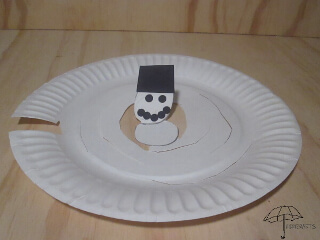
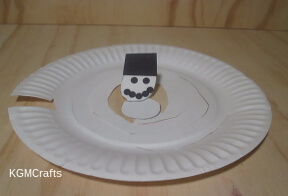
Help! I'm melting! But, I'll be back.
Supplies;
- Paper plate
- Scrap of black paper
- Scissors
- Hole punch
- Glue stick
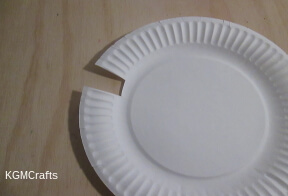
Cut a square on the side of the plate. In the center, draw two overlapping circles like a snowman.
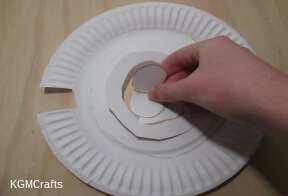
Then have your child cut a spiral from the rim to the center of the plate. Fold the snowman up.
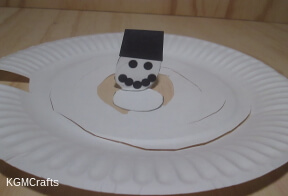
For the snowman’s face, make eight circles with a hole punch. I used black paper. Glue two circles for the eyes. Next, glue five circles for a smiling mouth.
For the hat, cut a rectangle from black paper or your child’s favorite color. Glue to the top of the center circle.
Related: Snowflake snowman
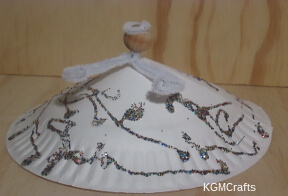
An Angel for Your Table
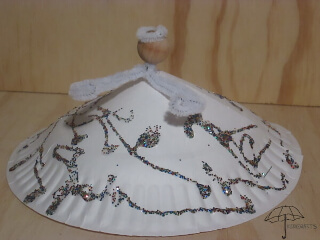
Does my skirt look too puffy?
Materials;
- Paper plate
- White glue
- Two white pipe cleaners
- Wooden bead
- Glitter
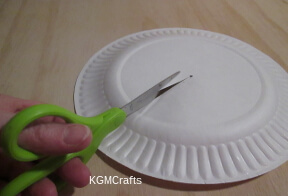
Mark the center of your paper plate. Cut from the rim to your dot.
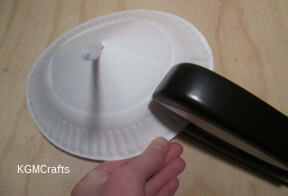
Place a 6-inch pipe cleaner at the center. Overlap the two sides together so that you can staple the rim. Your plate should have made a cone shape.
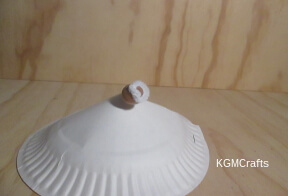
Place a wooden bead on the pipe cleaner. This is your angle’s head. Fold the pipe cleaner into a circle to make a halo.
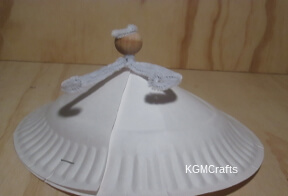
Turn your plate over and fold the pipe cleaner into a circle so that it does not pull out.
Take a 12-inch pipe cleaner and fold once around the neck. Fold each end to the center. Fold the ends to make hands.
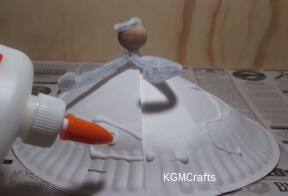
Make dots with glue.
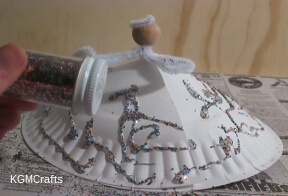
Before the glue dries, sprinkle with glitter. If you don’t want the mess, you can buy glitter glue from the store.
More Christmas paper plate crafts for kids.
By the way, using paper plate crafts for kids are so easy that we tend to sprinkle them throughout the site. You might find even find more projects than what is listed below.
The cheap paper plates are not great for carrying food because they are so flimsy. Paper plate crafts for kids will give you some ideas how to use them creatively. Your preschoolers can have fun making animals, flowers, Christmas decorations and other cool things.
Share
More Easy Preschool Crafts
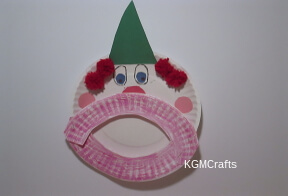 Fun clown and circus crafts
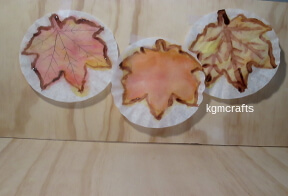 have fun making fall crafts
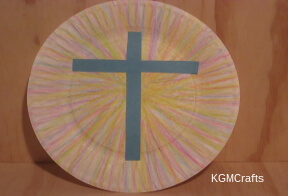 Easy to make Easter crafts