Jump into Cool
Preschool Summer Crafts
by Karen & Grace Morris
Don't cry over a dropped ice cream cone. Go make some preschool summer crafts instead… Well, actually go get a new cone then come back and see what you can create.
Click the pictures below to go to the individual preschool summer crafts on the page.
While it's hot outside, there is so much to do! Swimming in the pool, camping outside, eating more ice cream… Ahem, sorry, I always have to scream for some ice cream… So make some preschool summer crafts to remember the fun you had this year.
Tissue Preschool Summer Crafts
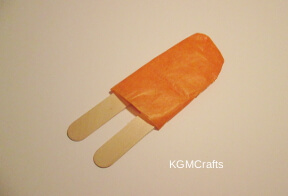
Ice Cream Pop

You scream, I scream, we all scream for ice cream!
What you will need;
- Two jumbo craft sticks
- Orange and white tissue paper
- Tape
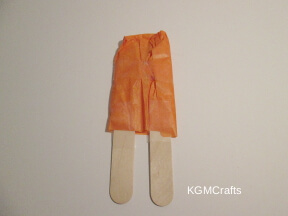
Cut a 12 1/2 by 6 1/2 piece of orange tissue paper. Wrap the two craft sticks in the tissue paper. You will want them side by side with about 2 inches of the bottom ends showing.
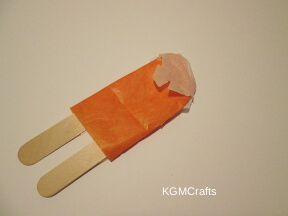
Cut a 3 by 3 1/2 inch piece of white tissue paper and tape it on the top of your ice cream pop! Boy, this is making me hungry.
Swimming Pool
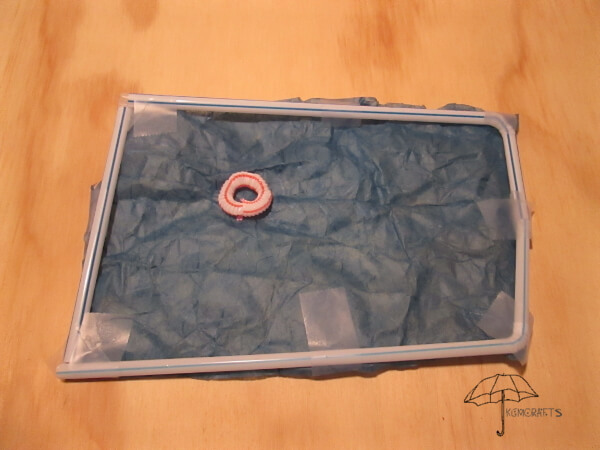
"Just keep swimming. Just keep swimming."
Supplies;
- 3 blue drinking straws
- 3 red drinking straws
- Blue tissue paper
- Tape
- Craft string
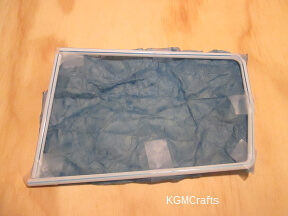
Cut a 7 1/2 by 4 1/2 inch piece of blue tissue paper. Cut one blue straw, 4 1/2 inches. With the flexible part of the other two straws, blend them. Tape your blue straw pieces as a frame around the blue tissue paper.
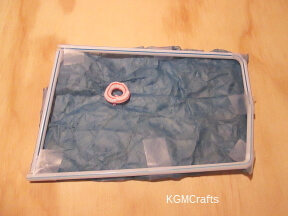
Cut three red straws at the flexible part. Thread them onto a piece of craft string. Tie the string together and cut off any excess to make a swim ring. Put it in your pool and have your Lego boy and girl go swimming!
Preschool Summer Crafts - Pictures
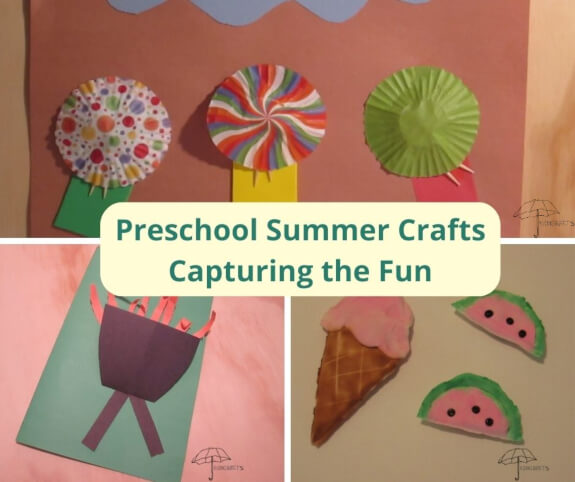
Gather some paper, cupcake liners, sticks and other easy to find materials and make these preschool summer crafts.
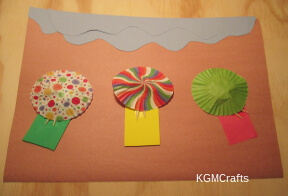
Beach Scene
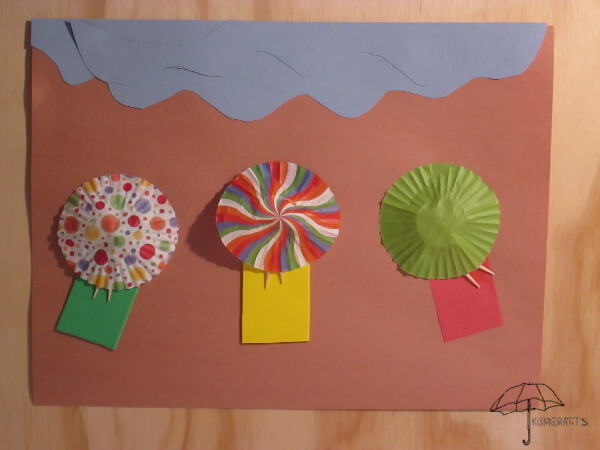
Catch some rays at the beach this summer! Don't forget the sunscreen!
You will need;
- Blue and brown construction paper
- 3 mini cupcake liners
- 3 small pieces of craft foam or construction paper in different colors
- 3 toothpicks
- Glue stick
- Tacky glue

Draw a wavy line approximately 2 or slightly more inches from the 12-inch side on the blue construction paper.
Draw another blue piece with wavy lines on both sides. The piece should be approximately 8 1/2 by 1 1/2 inches.
Cut the two pieces out.
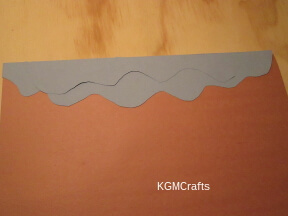
Glue the blue piece to the top of your piece of paper to represent the ocean.

Cut three pieces of craft foam 3 1/2 by 1 1/2 inches. These will be the beach towels. If you don't have craft foam, you can use construction paper.
Glue the pieces on the brown paper. You can glue them at an angle if you want.
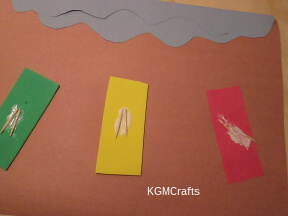
Break a toothpick in half. Each half needs to be the same size. Do the same with the other two toothpicks.
Glue two toothpicks to each beach towel using tacky glue. Let dry.
If you don't want preschoolers playing with toothpicks, you can leave out this step.
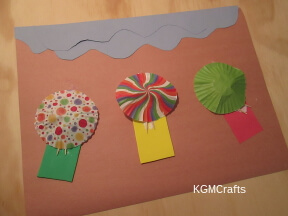
Flatten the cupcake liner slightly. Glue near the top of the beach towel so that the liner covers the top of the legs. Close your eyes and listen to the waves as we relax under the summer sun.
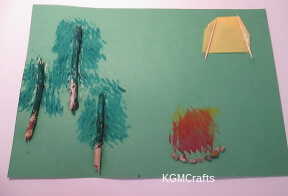
Let's Go Camping :)
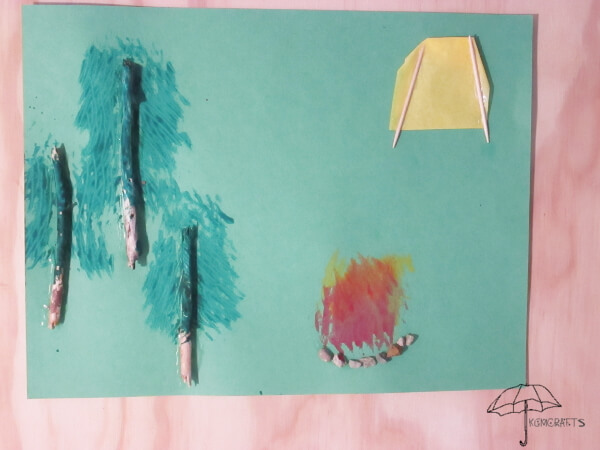
Yay, we get to sleep in a tent and eat S'mores around the campfire.
Supplies;
- Green construction paper
- Thin sticks
- Tiny rocks
- Tacky glue
- Green, red, yellow paint
- Paper Plate
- Fork
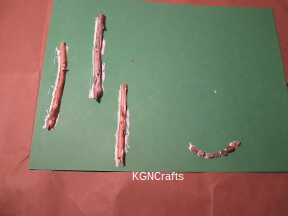
Go on a trip outside and find three thin sticks that are not too long. Also, find several tiny rocks. You don't want anything too big as you will be gluing them to construction paper.
Place the sticks on the paper so that they are upright. They will be tree trunks. Remove the sticks and put a line of tacky glue. Place the sticks on the glue. Add more glue to the sides if you think that it needs it.
Near the bottom of the paper, place a semicircle of glue. Add rocks to the glue for a fire ring.
Let everything dry overnight.

The next day, put a glob of green paint on a paper plate. Take your fork and dip in the paint. Use the tines of the fork to make the leaves. Paint most of the stick.

Wash your fork. (or get another one) By the way, get a plastic fork and not your mom's good silverware. :) Put a glob of red and yellow paint on the paper plate.
Dip the tines of the fork in the red paint and make flames inside the semicircle of rocks.
Before the paint dries, dip your fork in the yellow paint and paint over the red. Some red and yellow will turn to orange and that is okay.
Let your paint dry.

Make your tent. Cut a double piece of tissue paper in an oval, 3 by 2 1/2 inches.

Fold some of the sides and top down so that it looks like a tent.

Glue to the corner of your picture.
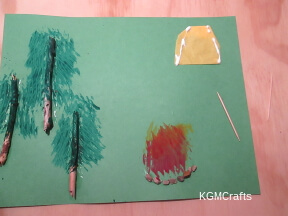
Make two lines with tacky glue near the front and back of the tent.

Add toothpicks to the glue. Let your picture dry.
Then hang your masterpiece up and dream of camping in the woods.
Preschool Summer Crafts – Magnets
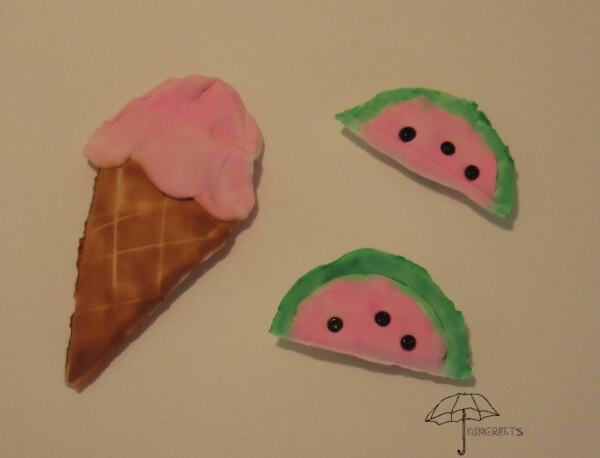
Remind yourself to buy more watermelon or ice cream with these preschool summer crafts.
For each magnet you will need;
- White air dry clay
- Markers
- Magnets
- Tacky glue
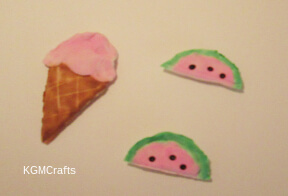
Let's have a piece of cool watermelon!
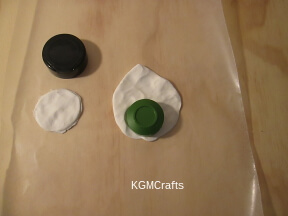
Roll the clay so that it is thin.
Find a 2-inch spice lid and a 1 1/2 inch spice lid. Use the lids to cut two circles. Make the smaller circle thinner.
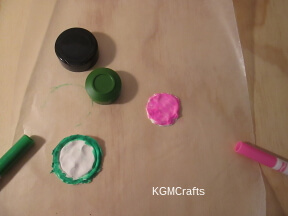
With a green marker, color the rim around the larger circle.
Color the smaller circle pink.
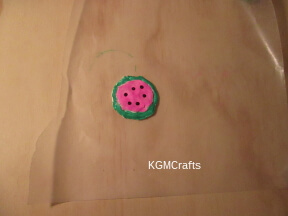
Place the smaller circle inside the larger circle and press.
Add black seed beads for seeds. Cut the circle in half with a ruler. Let dry.
A Cool Yummy Summer (or anytime) Treat :)
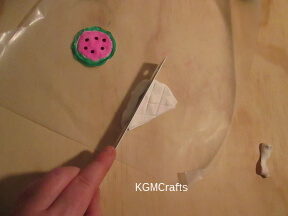
To make the ice cream cone, roll a piece of clay. Use a ruler to cut out a triangle shape. Also, use the ruler to make hash marks in the triangle.
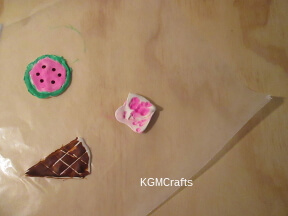
Color the triangle with a brown marker.
Get a glob of clay to make your ice cream. To make a marbled effect, make some marks on the clay with a marker. Fold the clay and knead.
If it does not have enough color, add more color with the marker. Then fold and knead again until you have the effect that you want.
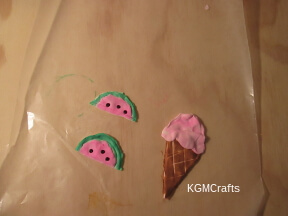
Add the clay to the triangle and press. Let dry.
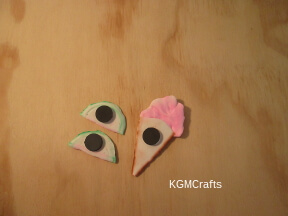
Add magnets to the back of your watermelon and ice cream with tacky glue.
It has been fun dreaming about the food we will eat and the places we will go while we make preschool summer crafts for kids.
