Preschool Winter Crafts
for Cold Days
by Karen & Grace Morris
It is time for snowballs outside. Inside, let’s make preschool winter crafts.
Besides being fun, your kids can learn about small, medium, and large shapes. They can also practice their cutting skills by making mittens.
Click the pictures below to go to individual preschool winter crafts.
Give your child opportunity to be creative. Provide paint, glitter, pompoms, or other craft materials to decorate the different crafts.
Cutout Mittens
“The three little kittens lost their mittens.” But you can make them new ones.
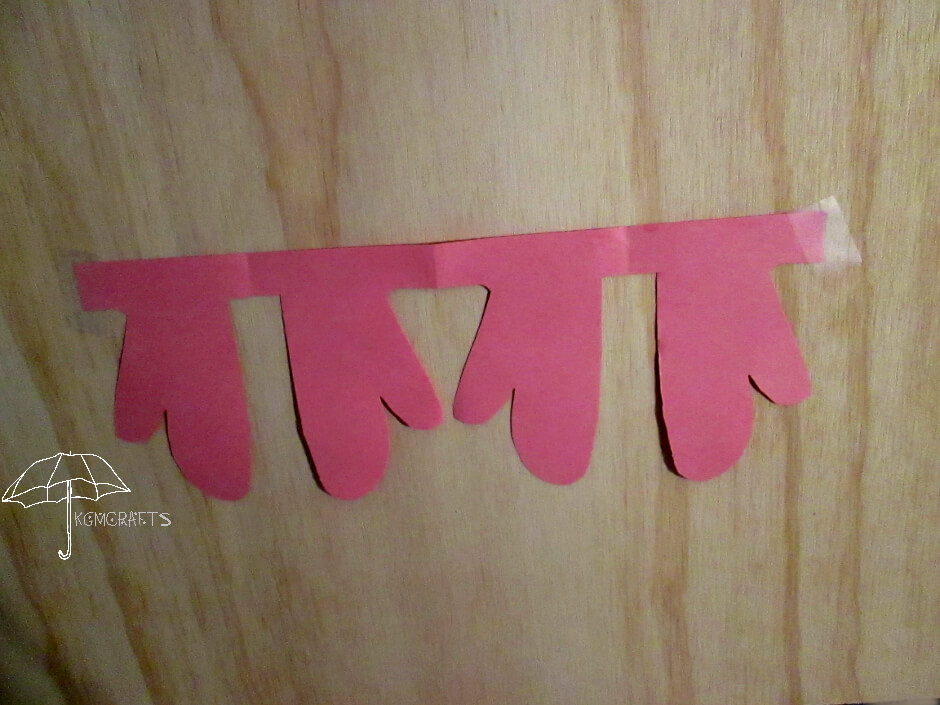
So, gather a sheet of construction paper and a pair of scissors. Then you are ready to make mitten preschool winter crafts.
Directions
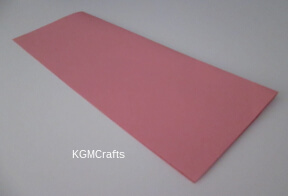
Cut the paper in half lengthwise.
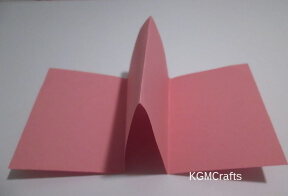
Fold 3 inches of the construction paper back and forth until you reach the other end.
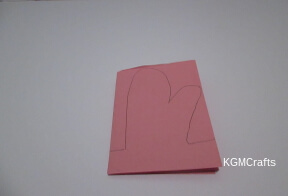
Draw a mitten shape on the top. The cuff of the mitten needs to be touching the fold.
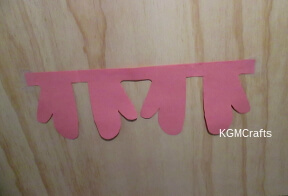
Cut around the mitten. Do not cut on the fold near the cuff.
When you unfold the paper, you should have four mittens attached at the cuff. This won’t be enough for the three kittens, but it is a start.
Hats You Can Decorate
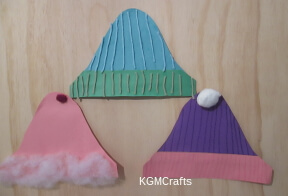
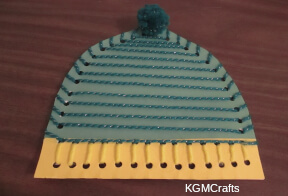
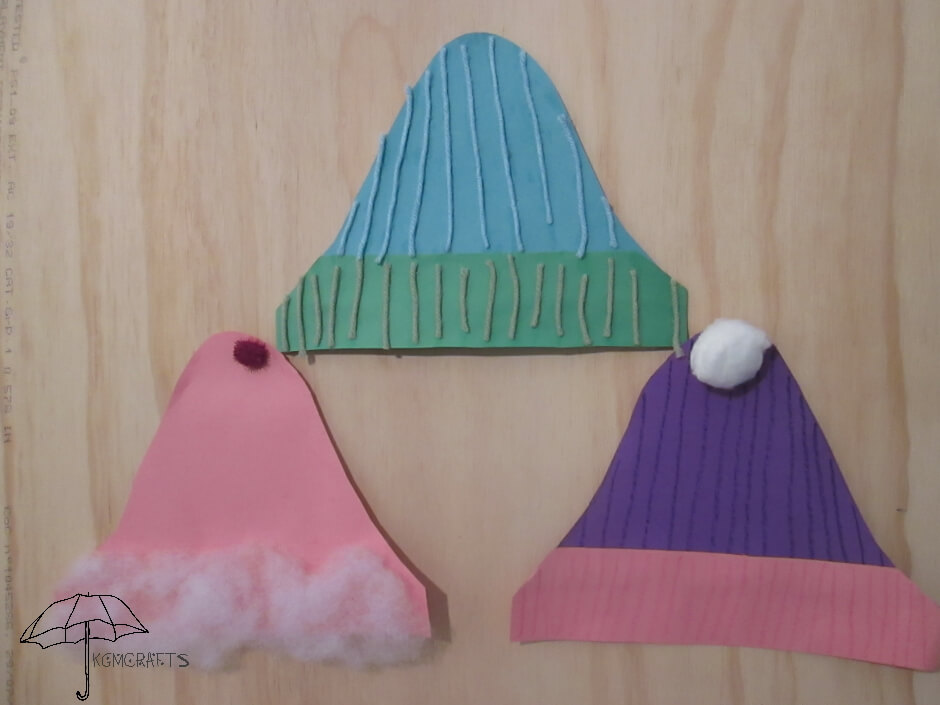
There are so many different hats you can wear. These look something like knitted beanies that keep your head warm in the winter.
Supplies;
- Construction paper
- scissors
- glue
- items to decorate your hat with
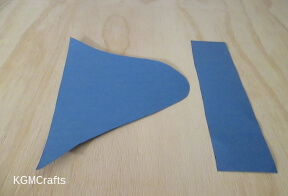
Cut a rounded triangle 8 by 6 inches. Cut a strip a paper 9 by 2 inches.
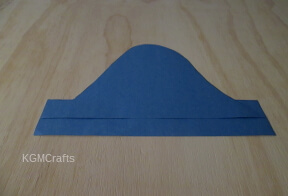
Glue the strip on the bottom of the triangle piece.
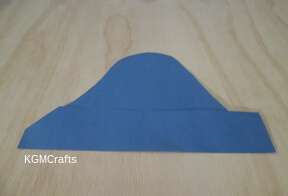
Trim off the top corners.
Now decorate your hat. Here are some ideas.
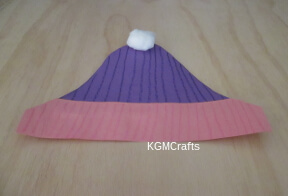
Use matching crayons to draw lines that represent the ribbing on knitted hats. Add a cotton ball to the top.
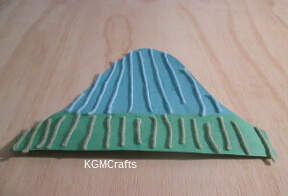
Use matching yarn to make the ribbing on the hat.
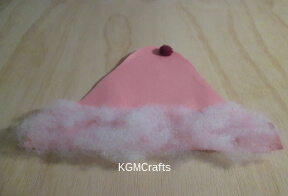
Glue polyester fiber fill to the strip of paper to make a fur cuff. Add a pompom to the top for a tassel.
Come up with your own ideas using glitter, sequins, cotton balls or anything else you have on hand.
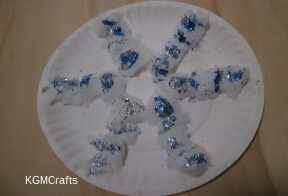
Glitter snowflake
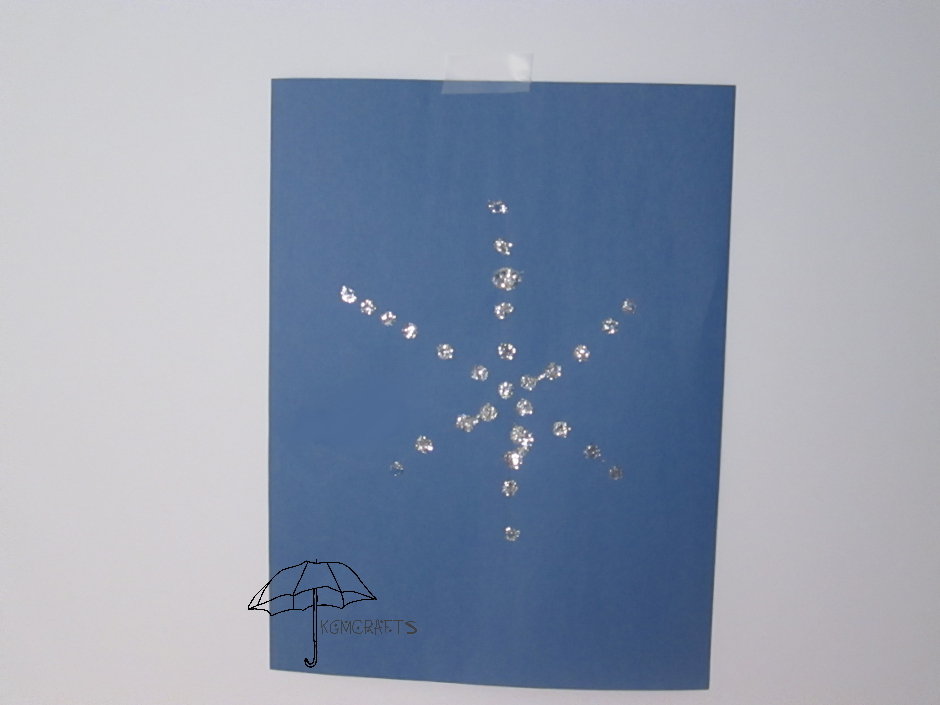
When the sun hits real snow, it sparkles like glitter. If you live in a warmer climate, this would be great to hang in your home.
You will need;
- Dark blue construction paper
- White glue
- Glitter
- Pencil

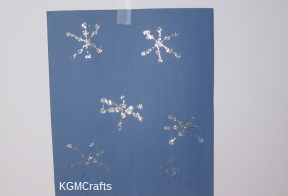
With a pencil, draw an “X”. Then a line through the top and bottom of the “X”. You could make several snowflakes on the page, or just one.
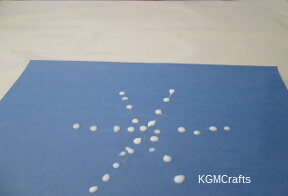
Have your child make dots with glue on the lines.
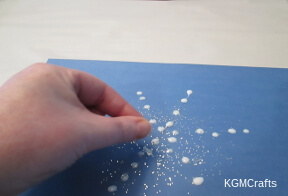
Sprinkle glitter on the wet glue.
Animal Preschool Winter Crafts
Preschool winter crafts wouldn’t be complete without making animals that live in the arctic.
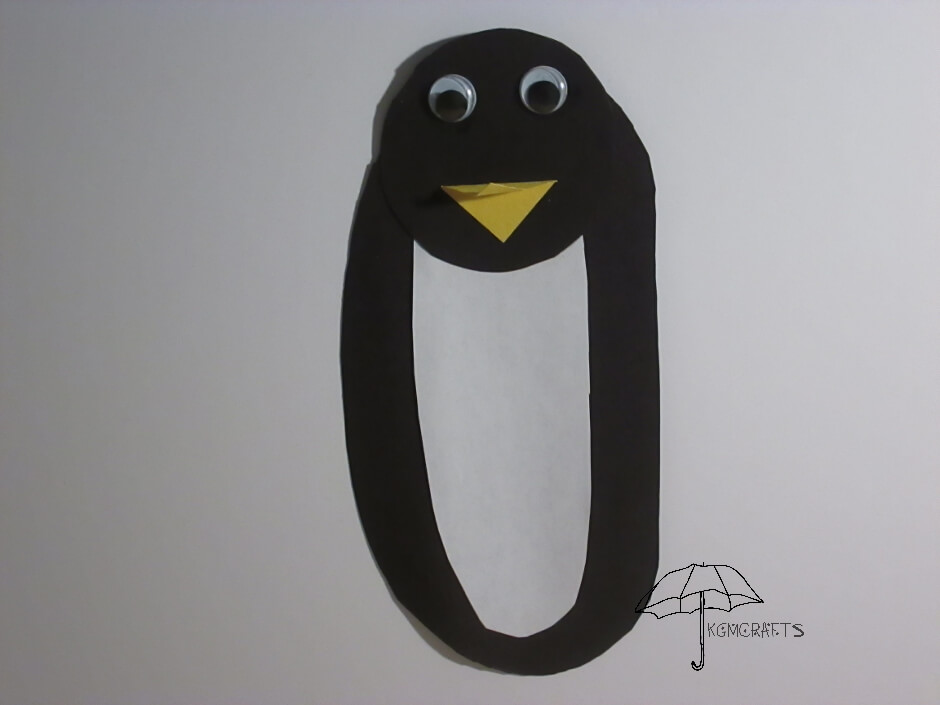
Shape Penguin
Well, penguins don’t live in the arctic. They live in the Southern Hemisphere. Some live in the cold waters of Antarctica. Others live farther south in places like Argentina, Chile, and Australia.
Supplies;
- Black construction paper
- White paper
- Scrap of yellow paper
- Wiggly eyes
- Scissors
- White glue
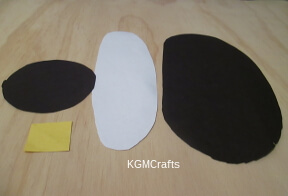
Cut a 3-inch circle from black paper. I traced around the top of an empty fruit container. Also, cut an 8 by 4 inch oval from the black paper.
Cut a 7 1/2 by 2 inch oval from white paper.
Cut a 1-inch square from yellow paper.
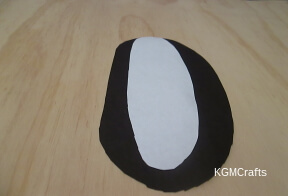
Glue the white oval on the black oval. The tops should touch.
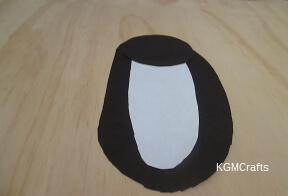
Glue the black circle over the white oval at the top.
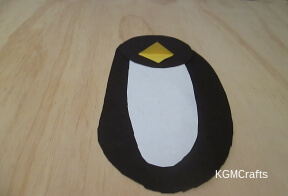
Fold the yellow square in half on the diagonal for the beak.
Glue the beak to the black circle.
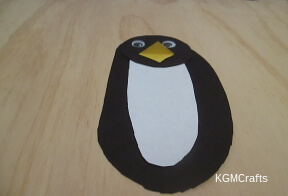
Glue on wiggly eyes.
Polar Bear
Polar bears would never see penguins because they live in the Arctic Circle, which is in the Northern Hemisphere.
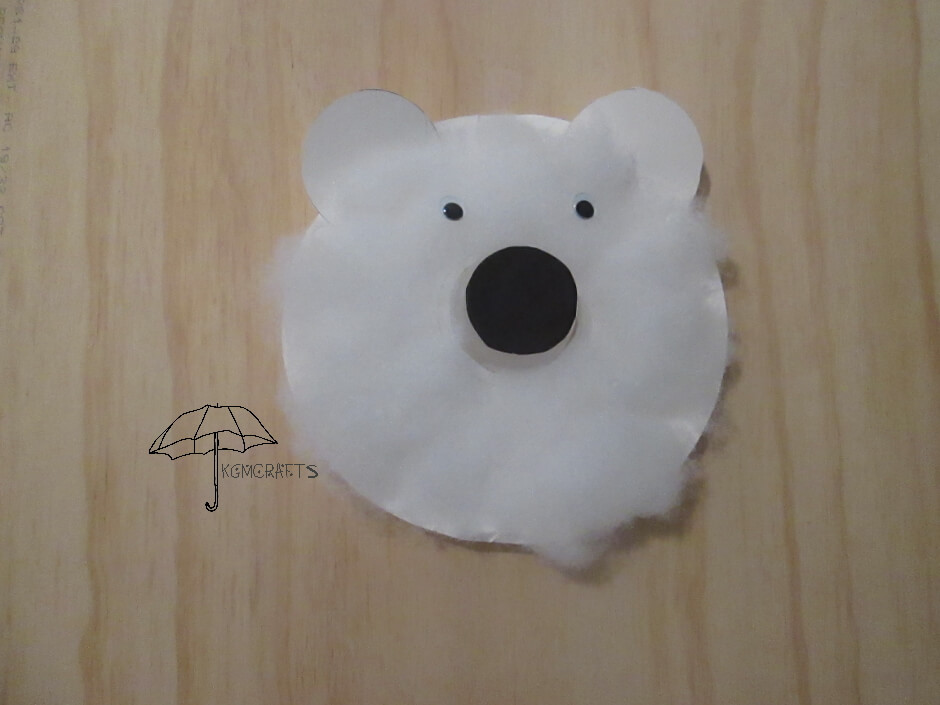
You will need;
- 2 Paper plate
- Empty individual fruit container
- Polyester fiber fill
- White glue
- Scissors
- Small piece of black paper
- Wiggly eyes
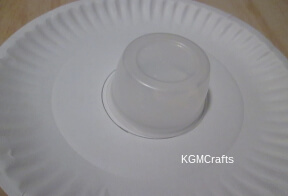
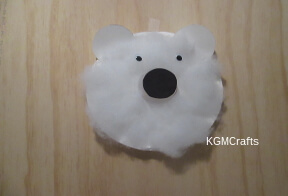
Place the top of your fruit container in the center of the paper plate. Draw around the circle.
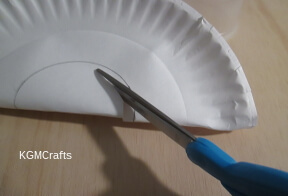
Cut about 1/4 inch inside the circle that you drew on the plate. You do not want your circle too big because you will be pushing the fruit cup through the hole.
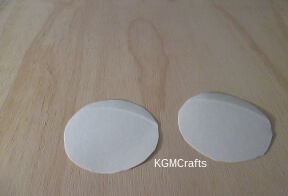
Use the fruit container to draw two ears on your other plate. Cut out and glue on the rim of the plate with the hole in the center.
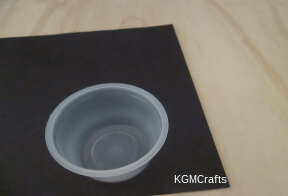
Trace around the bottom of the cup on black paper to make the nose.
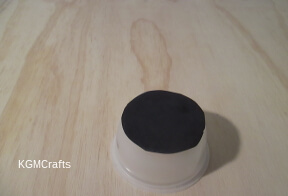
Glue the black circle to the empty fruit container.
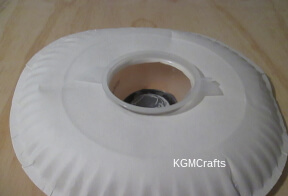
Push the cup though the hole in the plate. Turn the plate over and tape the cup to the plate.
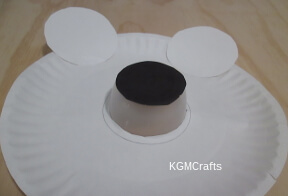
Glue circles on plate. Now your bear can hear.
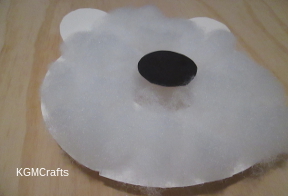
Take a small amount of polyester fiber fill and glue to the plate. Now your bear can stay warm.
Glue wiggly eyes on the fiber fill and your bear is done.
Preschool Winter Crafts - Snowmen
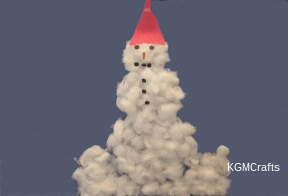
Snowman Coin Bank
Make this into a piggy bank, or not. It is a great decoration for Christmas or anytime during winter.
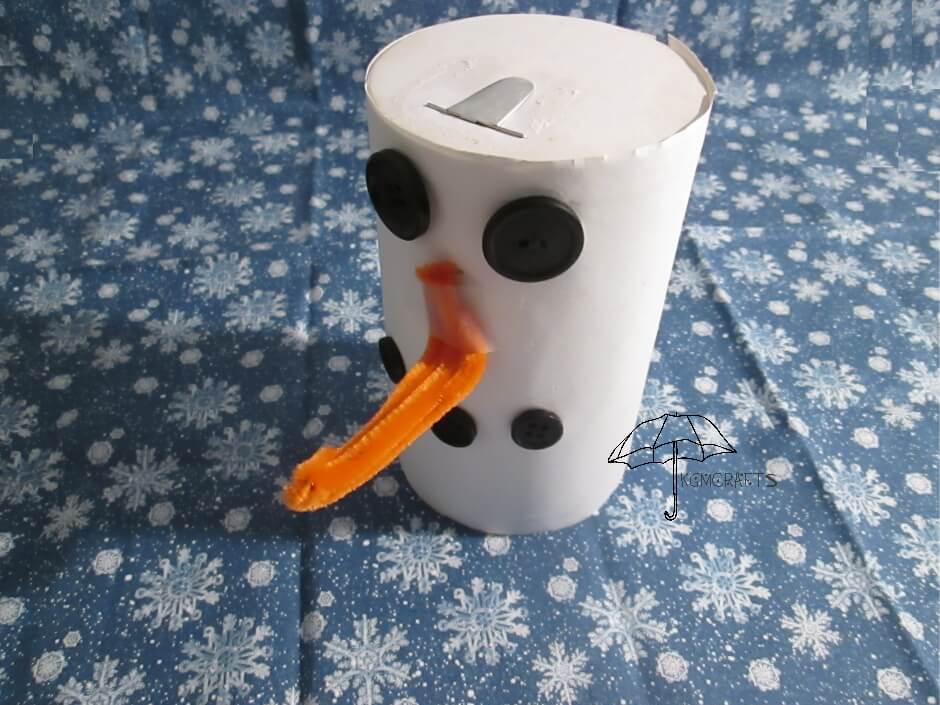
Materials;
- Cylinder box that salt come in
- White paper
- 12 inch orange pipe cleaner
- Two 7/8 inch black buttons
- Three 1/2 inch black buttons
- Glue stick
- Tacky glue
- Tape
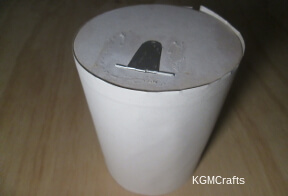
Carefully pull off the paper from the salt container.
Cut 10 3/4 by 5 1/2 inches of white paper. Glue the paper with a glue stick to the salt container.
Fold your pipe cleaner in half. Fold in half again.
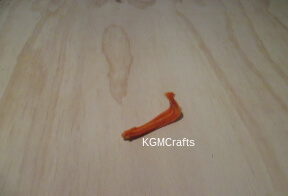
Twist one end to a point. Bend the other end up about 1 inch so that you can tape it to the salt container. This will be your carrot nose.
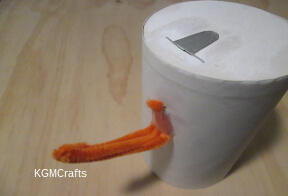
Tape your pipe cleaner to the center of the container.

With tacky glue, glue the two 7/8 inch black buttons above the carrot nose for eyes. Also, with tacky glue, glue the three 1/2 inch black buttons below the nose for a smiley mouth.
You can lift the metal part that is on the top of the container to put coins in.
When you want the coins out, have your parent cut the bottom of the container.
Painted Snowman Picture
You can introduce your child to the terms small, medium, and large with this craft.
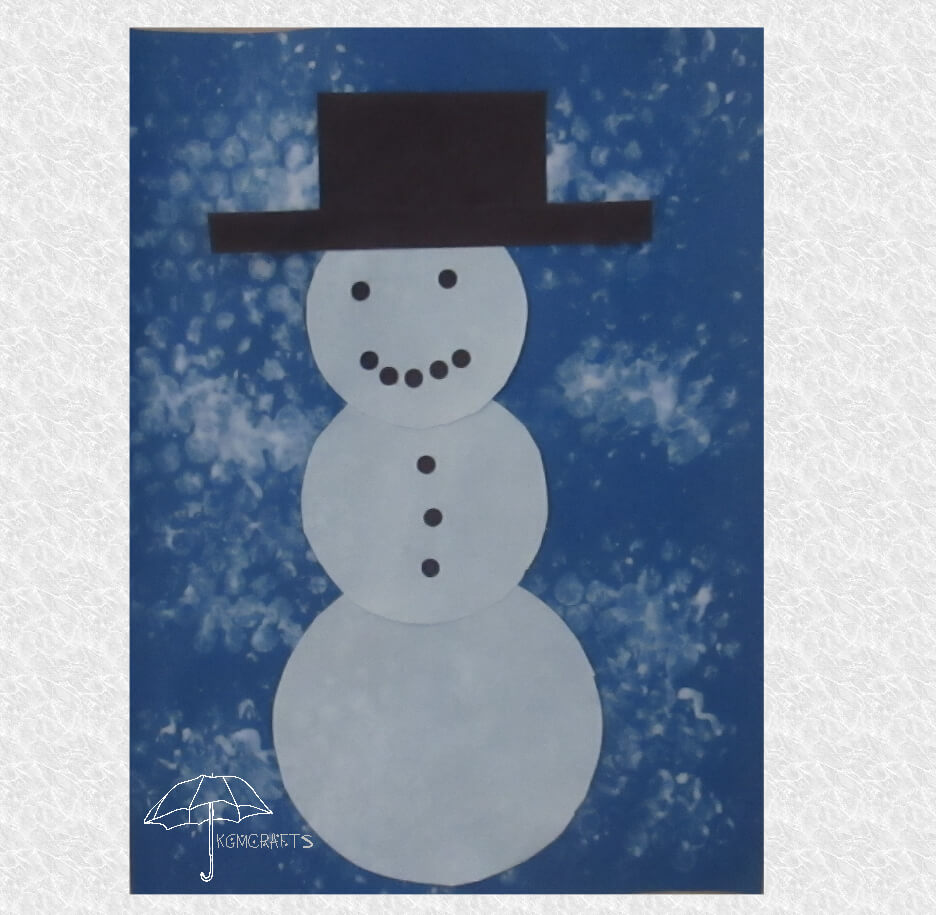
You will need;
- White paper
- Black paper
- Blue paper for the background
- White tempera paint
- Bubble wrap
- Hole punch
- Scissors
- Glue stick
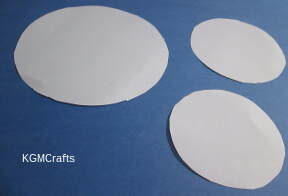
Draw and cut out three circles. The large circle is 4 1/2 inches, the medium is 3 1/2 inches, and the small circle is 3 inches.
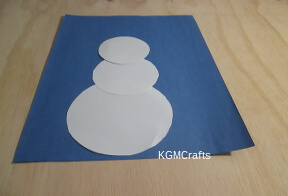
With a glue stick glue the circles on the background piece overlapping the circles some.
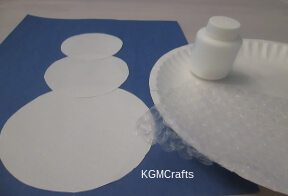
Pour a small amount of white paint on a paper plate. Dip your bubble wrap in the paint, so that it covers the square. Place the side with the paint on the snowman picture and press lightly. Move to another spot and press lightly.
Continue moving the bubble wrap until the background is painted. Let the paint dry.
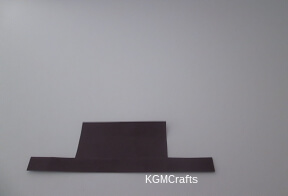
Cut out a black rectangle 3 by 2 inches. Also, cut out a black strip 6 by 1/2 inch. This will be the hat piece. Glue the strip on the rectangle for the hat's brim.
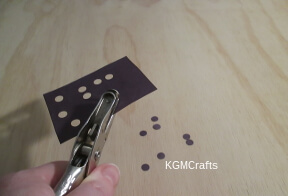
With a hole punch, make 10 circle dots.
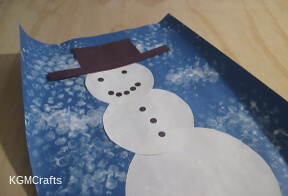
Glue the hat to the top of the snowman. Glue two dots for the eyes. Then, glue five dots for the mouth. Use the last dots to make buttons on the center circle.
Things look a little gray until the first snow appears. You and your kids have brightened your day by making some preschool winter crafts.
