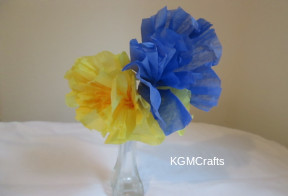
Easy Rainy Day Crafts for Kids
by Karen & Grace Morris
It's pouring, rainy day crafts for kids. There won't be any snoring (well, maybe old men) with these cute projects.
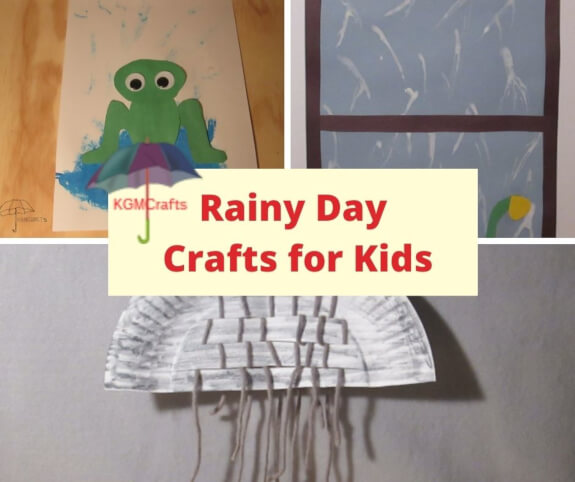
Click the pictures below to go to find directions for the individual rainy day crafts.
You might even laugh out loud when your kids create puddle jumping frogs or waddling ducks.
The activities are fun, easy, and not too messy.
Some would make good activities for classroom use.
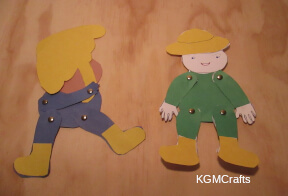
Dancing In the Rain Puppets
Here's an idea without soaking mom! Become a puppeteer and have your puppets hop in pretend puddles of water made from blue tissue paper. Have them dance and sing as it pours outside.
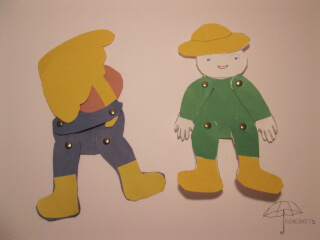
You will need;
- Copy of PDF
- Card stock
- Construction paper
- Scissors
- Glue stick
- Pushpin
- Brads
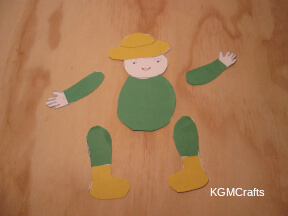
Download and print the FREE PDF. Make two copies, one from card stock and one from paper. Use the paper copy to cut out the hat, umbrella, boots, etc.
Cut the arms, legs, and body from the card stock. Glue the construction paper pieces to the card stock.
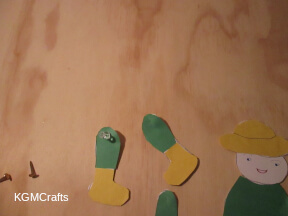
Use a pushpin to make holes on the top of the arms, legs and on the body. Attach the arms and legs to the body with brads.
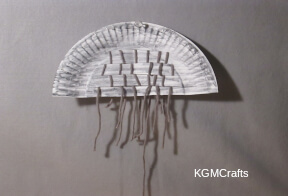
Rain Cloud
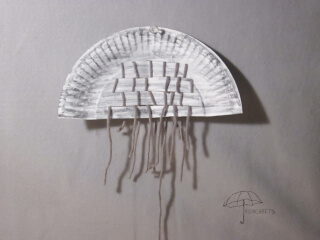
I'm a little black rain cloud.
You will need;
- Paper plate
- Gray marker
- Scissors
- Gray or blue yarn
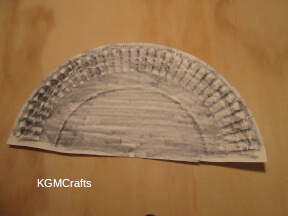
Cut your paper plate in half. Color your half of the plate gray.
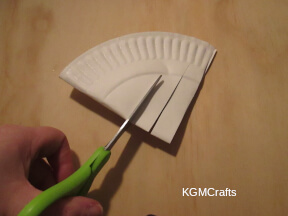
Fold the plate in half and cut strips from the fold to the start of the rim.
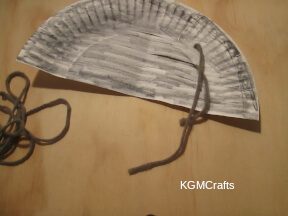
Cut different lengths of yarn at least 12 inches long.
Hold the plate so that the cut edge is on the bottom.
Thread the yarn through the strips.
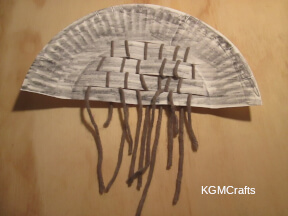
Weave one piece of yarn twice through the strips. The cut ends will be at the bottom of the plate to represent rain.
Rainy Day Crafts – Pictures
Rain can be pretty; let's capture its beauty.
Frog
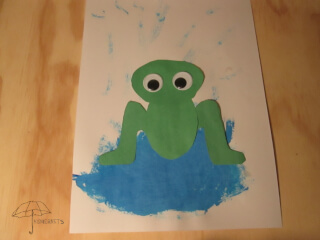
Singing in the rain.
Supplies;
- Green construction paper
- Scissors
- Glue stick
- Large wiggly eyes
- White construction paper
- Blue washable paint
- Paintbrush
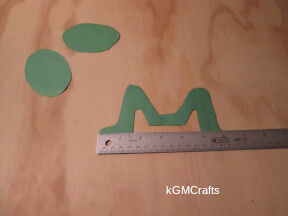
Cut two 3 1/2 by 2 1/2 inch ovals from green paper.
Cut a Capital “M” shape for the back legs. It needs to be 6 1/2 by 3 inches. The letter is 3/4 inches wide.
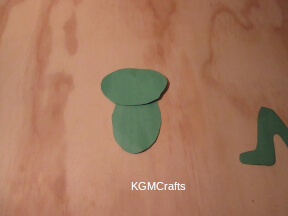
Place one oval so that the height is 3 1/2 inches. This will be the body. Glue the other oval on top for the head.
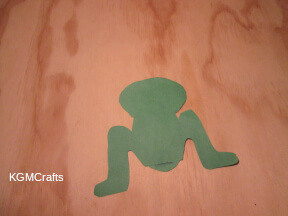
Glue the legs behind the body. Glue on large wiggly eyes.
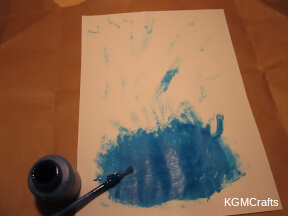
On a piece of white paper, paint a blue oval. With the paintbrush, pull the paint to the outsides. Make the puddle large enough for the frog. After you have painted the puddle, use what is left on the paintbrush to paint some rain.
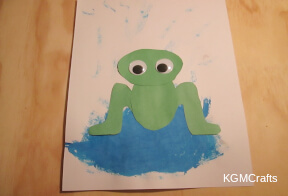
Glue the frog so that it sits in the puddle.
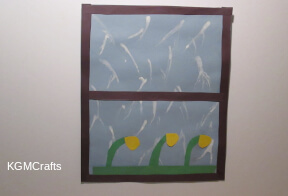
April Showers Bring May Flowers
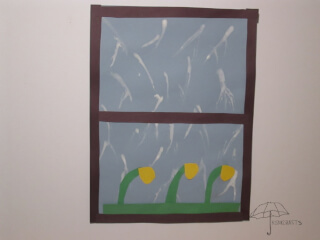
Rainy day crafts with paint is fun to do! Here is another one.
You will need;
- Light blue construction paper
- Washable white paint
- Plastic knife
- Black, green, and yellow construction paper
- Glue stick
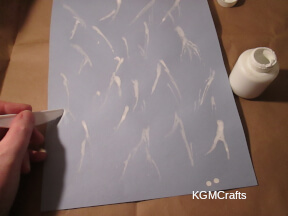
Dip your plastic knife in the white paint. Use the knife to paint streaks on the blue paper. If the paint is too thick, thin with some water. Let the paint dry.
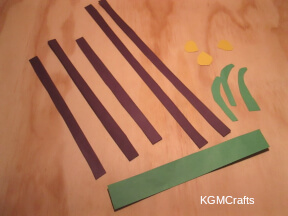
Cut a strip of green paper 1 by 7 3/4 inches. This will represent the grass.
Cut three curved strips of green paper, appropriately 1/4 by 3 inches, for the flower stems.
Cut three teardrop shapes out of yellow paper, about 1 inch for the flowers.
To make your window frame, cut two strips 12 by 1/2 inches from black paper. Cut two strips 9 inches and another strip 8 1/4 inches.
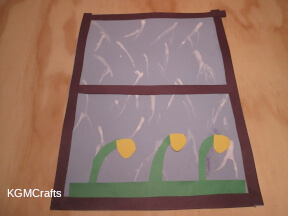
Place the three stems so that the curve is on the top. Glue near the bottom of the paper. Place the larger green strip on top of the stems. Add a yellow teardrop to each stem.
To make the window, glue the two longer black strips along the sides of the picture. Glue the 9-inch strips on the top and bottom. The shorter strip goes in the center of the picture.
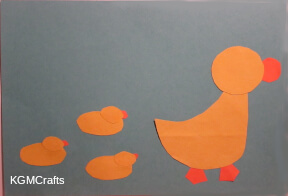
Duck and Ducklings
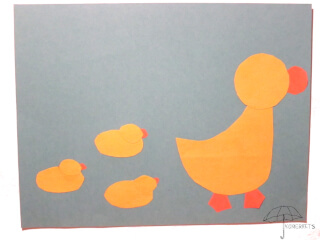
Don't rain on my parade!
You will need;
- Orange and Yellow construction paper
- Scissors
- Glue stick
- Blue paper
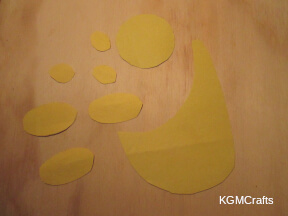
Out of yellow paper, cut a 2 1/4 inch circle for the head and a “j” shape that is 3 3/4 by 5 1/4 inches for the body for the mother duck.
Cut three ovals 1 by 3/4 inches and three ovals 2 by 1 inch for the baby ducklings.
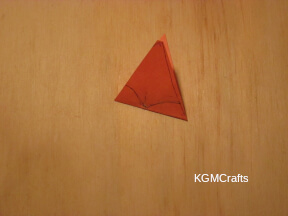
Cut two small triangles from orange paper. On the larger side, mark the center with a pencil. Draw a curved line from the center to each outside point for the feet.
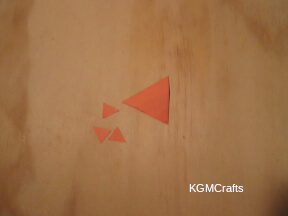
Cut a 1 3/4 by 2 inches triangle from orange paper and round the points for the beak.
Cut three small rounded orange pieces for the babies beaks.
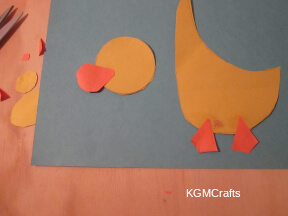
With a glue stick, glue the head and feet to the body. Glue the beak on the head.
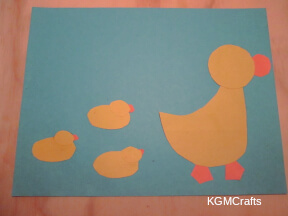
Glue the ducks on the background.
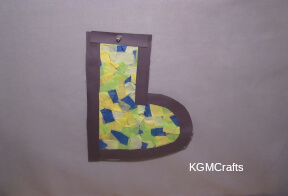
B is for Boot
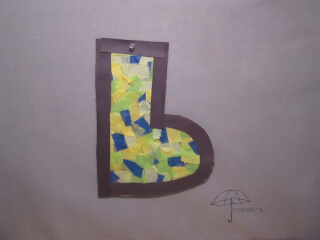
Before you hop, don't forget your rubber boots!
Supplies;
- Wax paper
- Permanent Marker
- Tissue paper
- Scissors
- Glue stick
- Back construction paper

Draw a letter “b” on the wax paper with a permanent marker.
Have the child cut small pieces of tissue paper.
Glue the tissue inside the “b” shape.
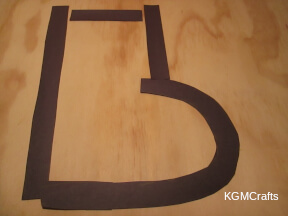
From black construction paper, cut strips 1 inch wide to go around the outside of the boot.
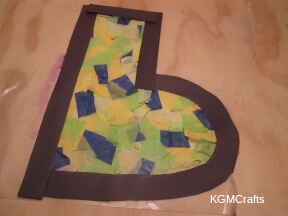
Glue the black paper around the boot. Trim the wax paper close to the strips.
The Dripping Umbrella
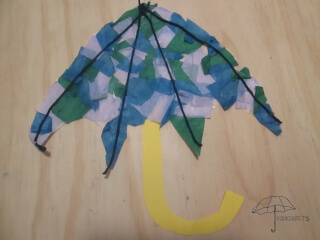
Make the rain go away with this colorful umbrella for your window.
Supplies;
- White copy paper
- Wax paper
- Tissue paper in different colors
- Scissors
- Glue stick
- Yarn
- Scrap of construction paper
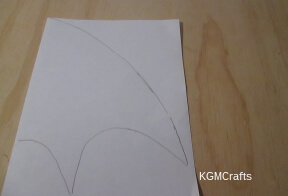
To make your umbrella pattern, fold the white paper in half. Draw a curved line from the top of the fold to the cut edge. Then draw a "w" shape for the bottom of the umbrella.
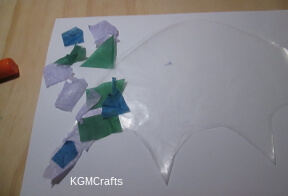
Use the paper pattern to cut out the shape from wax paper.
Cut or rip small pieces of tissue paper. With a glue stick, glue the pieces on the wax paper.
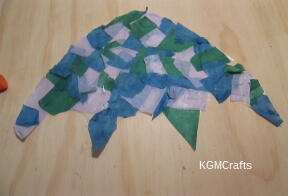
Trim any pieces that go over the wax paper.
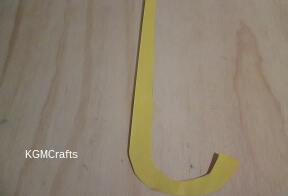
Cut a "J" shape from construction paper 10 inches long.
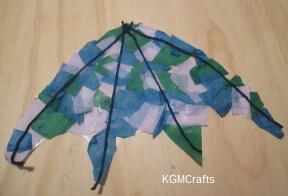
With yarn, measure from the top center to the points at the bottom. Cut a piece of yarn for each point. With glue (I used a glue stick) glue the yarn from the center to a point. Repeat three more times.
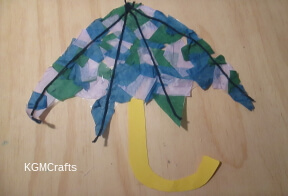
Glue the "J" on the back of the umbrella.
Rainy Day Crafts in the Classroom
Sometimes children spend recess indoors because of rain. So before it, even rains, prepare some indoor activities that kids can do with little instruction. Some classrooms provide age-appropriate board games to play and books to read. Another activity would be crafts. Although, crafts can be messy. You can control most of the mess and make the activity safe. (You wouldn't want the kids to cut up textbooks or each other's hair.)
First, find crafts that you can make a template of, such as the frog or dolls above.
Then copy the template on colored paper and cut the pieces out.
Next, place the pieces in a large envelope with a picture of the finished project on the front.
Provide glue sticks, so the child can finish the project. Glue sticks are a little less messy than white glue.
If you are doing something that requires wiggly eyes, find ones that are self-stick or use a hole punch to make eyes.
Well, even though it is raining outside, we don't have to be bored. Instead of jumping in mud puddles and singing outdoors, let's make some rainy day crafts where it is dry and warm.
