Ridiculously Easy Weather Crafts for Kids
by Karen & Grace Morris
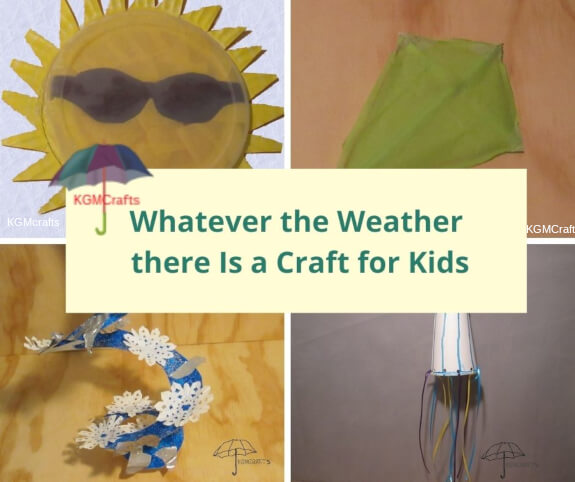
It's sunny! Oh, it started to rain... Now it is... With these weather crafts for kids have fun no matter what the weather is! These projects would be great for a weather themed study. Find activities for wind, rain, or snow.
Click the pictures below to go to the individual weather crafts for kids.
No matter what the weather there are
crafts that your kids can do.
Spinner
This is a great weather crafts for kids that show the different types of weather you can have – sometimes even in a single spring day :)
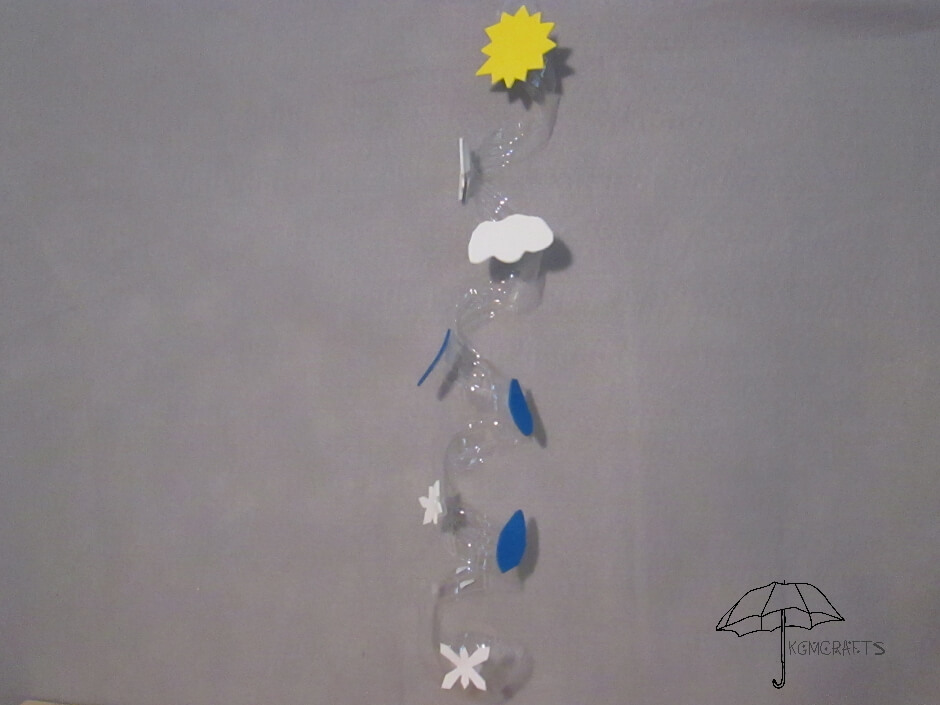
Around and around it goes… Where it stops, nobody knows. =) What kind of weather will we have today?
You will need;
- Empty plastic water bottle
- Scissors
- Craft foam
- Tape
- Hot glue optional
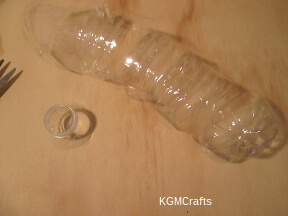
Cut the top off the water bottle. Cut around the sides in a spiral. The cut should be about 1 inch wide.
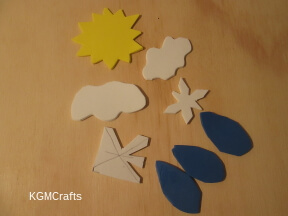
Cut out a sun from yellow craft foam. Cut out two clouds and two snowflakes from white. Then cut out three teardrop shapes out of blue for raindrops.
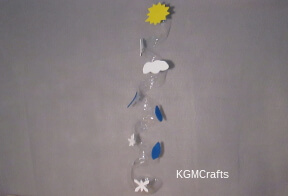
Tape the weather symbols to the spiral. Using tape allows you to reposition the foam pieces, so they are where you want them. If you want to hang the spinner outside, use hot glue.
Weather Crafts for Kids - Wind
“I will huff and puff, and blow your….” oh wait, that was the big bad wolf, not the wind. Well, even if a cold wind can chill you, it can still be fun. Without it, we couldn't fly our kites or hear the wind chimes.
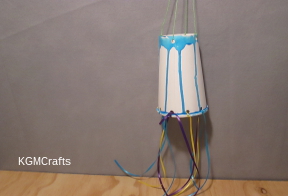
Windsock
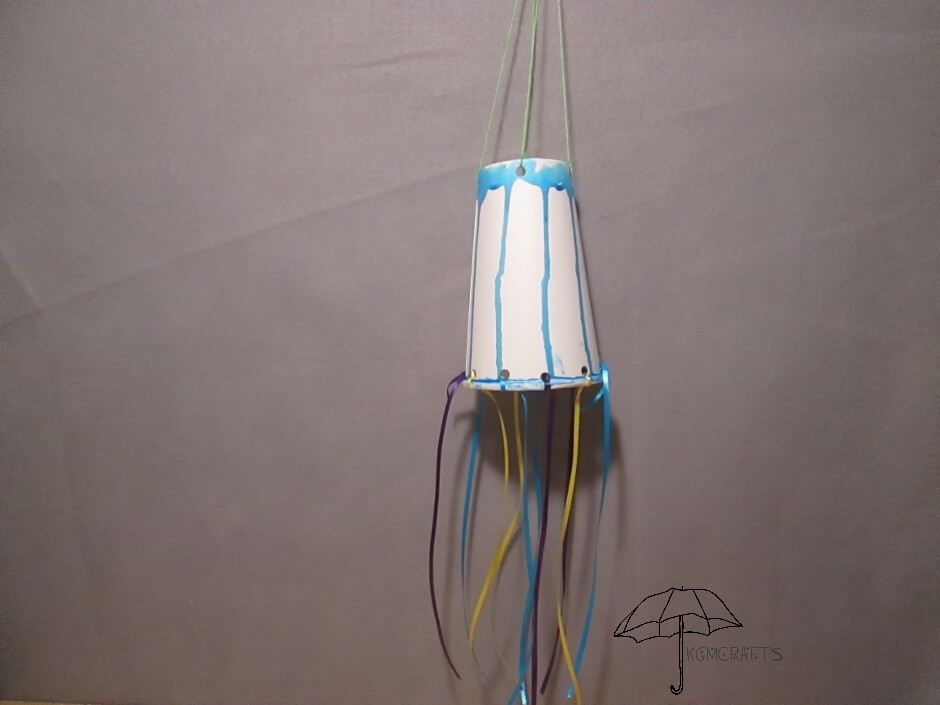
With this craft, you can gauge how windy it is.
you will need;
- paper coffee cup 20 ounce
- scissors
- hole punch
- decorations for cup
- ribbon (use stiff ribbon that does not curl)
- craft string
- large button with four holes
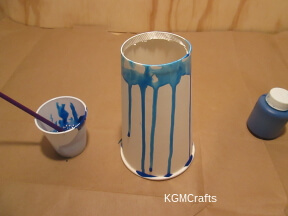
Make a hole using a sharp instrument in the bottom of the cup. (Parents should do this part) Rip the bottom off the cup.
Decorate your cup any way you want. I used watered down paint, so the paint would drip down the cup. I wanted it to look something like raindrops.
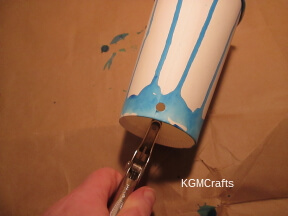
Punch four holes in the bottom of the cup. Each of the two holes needs to line up.
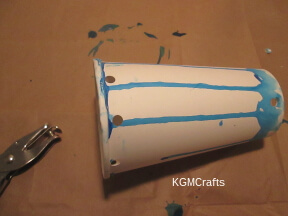
Punch ten holes in the top. The holes are about 1 inch apart.
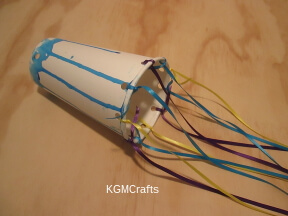
Cut colored ribbon 12 inches long. You will need one ribbon for each hole.
Thread one piece of ribbon through each of the holes on the top of the cup.
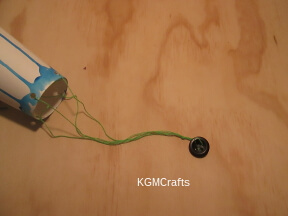
Cut two pieces of craft string 24 inches each.
Thread an end of the string through one of the holes and knot. Thread the other end of the string through a hole in the button. Then bring it to the opposite hole on the cup. Tie a knot around the end of the cup. Do the same with the other piece of string.
Pull the string tight and tie a knot under the button.
Take your windsock outside on a windy day. Hold onto the button. Or you can move around and observe your new toy following you.
Float on the Wind Kite
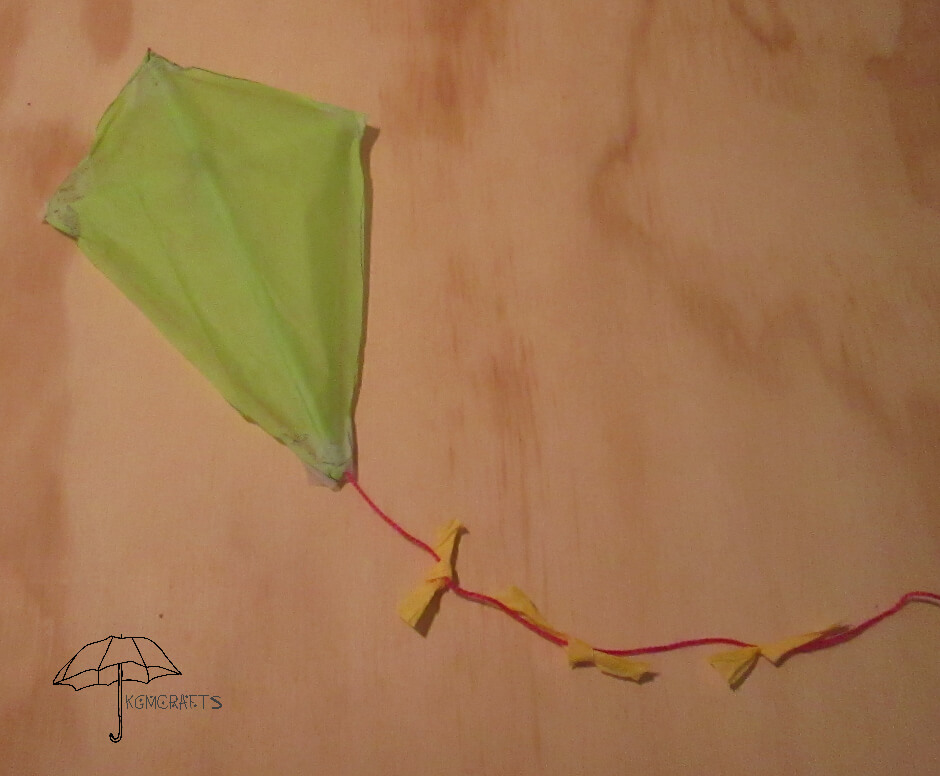
Sunny and breezy days are just right for kite flying! This craft makes a cute classroom decoration.
Supplies;
- 2 straws
- Craft string
- Scissors
- Tissue paper
- Tape
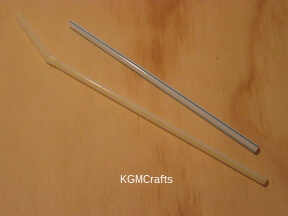
Cut the bendy part off your straws. The straws should measure about 7 inches. Cut one of the straws so that it measures 5 inches.
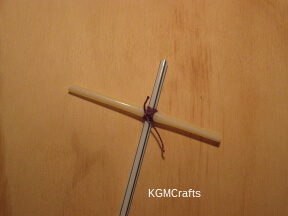
Place the shorter straw near the top of the longer straw so that it looks like the lower case “t”. With string, tie the two straws together.
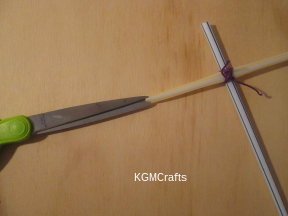
Cut a short slit in the top of each straw.
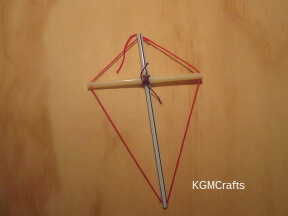
Starting at the top straw, place an 18-inch piece of craft string in the slit. Bring the string down to the slit in the arm piece, then to the bottom. Now go up to the arm piece and finish at the top. You have made the kite's frame.
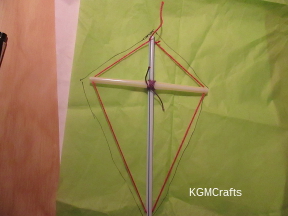
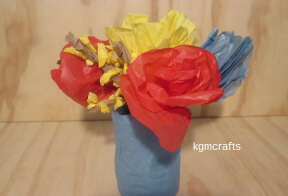
Use the kite's frame and cut a piece of tissue paper that will fit.
Tape the tissue paper to the ends of the top and arms of the frame.
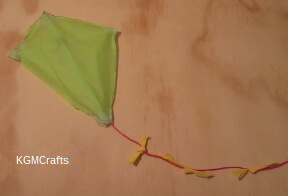
Cut a piece of craft string 12 inches for the tail.
Tape the string and tissue to the bottom straw on the frame.
Cut strips of a different colored tissue paper. Tie the strips to the string.
Hang your decoration on the wall. Or, if you want to try to fly your kite, tie several feet of kite string to the cross pieces on the frame.
Weather Crafts for Kids - It's Stormy Out
Raindrops keep falling on my head…
Rain is for Ducks Picture
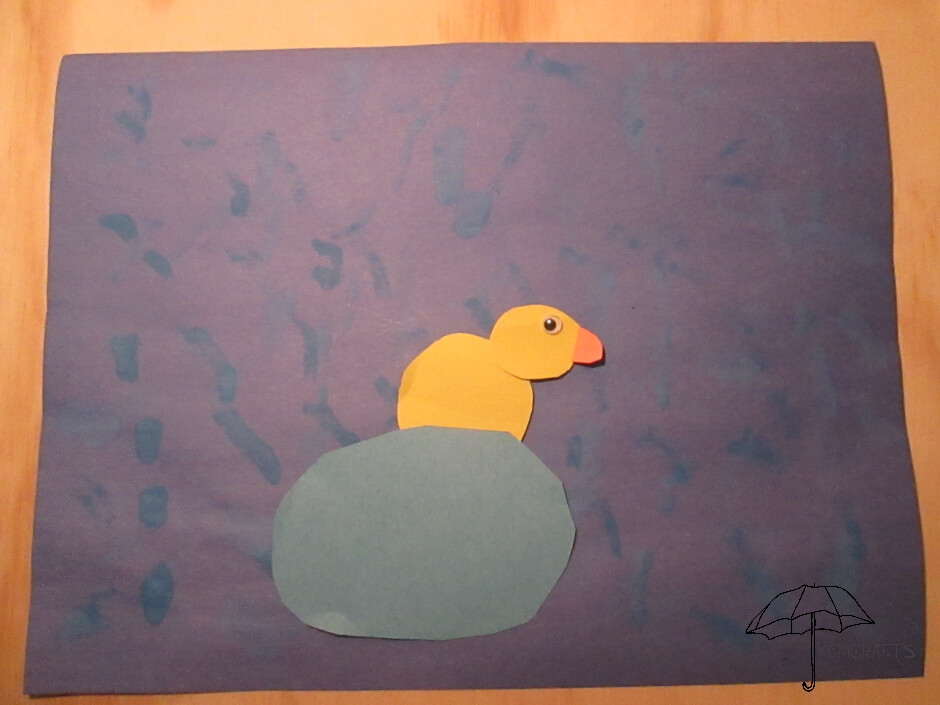
“It's raining, it's pouring, the little duckies are quacking.” Unlike us, the ducks don't seem to mind the rain. In fact, they probably enjoy it.
Supplies;
- Blue construction paper
- Blue water paint
- Paint brush
- Scraps of yellow, orange, lighter blue construction paper
- Wiggly eye
- White glue
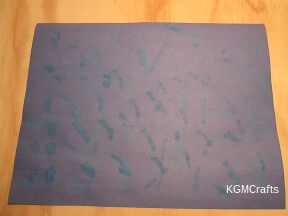
With a paintbrush and blue paint, paint lines to represent rain on your paper. Let dry.
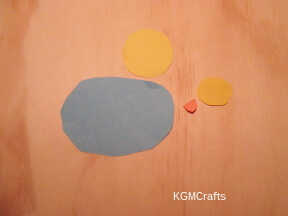
Cut out an oval out of lighter blue paper for a pond. Cut out two circles from yellow paper to make your duck. Fold a small piece of orange paper in half, cut out a triangle and round the end for the duck's beak.
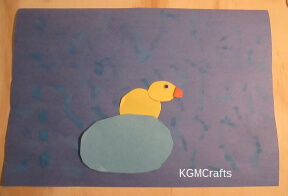
Place the yellow circles on the paper, making a duck shape.
Place the blue pond over part of the duck's body.
Add the beak and eye to the duck. When you like the way everything looks, use a glue stick to glue everything down. Glue the eye with a dot of white glue.
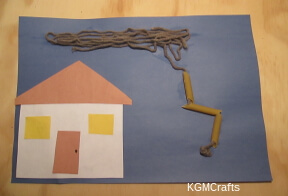
Lightning Picture
Kabooooom!!!! The thunder that takes place after the flash of light can be frightening. However, the zigzag of light can have many colors and be almost as cool to watch fireworks. Don't forget to count your blessings!
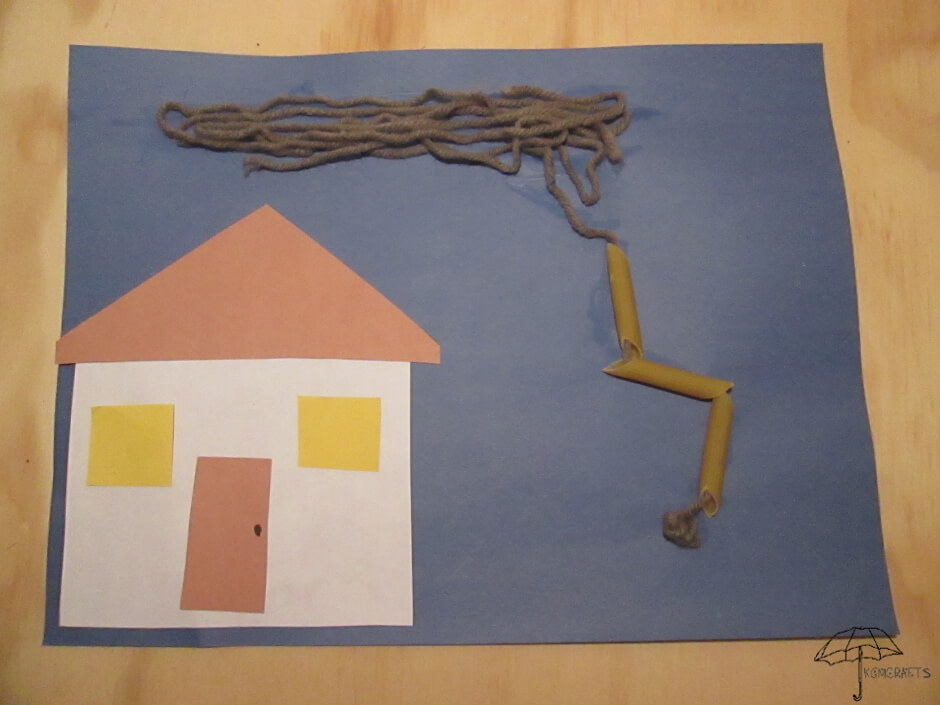
You will need;
- Dark colored construction paper
- Scraps of construction paper for your house or crayons
- 60 inches of gray yarn
- Three tubed pasta that has been cut at an angle
- White glue
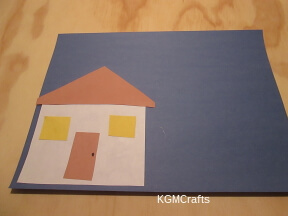
Make an outdoor scene on your construction paper. I used rectangles and a triangle to make a house. If you use paper, glue it to your background.
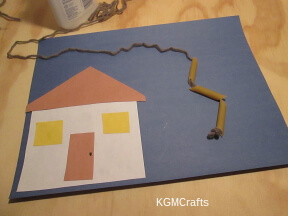
Thread three pieces of pasta on the yarn. Make a knot on one end. Glue the knot to the paper near the bottom.
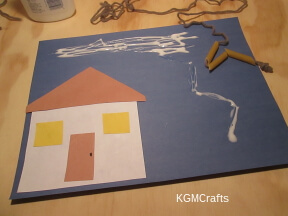
Pour some glue near the top of the three pieces of pasta.
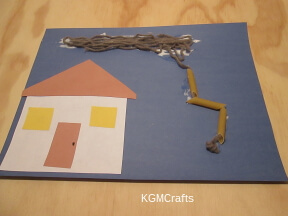
Wrap the yarn in an oval to make a cloud. You can add more yarn if you need to fill in the space. Make sure that the pasta sits so that it looks like a zigzag. Let the glue on your picture dry.
Boy, after all the stormy weather crafts for kids let's do something warm.
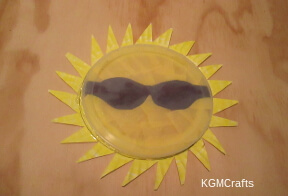
Sun
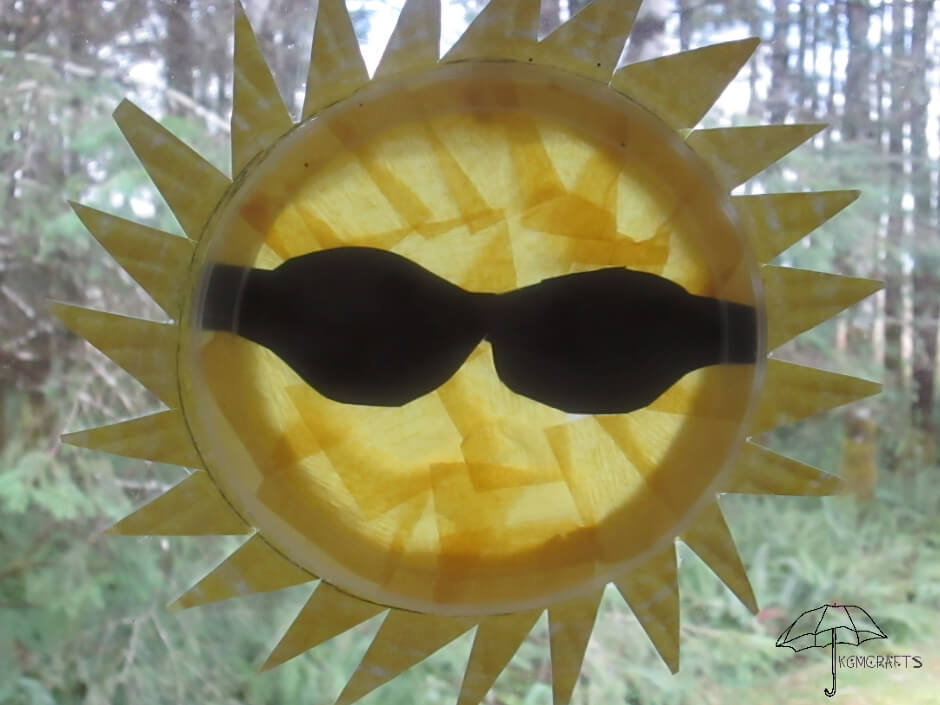
Oh, for warm sunny days :)
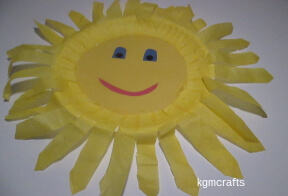
This is one of the weather crafts for kids will remind you to wear your sunglasses when the sun is out.
Supplies;
- Paper plate
- Yellow Crayon
- Scissors
- Clear plastic lid
- Black construction paper
- Yellow streamer or tissue paper
- Glue stick
- Hot glue
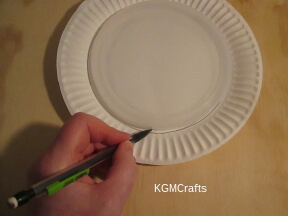
Place the lid on the plate and draw around the lid. Cut below your line about 1/2 inch. You want enough space so that you can hot glue the lid to the plate.
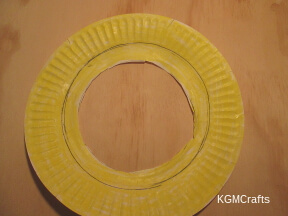
Color the paper plate yellow, especially around the rim of the plate.
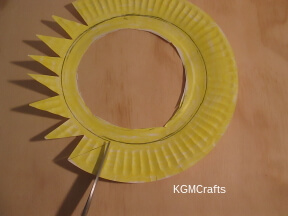
On the edge of the plate make triangles for the rays of light from the sun.
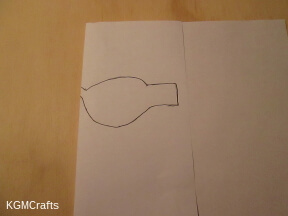
Fold a piece of white paper in half. Draw a teardrop shape with a rectangle at the open end.
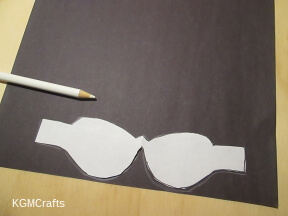
Cut a pair of sunglasses from black paper.
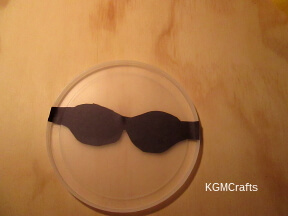
Glue to the lid.
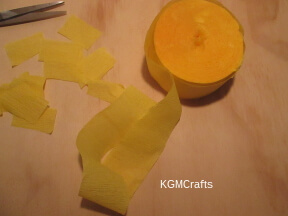
Cut pieces from the streamer or tissue paper.
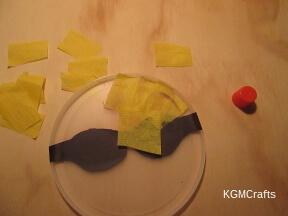
With a glue stick, glue to the lid. Some of the pieces can go over the sunglasses.
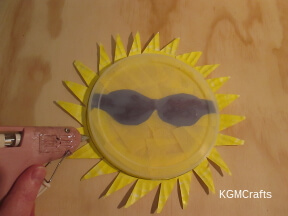
With hot glue, glue the plate to the lid. Hang the sun in the window.
Related; Sun Crafts
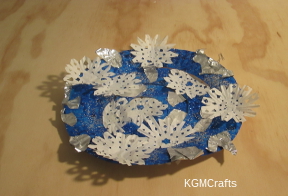
Snow and Ice Spinner
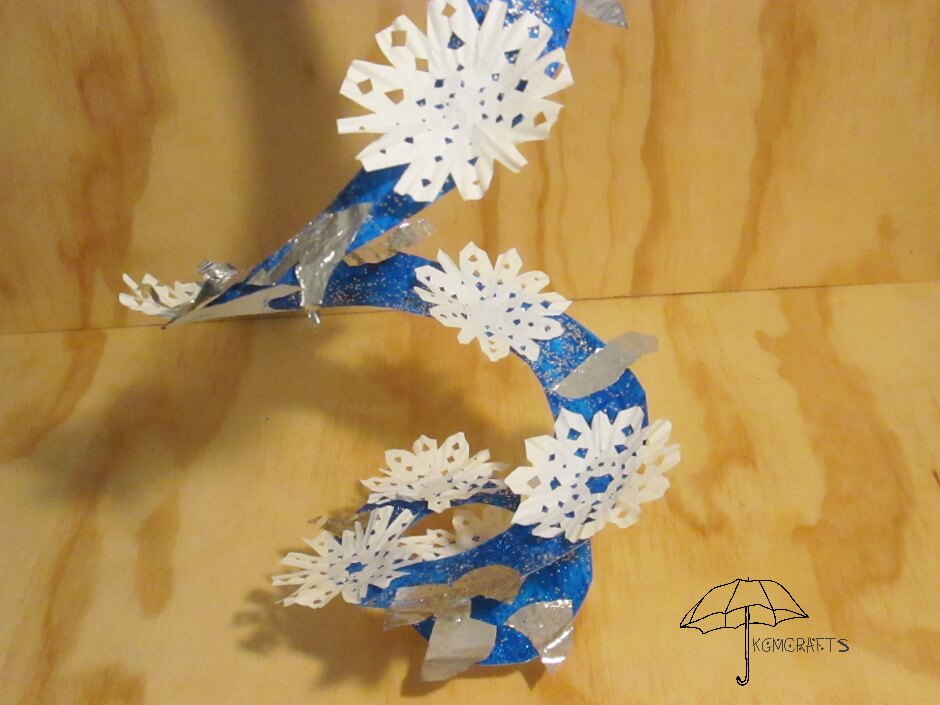
It is sooo cold out. Winter brings snowflakes and ice sickles.
You will need;
- Paper plate
- Blue paint
- Paintbrush
- Silver and blue glitter
- White mini cupcake liners
- Scissors
- Glue stick
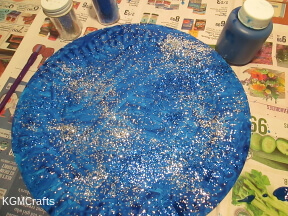
With a paintbrush, paint your paper plate blue. While the paint is wet, add the glitter. Let everything dry.
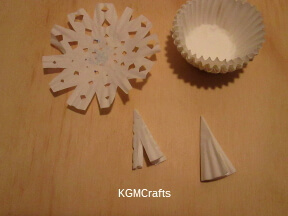
Fold your cupcake liner in half, then in thirds. Fold in half again. Cut a small triangle in the center. With the tips of the scissors, make small snips in the sides of the cupcake liner. Unfold, you should have a snowflake shape.
Cut your paper plate in a spiral.
Winter weather crafts for kids are fun. Here are more snowflakes to make. Or you could make snowmen.
Did you know that meteorologists study and report if it is sunny, rainy, or snowy? You can be like a meteorologist when you do weather crafts for kids.
