by Karen & Grace Morris
Snowflake Crafts:
Make a winter Wonderland
Snowflake crafts are great! You don’t need to get cold to enjoy a winter wonderland.
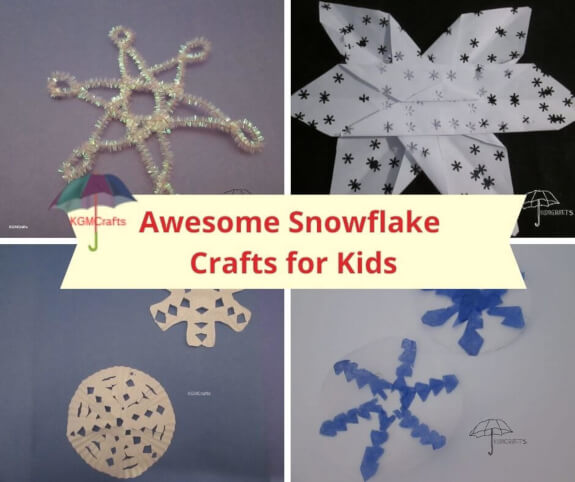
Click the pictures below to go to the individual snowflake crafts.
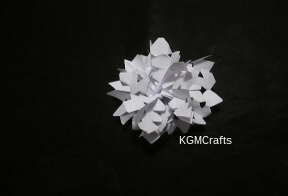
There are several ways you can make “snow” out of paper. One is even in a 3D shape.
Other materials can also be used. Find below projects using craft stick, tissue, pipe cleaners, cotton, and yarn.
So, even if it is sunny or just rainy, you can create a cold winter scene in your home.
Paper Snowflake Crafts
Paper snowflake crafts are fun, easy, and all you need are scissors and paper.
Cupcake Line
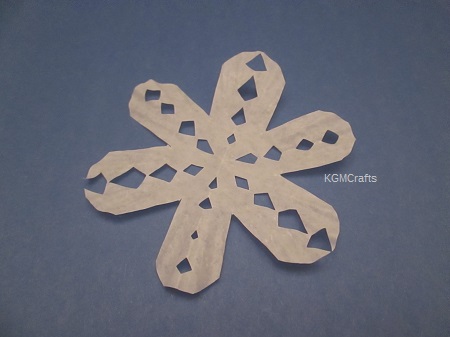
You will need;
- Cupcake liner
- Scissors
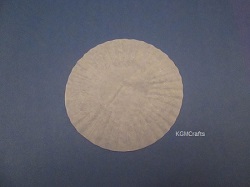
Step one; Lay the cupcake line out flat.
After you have collected your circles of paper, you will want to make your folds. So let’s follow the steps to make our snowflake;
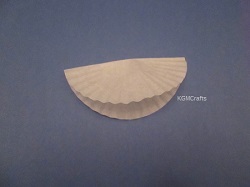
Step two; Fold the circle in half.
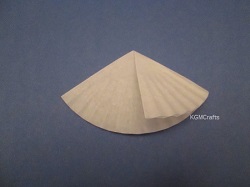
Step three; Fold the right side to the center.
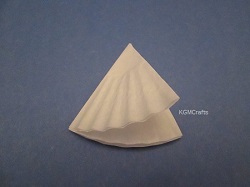
Step four; Fold the left side over the right side. You will have a cone shape. Make sure that your folds line up.
Now you are ready to cut.
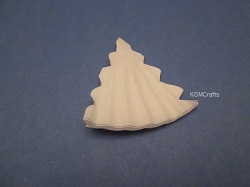
Cut out triangles on the left and right fold. You can cut off the point on the top if you want. Or you can make cuts along the bottom edge. You can unfold now if you want. It will be a circle with triangles cut in the center.
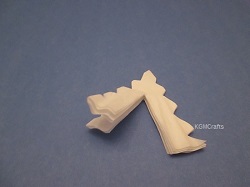
If you want a fancier snowflake, you will need to cut between the two folds. Round the ends if you want. Now unfold and you should have a snowflake with six arms. The arms are also called dendrites.
Lacy Paper
This one is made with lots of holes.
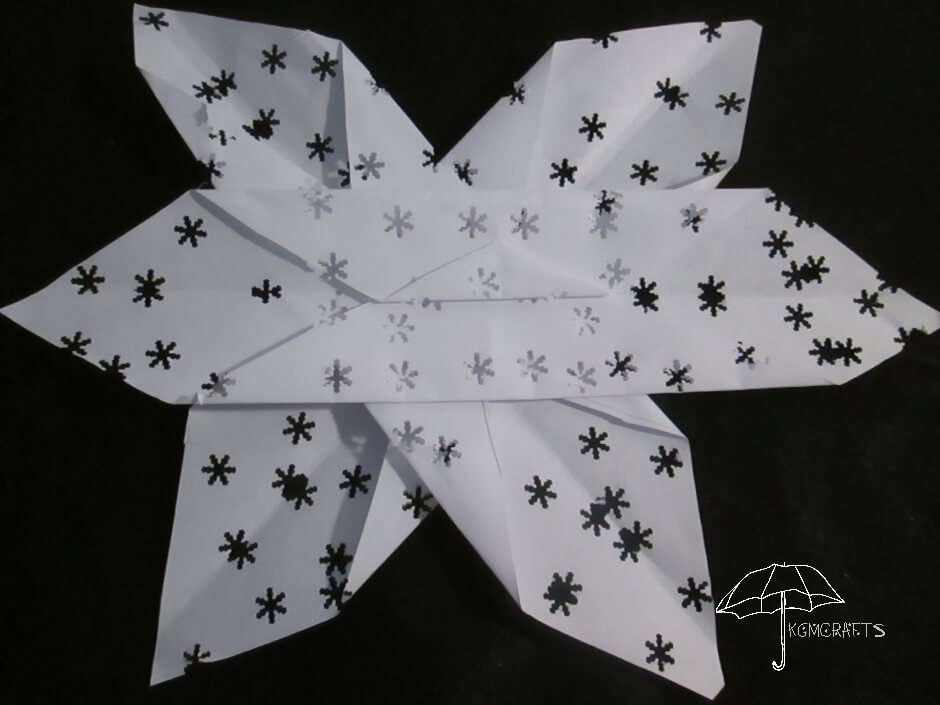
Gather some white copy paper, a hole punch, and some tape.
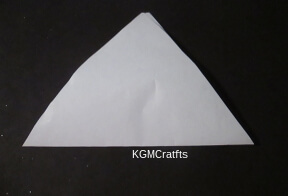
Fold the paper in half. Cut a triangle from the folded paper. Fold two more pieces of paper and cut out triangles. You will have three shapes.
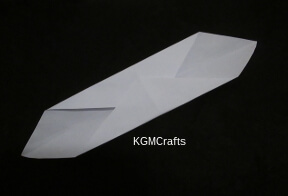
Unfold the triangle; you will have a diamond shape.
Fold the shape in half lengthwise. Unfold and fold the points to the center so that they overlap some.
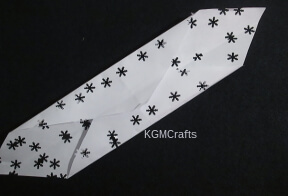
Use a snowflake hole punch and punch holes so that the shape has lots of holes. You might have to fold the shape so that you can make holes in the center.
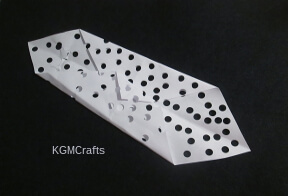
If you don’t have a snowflake punch, a regular hole punch will work.
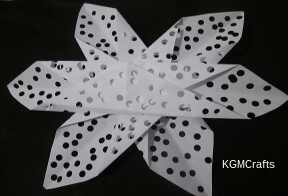
Place shapes in a snowflake shape and tape.
3D Snowball
Add some depth to your creations.
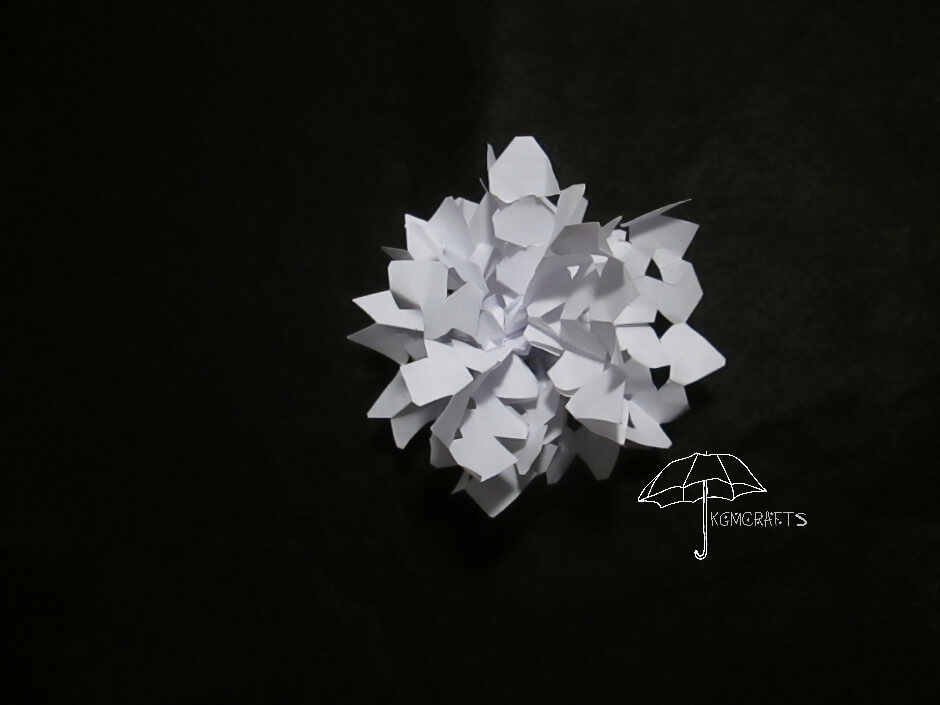
All you need is some white copy paper, stapler, and scissors.
Fold a sheet of copy paper in half from top to bottom. Fold in half from side to side. You will have four pieces, 5 1/2 by 4 1/4 inches. Cut on the folds. You will need three of the pieces.
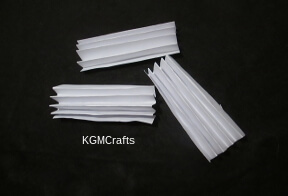
Fold the paper back and forth like a fan.
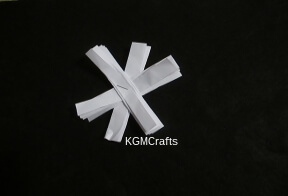
Place the paper in a snowflake shape. Staple the three papers in the center.
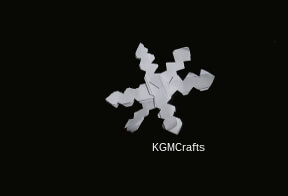
Cut triangles along the folded edges. Cut the ends to a point.
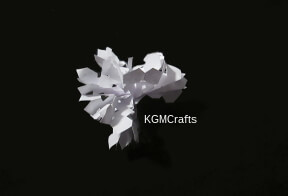
Unfold the paper and fluff.
Some snowflake crafts don't use paper.
Pipe Cleaner and Tissue Icicles
Messy, but makes an interesting one.
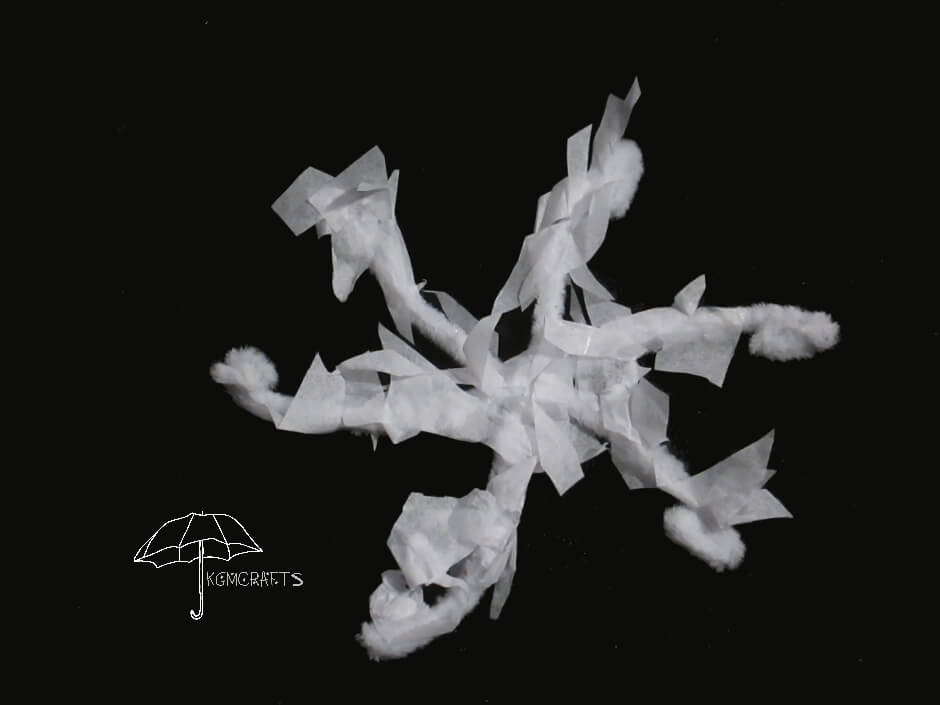
You will need;
- 2 white 12 inch pipe cleaner,
- White tissue paper,
- White glue.
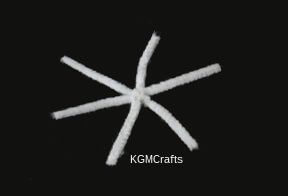
Divide into three 6 inch pieces.
Place the pieces in a snowflake shape. Fold one over the center to hold the shape together.
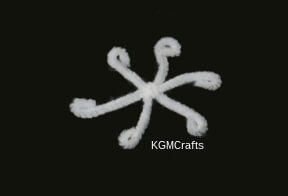
Roll the ends so that they make a circle.
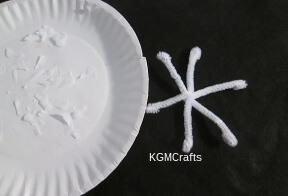
Cut small triangles and other pointed shapes from white tissue paper.
Place on a paper plate.
Spread white glue on the snowflake.
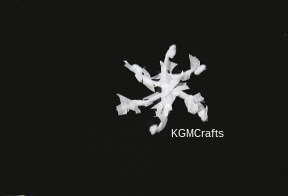
Dip the snowflake in the tissue paper. The tissue should stick to the pipe cleaners. Let dry.
An optional step is to cut off any tissue that you don’t want.
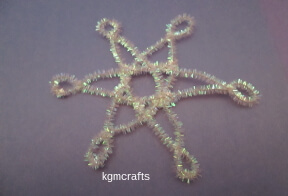
Another Pipe Cleaner Snowflake Craft
Your kids could even do this craft in the car on the way to grandma’s house.
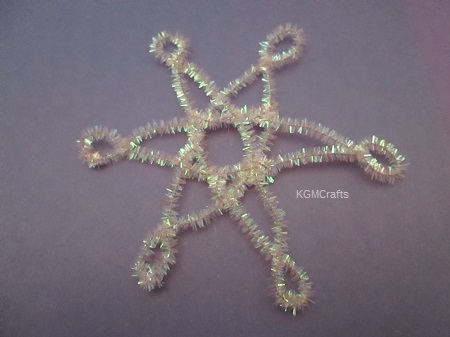
You will need;
- 3 12-inch pipe cleaners
- A 6-inch pipe cleaner
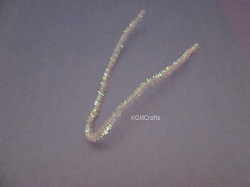
Start to fold the pipe cleaner so that the cut ends meet.
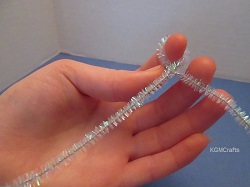
Place the folded end around the tip of your finger. Twist the ends so that there is a circle on the folded end.
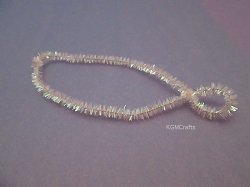
Twist the cut ends so that they connect. You will have a small circle at one end and an oval.
Place the end that you just twisted together over your finger. Twist so that there is a circle. Your pipe cleaner should have a circle on each end and an oval between the two.
Make two more snowflake arms like you did above. You will want a total of three arms.
Place the three folded pipe cleaners on top of each other. Imagine a clock. The first snowflake arm is at twelve and six. The next arm is at two and eight. The last arm is at four and ten.
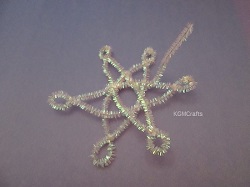
Now you will need to secure the arms together. Take the six-inch piece of pipe cleaner and weave in and out over the three arms. You are done.
Depending on how you wove the center together, you will have either an open design or it will be filled in.
Add a string to hang from the windowsill or on the Christmas tree.
Also, gold pipe cleaners look like stars.
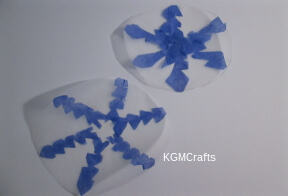
Snowflake Sun Catcher
You can hang these in your window.
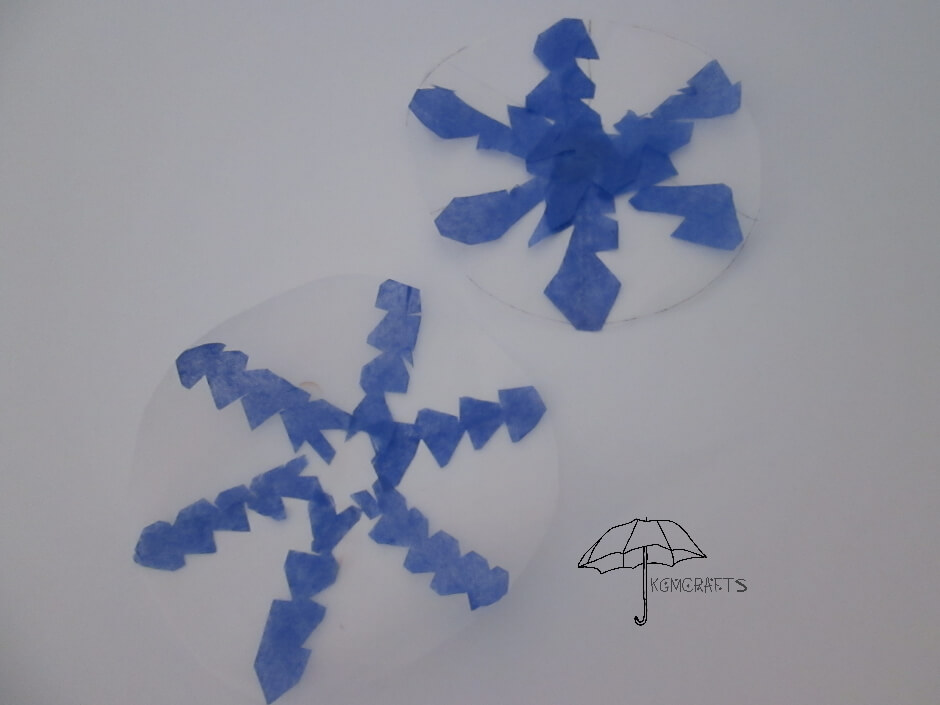
You will need;
- wax paper
- a small lid such as a cottage cheese lid (optional)
- blue tissue paper
- glue stick
Draw a circle on the tissue paper. Use a lid to make a perfect circle.
Measure your circle, so that you know how long to make your tissue strip. The strip will fit inside your circle.
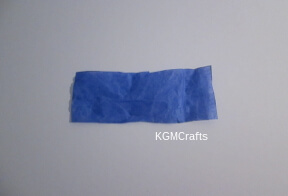
Cut your tissue 2 inches plus the length that you just measured. Mine is 2 by 5 inches.
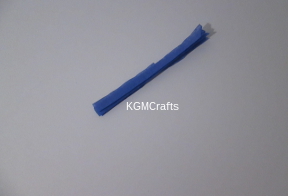
Fold your strip back and forth like a fan.
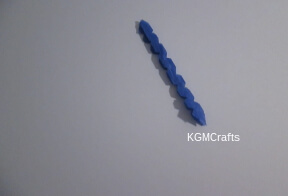
Make triangular cuts on the folded sides. Cut the ends into a point.
There are two ways to make the snowflake.
One; unfold the tissue, cut along the fold lines so that you have three pieces. Place in a snowflake shape.
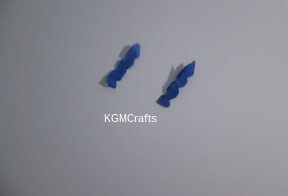
Two; cut the strip apart at the center and cut on the fold lines.
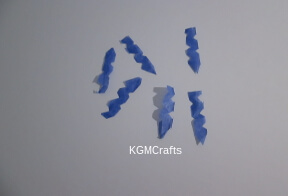
You will have six pieces. Make each piece a little shorter.
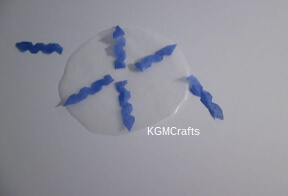
Place your pieces inside the circle. Make sure that the arms of the snowflake match up. You will have a small clear center circle in the snowflake.
Glue the tissue inside the circle.
Cotton Snowflake
Great sensory project!
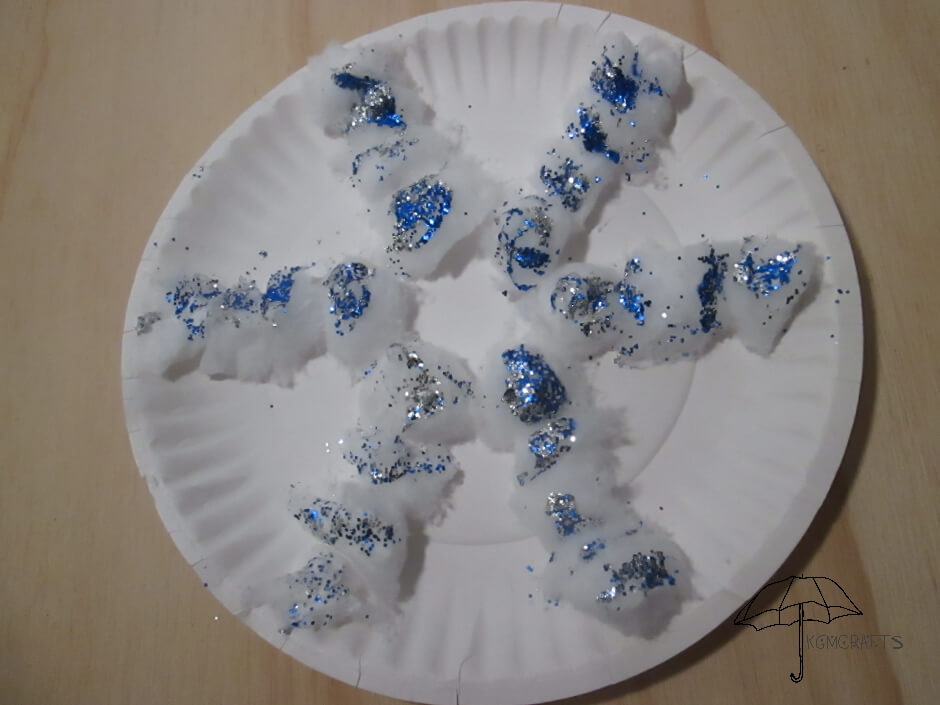
What you will need;
- 8 cotton balls
- 2 Paper plates
- Glitter
- White glue
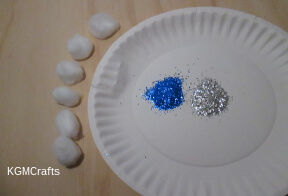
Cut three cotton balls in half so that you will have six pieces.
Pour some glue on top of your cotton balls. Pour some glitter on one of your paper plates, I used blue and silver.
Dip the glue covered sides of your cotton balls into the glitter.
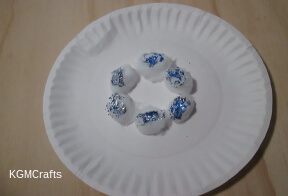
Glue the cotton balls in a circle in the center of your other paper plate.
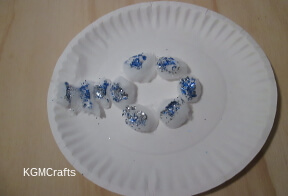
Cut five cotton balls in fourths. Pour some glue on three of your cotton ball pieces. Dip them in your glitter. Glue them in a straight line next to one of the cotton balls that is in a circle on the paper plate.
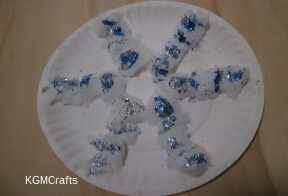
Do the same with the rest of your cotton balls that are in fourths. Did you notice that you had two left over? Don’t worry, you only needed eighteen pieces.
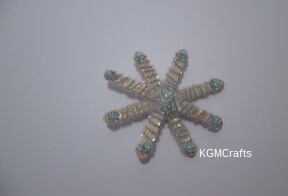
Popsicle Pipe Cleaner Snow
Even though this one has eight arms, it still looks like a snowflake.
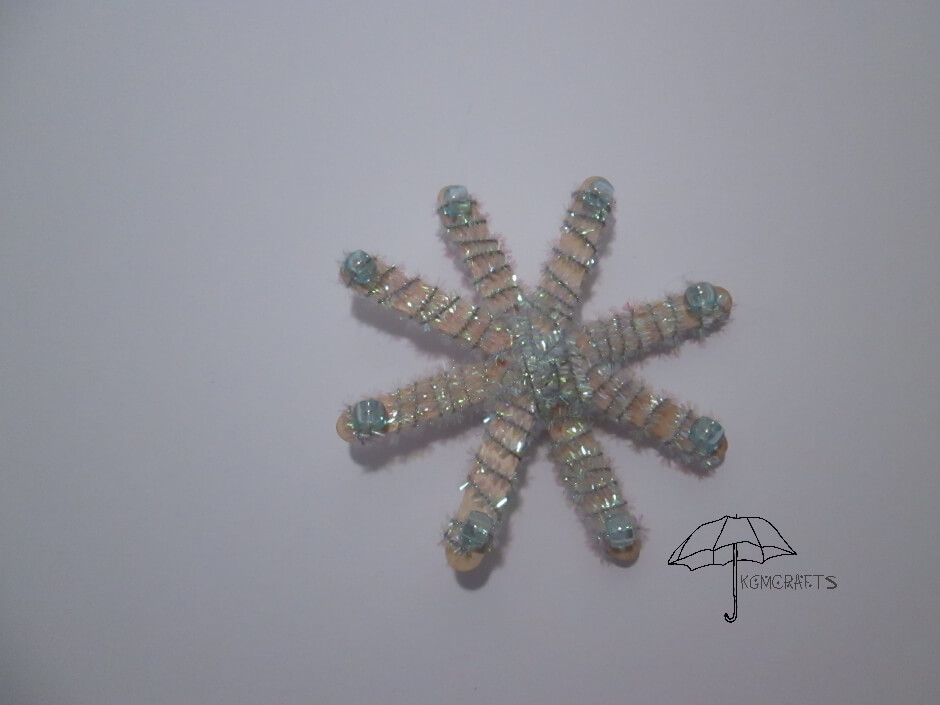
What you will need;
- 4 Popsicle sticks
- 8 shimmer fuzzy sticks
- 8 blue transparent pony beads
- Tacky glue

Place two Popsicle sticks on top of each other, so they make an “X”.
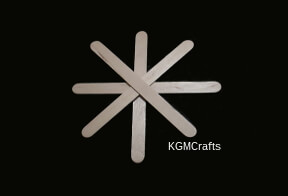
Lay the other two sticks on top so that they finish your snowflake shape. Glue the sticks where they cross. Let dry overnight.
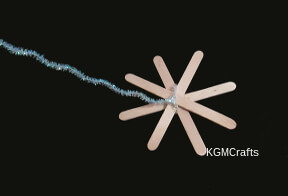
Wrap one of your fuzzy sticks around the center of your Popsicle sticks once.
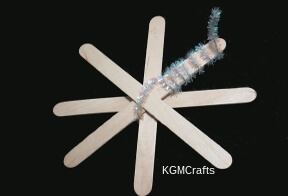
Then wrap it around one of the arms of your snowflake.
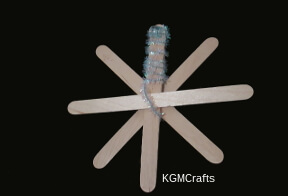
On the very end of the fuzzy stick, twist on a pony bead. Do the same with the rest of the fuzzy sticks and pony beads.
Sewing Snowflake
Here is a craft that is a lacing project.
You will need;
- Paper plate
- Hole punch
- Yarn Blue sparkly looks nice
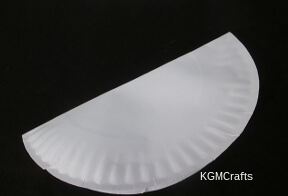
Fold the paper plate in half.
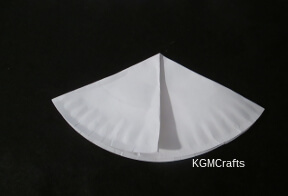
Fold one side to the center.
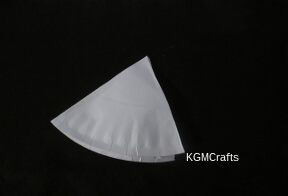
Turn around and fold the other side to the center. You will have a pie shape.
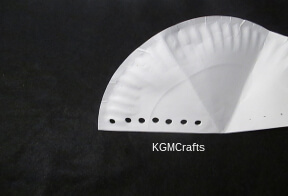
Unfold the sides. You will just want the plate folded in half. Now punch seven holes evenly spaced from the edge to the center.
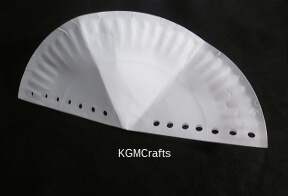
Turn around and punch seven more holes from the edge to the center. When you unfold the plate, you will see holes evenly spaced along the fold line.
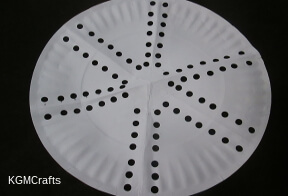
Fold on another line and punch a total of fourteen holes. Do the same for the other line.
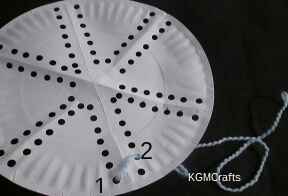
Cut a piece of yarn 18 to 24 inches.
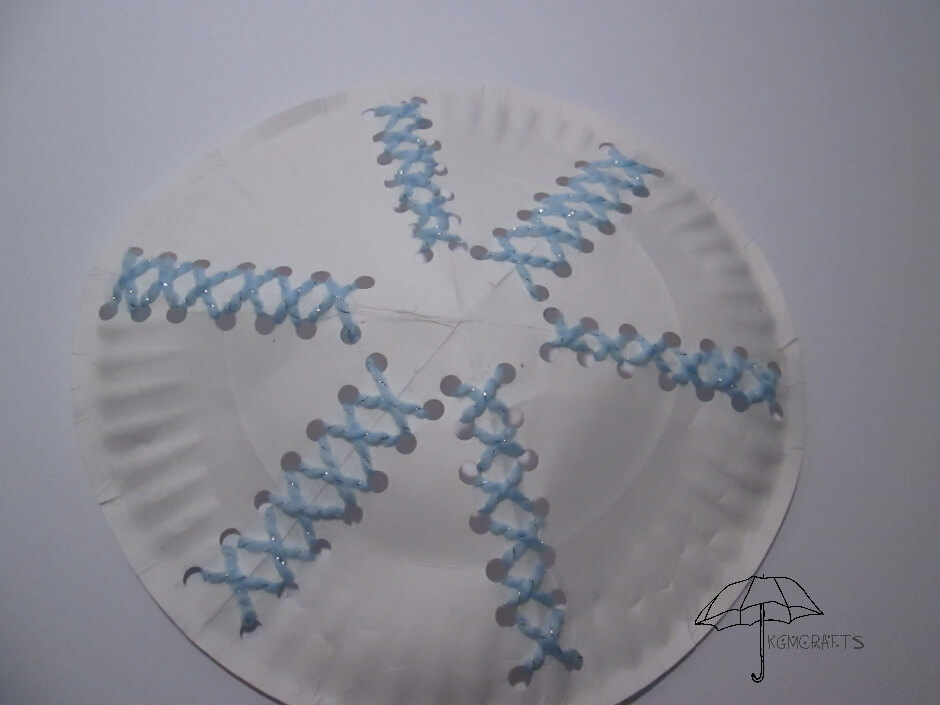
Start at one of the holes at the edge, make a diagonal stitch to the hole across from it.
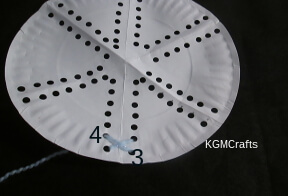
Bring the yarn down to the hole directly below it. Now make a stitch to the hole diagonally from it.
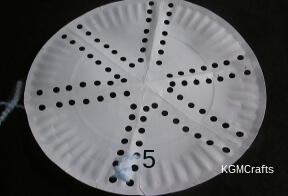
You will be making crosses up the fold line.
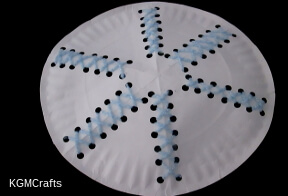
All finished!
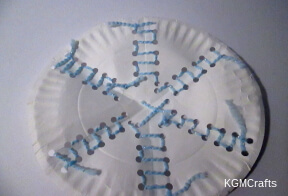
The back should look something like this. Tie ends together and cut off excess yarn.
Some Facts
One of the reasons we see snow as white is because of the way our eyes see color.
Did you know that snowflakes have six arms and are usually symmetrical?
It is also the symbol for cold and winter. In some countries, snow symbolizes Christmas.
The temperature of the air is what makes the different shapes. Cold air causes it to be a lacy hexagon. Snow can also be in a stellar, fern like stellar, hexagon, needles, bullets, and columns. Some even have irregular shapes.
There is a saying that no two snowflakes are alike. You will want to have plenty of circles for your kids to make lots of snowflake crafts. In no time, you will have a snowy scene for your home.
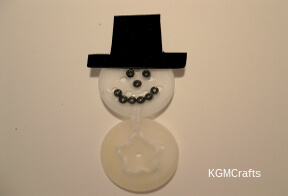
Since we are talking about snow, you might like my pages on snowmen. One of the snowmen even has a snowflake belly.
(Let it snow, let it snow…. Oh, let it snow)

