Fluffy Pompom Crafts and Creatures
by Karen & Grace Morris
Monsters! Dust bunnies! Creatures of the dark! Use pompom crafts to make your own!
Pompoms are used for many things. Large ones are used in cheer-leading; small ones are used on clothes and home decorations. Here, your kids will have a blast making animals and other creatures. They will even learn how to make their own fluffy balls.
Click the picture to go to the individual craft on the page.
You Won't
Have to
Hide these
Cute, Fluffy
Things
Under the
Bed!
Dust Bunnies
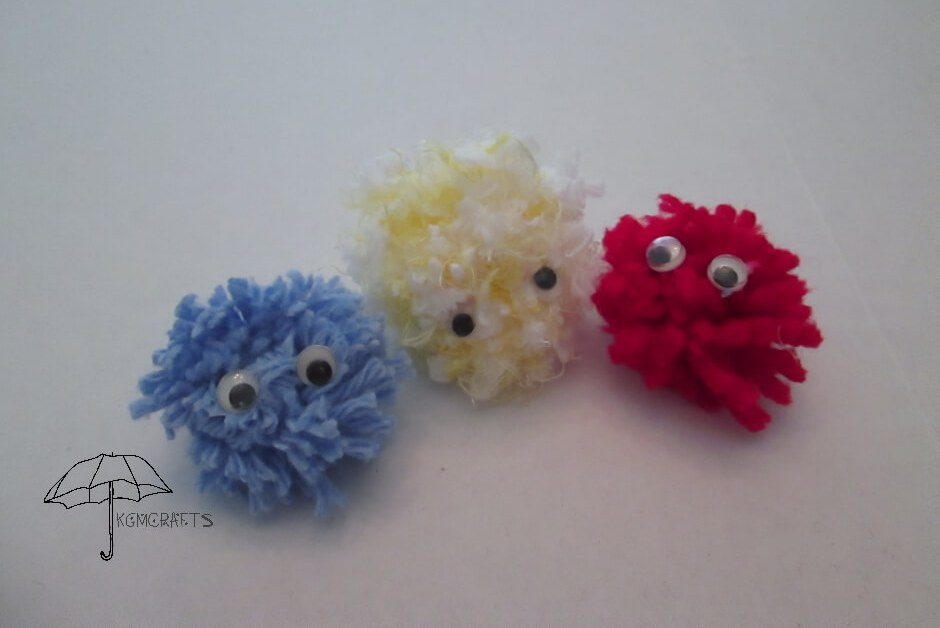
Remember the little balls of dust that collect under your bed? Well, here are cute bunnies that you can make with yarn.
You will need;
- Fork
- Scissors
- Yarn
- Small wiggly eyes
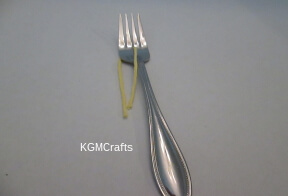
To make a pompom, place a piece of yarn in the center of the fork. Hold the yarn next to fork handle.
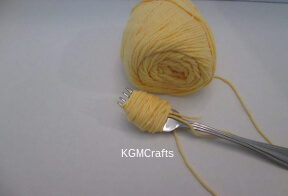
Wrap yarn around the fork. Go around at least two times. The more you do, the thicker the pompom will be.
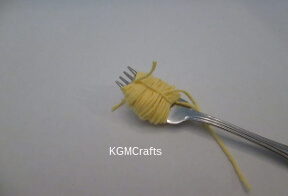
Bring the yarn that you are holding up to the top of the fork and tie the ends.
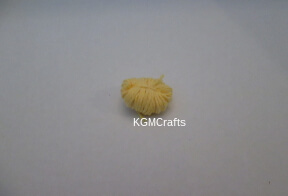
Slip the yarn bundle off the fork.
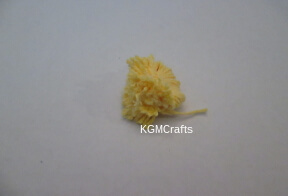
Cut the yarn loops on both sides.
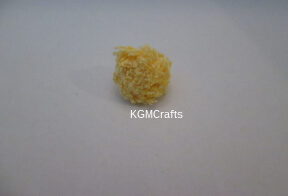
Fluff the pompom with your hands.
Trim off long pieces of yarn.

Add eyes and your bunny is done. Just don’t hide it under your bed. He is so cute that he deserves a spot on your desk.
By the way, the three bunnies above are made with different yarn. The blue bunny is with cotton yarn, the yellow one is a fluffy baby yarn, and the red one is with worsted weight.
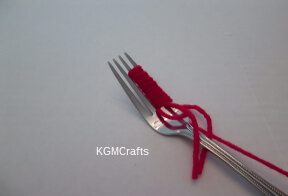
To make a tiny ball, use only two of the fork prongs.
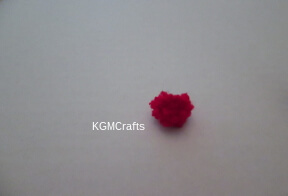
You could use this for animal noses.
Christmas Tree
You will need;
- Thin cardboard
- Yarn
- Yarn needle
- Sequins
- Glue
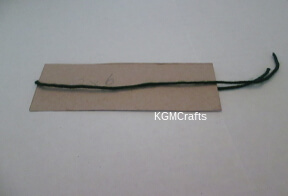
Cut a piece of cardboard 1 by 6 inches. The width will determine the size of the pompom.
Cut a piece of yarn twice the length of the cardboard. Loop the yarn around the cardboard.
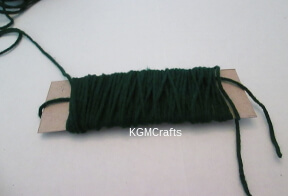
Wrap the yarn over the cardboard from one end to the other. Wrap two or three times. You want enough yarn so that the pompom is fluffy.
Cut the end of the yarn.
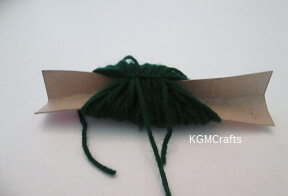
With the yarn that is in the center, hold one end. At the loop end, pull the yarn. You will have two cut ends. Tie the ends together.
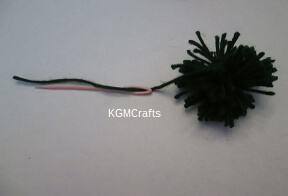
When the yarn is off the cardboard and you have a circle, cut the loops. Leave the long center yarn for sewing.
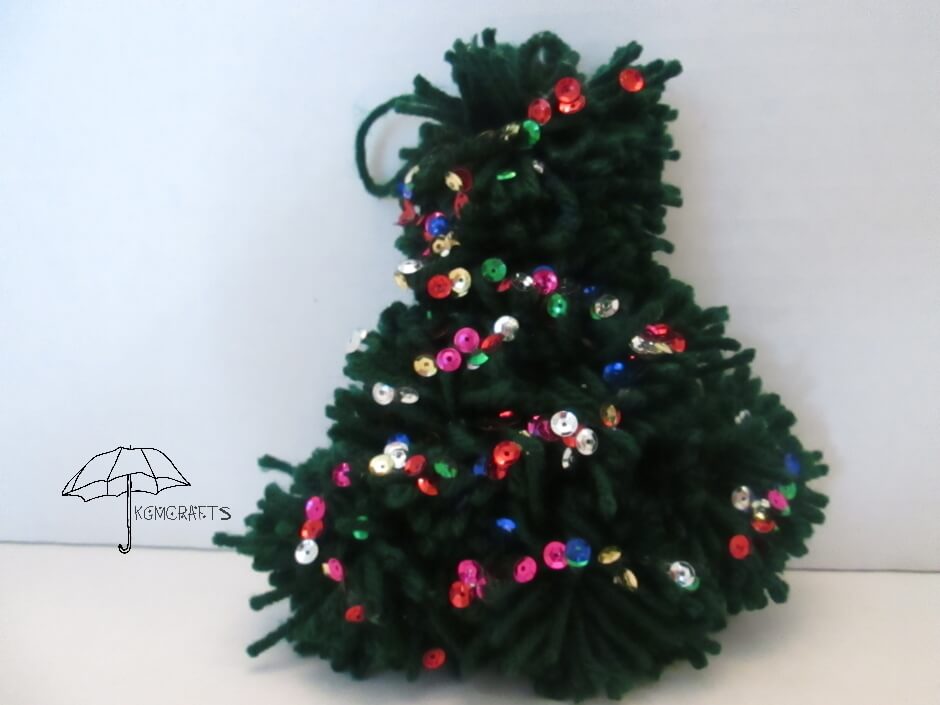
To finish the Christmas tree, make a total of six pompoms.
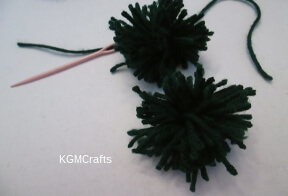
With a yarn needle and yarn, sew the pompoms together.
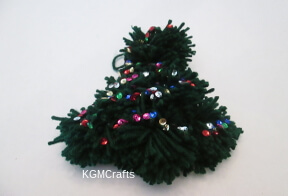
Sew the six pompoms in a triangular shape.
Add sequins for decorations.
Find more Christmas pompom crafts here. Your kids can make a wreath.
Mop Monster
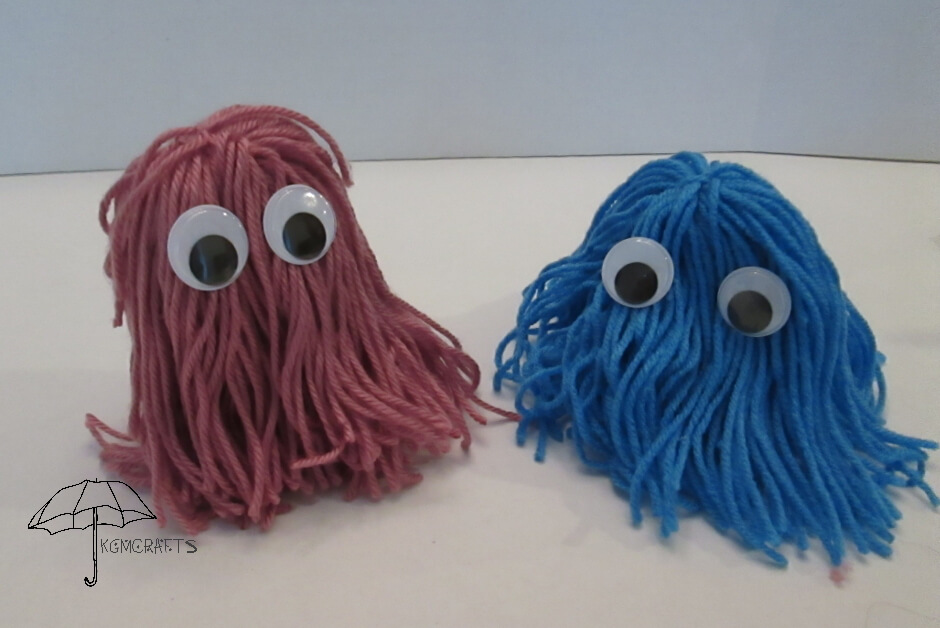
This cute monster is a little different from the traditional pompom.
You will need;
- Empty paper towel roll
- Ruler
- Scissors
- Tape
- Yarn
- Large wiggly eyes
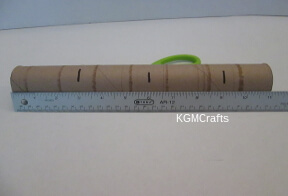
With a ruler, measure 3 inches on paper towel roll. Make a mark. Measure the paper towel roll two more times.
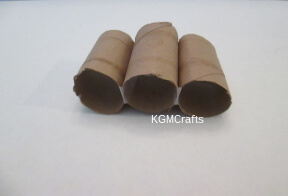
Cut on the marks. You should have three 3 inch pieces.
Tape the three pieces together in a line.
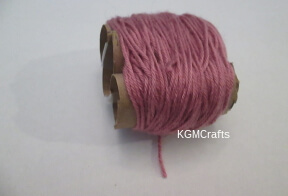
Wrap yarn about 100 times around the rolls. Don’t wrap too tight. You don’t want to flatten your rolls.
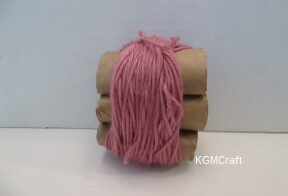
When you have enough yarn wrapped around the rolls, cut the end. Cut a 5-inch piece of yarn and slide it between the yarn and paper roll. Bring the piece of yarn to the top. Tie the ends together and make a knot. Cut the bottom loops.
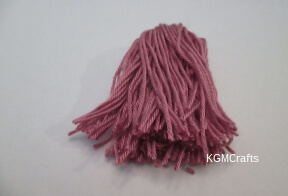
Cut the bottom loops.
Repeat the directions and make another pompom.
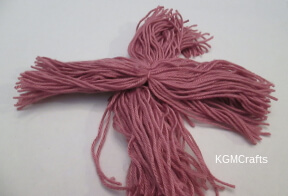
Place the pompom under the other pompom. Tie the two together.
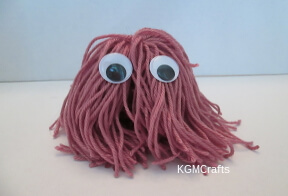
Add eyes.
Store Bought
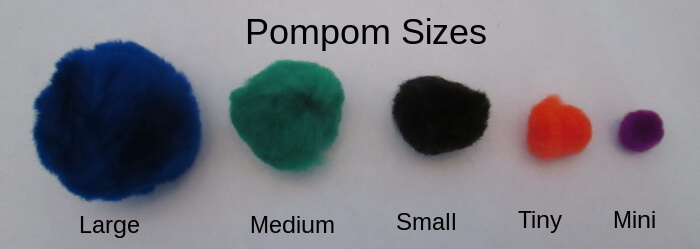
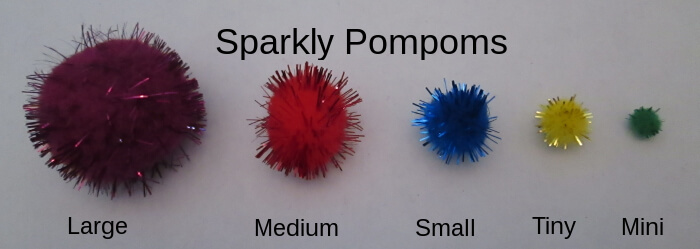
Here are some creatures that you can make with store-bought pompoms. You can find them in a variety of sizes from tiny to large, although you can make larger ones with yarn.
The Red Nose Mouse Pompom Crafts
Supplies;
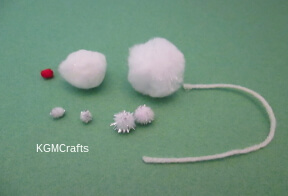
The types of pompoms you will need are;
- 1 medium white
- 1 small white
- 2 tiny white sparkly
- 2 mini white sparkly
- 1 mini red sparkly
The other materials you will need;
- A piece of white yarn about 5 1/2 inches long
- Tacky glue
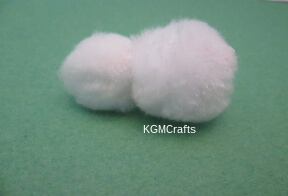
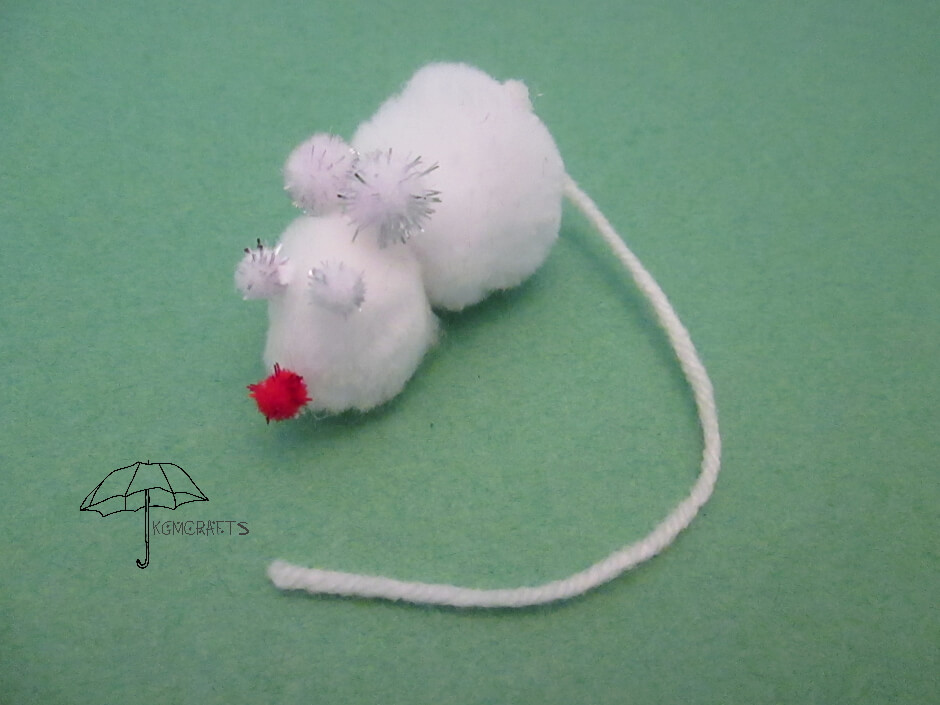
With tacky glue, glue the medium white pompom to the small white pompom. The bigger one is the body and the smaller one is the head.
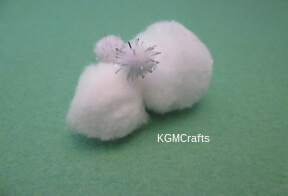
Glue the two tiny white sparkly ones between the head and body of the mouse. These will be the ears.
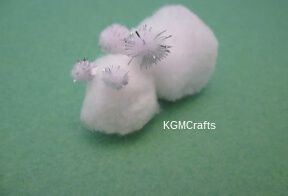
Now glue the two mini white sparkly ones to the top of the head. These will be the eyes.
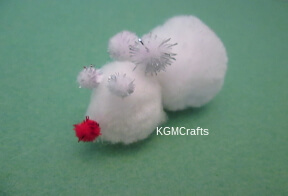
For the nose, glue on the red mini sparkly pompom to the front of the head.
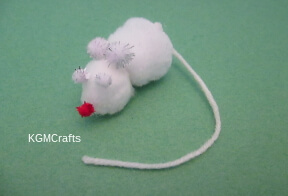
To finish your mouse, glue on your piece of yarn to the end of the body. Let him dry and he is all done!
Little Bunny Hop-hop
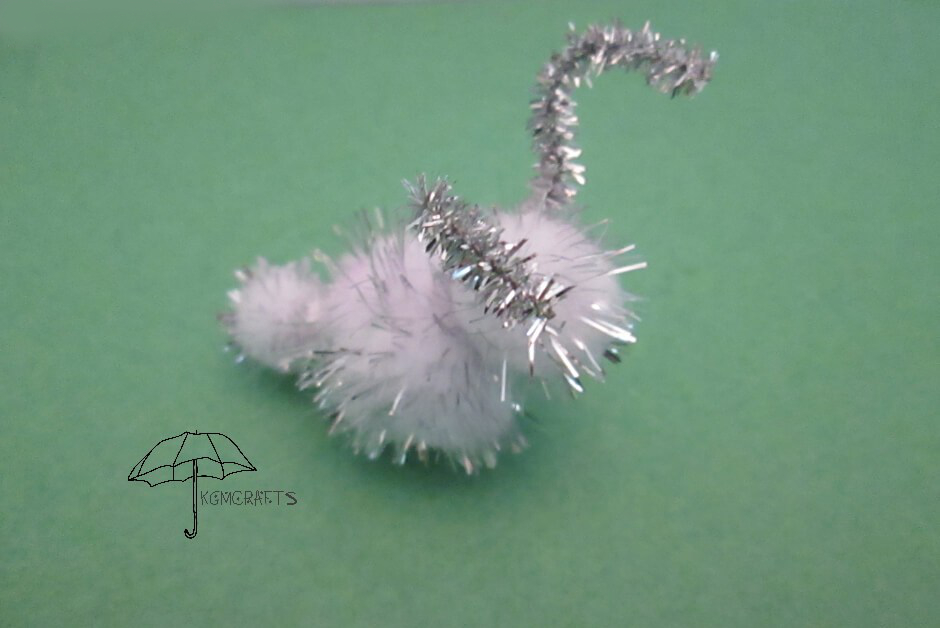
Your little bunny might not hop around, but he would be great on the table.
Supplies;
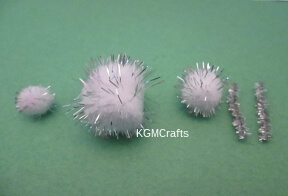
The types of pompoms you will need are;
- 1 medium white sparkly
- 1 small white sparkly
- 1 very small white sparkly
The other materials you will need;
- 2 small pieces of white sparkly pipe cleaners, each being about 1 1/2 inches long
- Tacky glue
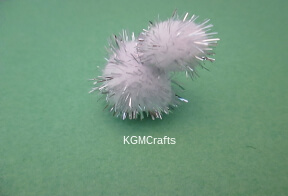
With your tacky glue, glue the medium and the small pompom each other like you are making a snowman. The larger one is the body and the smaller one is the head.
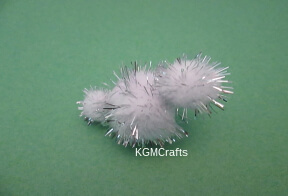
Now glue your very small pompom toward the bottom of the body. This will be the tail.
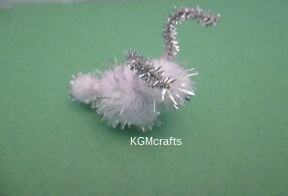
For the ears, take both of your pipe cleaners and bend them. Stick them into the top of the head and glue. The head might try to fall off of the body. So you might need to glue it back on and hold it there for a few minutes.
Let dry overnight.
Ladybug
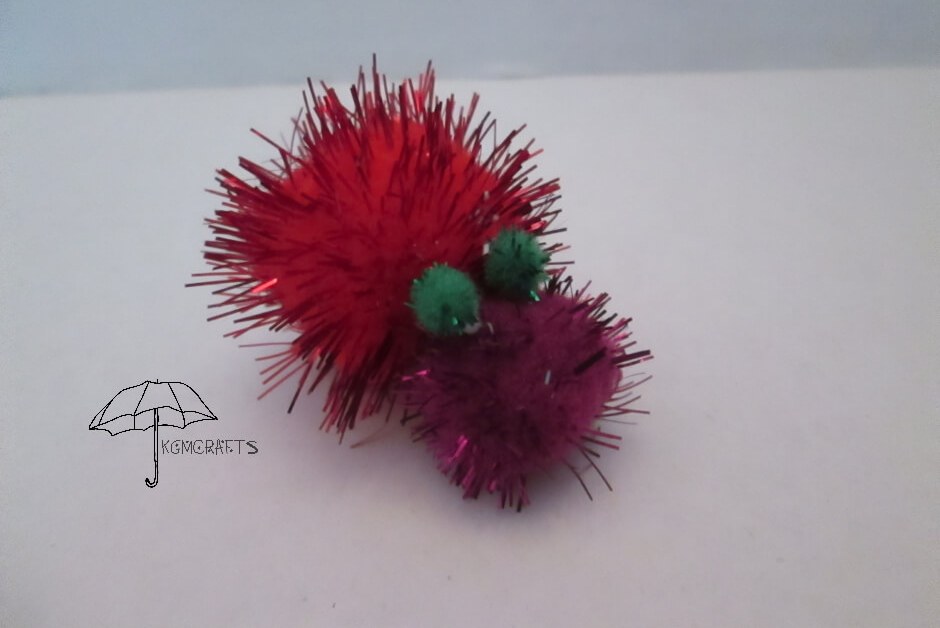
This little lady would look great near your houseplants.
You will need;
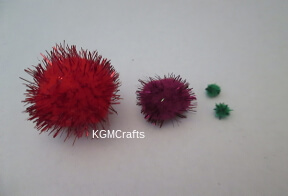
The types of pompoms you will need are;
- 1 medium red sparkly
- 1 small purple sparkly
- 2 mini green sparkly
You will also need;
- Tacky glue
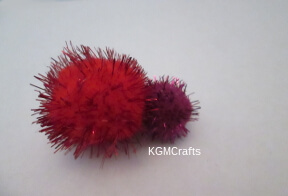
First glue your medium pompom to the small one.
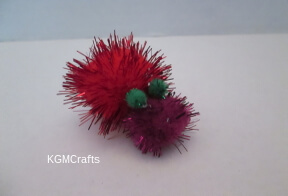
Glue your two mini green ones between the purple and red pompoms.
Let dry overnight.
Pompom Crafts Birds
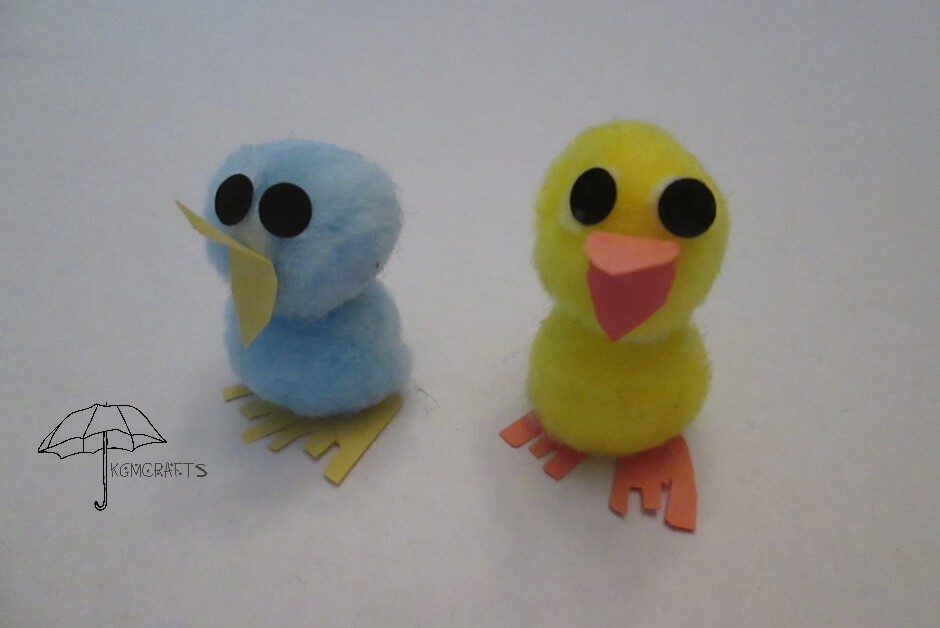
“Tweet, tweet.” The birdies say. You make one and you make ten, and soon you found out that you made twenty of them.
Supplies;
- 2 small pompoms
- Scraps of construction paper
- Glue
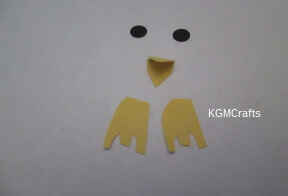
Draw an “E” shape on yellow or orange construction paper. Round the back of the “E”, so that it looks like a bird’s foot. Cut a folded piece of paper into a triangle for the bird’s beak. Use a hole punch to make eyes.
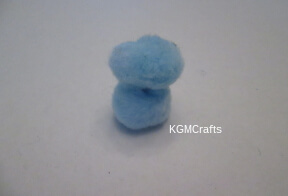
Glue two pompoms together.
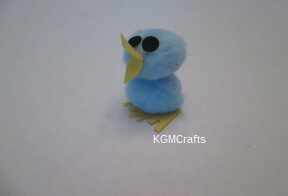
Glue on the feet and facial features. (The early bird gets the worm!)
Soon you won’t have to worry about any monsters under your bed or in the dark. Your kids will have thousands of little creatures all over the house when they learn to make pompom crafts.
