Snowman Crafts for Kids
A January Activity
by Karen & Grace Morris
No snow? Well, you can make these cute snowman crafts for kids inside.
They are fun decorations to make in January when you have put the Christmas decorations away and Valentine's Day is just too long to wait.
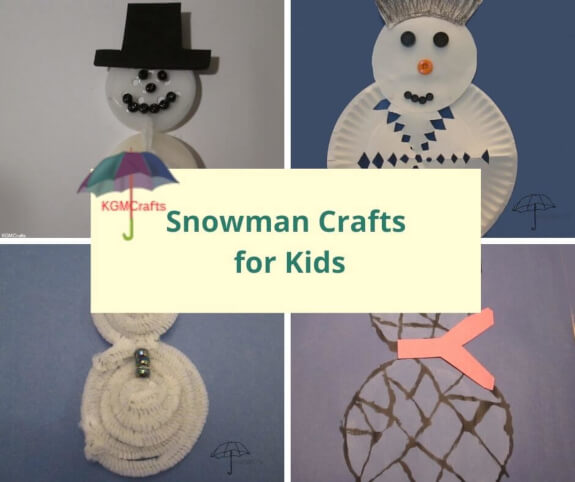
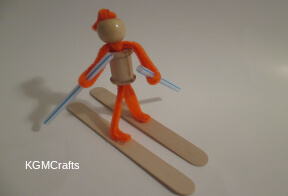
Click the pictures to take you to the individual snowman crafts for kids.
So gather some inexpensive white supplies such as paper, cotton balls, and maybe a pipe cleaner or two.
Don't worry, the complete supply list is under each craft.
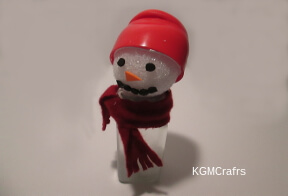
Tabletop Snowman Craft for Kids
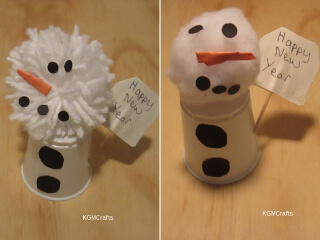
Just in time for your January party. Make one for each guest and place by their plate.
You will need;
- White Three oz cup
- White, black, and orange paper
- White pom-pom
- White yarn optional
- White glue
- Glue stick
- Toothpick
- White card stock, a piece of paper plate works
- Black pen
If you don’t have a white cup, you can cover it with paper. Cut two pieces of white 2 inches by 3 1/2 inches. Glue onto the sides of the cup.
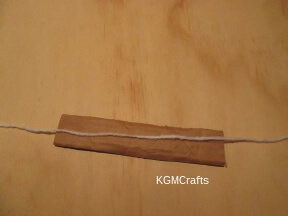
To make the head, use a large pompom from the store.
Or you could make your own pompom for yarn.
Cut a one by 6-inch piece of cardboard. Place a long piece of white yarn along the cardboard lengthwise. Well, you could use another color of yarn, but then you would have dirty snow.
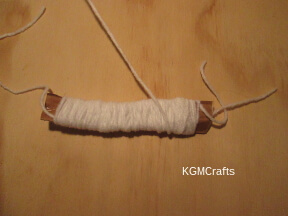
Wrap yarn around the width of the cardboard and piece of string. Continue wrapping until the cardboard is full. It will take three to four times around. Cut the yarn.
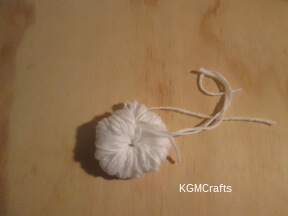
Now pull the ends of the yarn that is in the center tight. At the same time, slide the yarn off the cardboard. You should have a ball of yarn that is tied in the center.
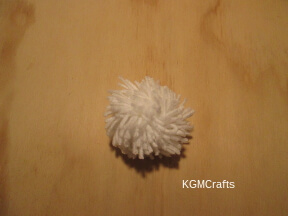
Cut the outside loops. Fluff the pompom.
Glue your white pompom on the bottom of the cup.
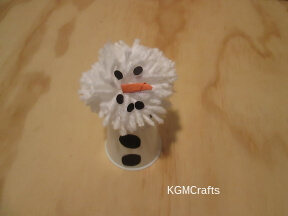
Cut two button size pieces out of black paper, glue on one side of the cup.
With a hole punch, punch five black holes out of black paper. Use two holes for the eyes and three for a mouth.
Cut a 1-inch square of orange paper. Add glue to the paper with a glue stick. Roll the paper from corner to corner. If the nose piece is too long, cut one end some. Glue the nose to the center of the face.
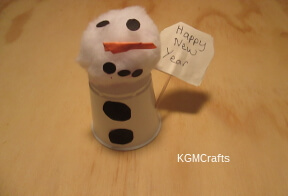
With a toothpick, make a hole on the side of the snowman just above the bottom black circle.
Cut two 1 3/4 by 1 1/2 inch pieces of white card stock and round the top corners. On one of the pieces of card stock, write Happy New Year. Place some white glue on the other piece. Add the toothpick and the Happy New Year sign on top of the glue. Hold a second or two for the glue to set. Leave the sign so that the glue can dry.
After the glue is dry, place the toothpick in the hole that you made on the snowman.
If you are going to use it as place settings, write the name of your guest on the bottom of the snowman. Place on the table where you want your guest to sit.
Now that your paper cup snowman is done, grab a cup of hot chocolate with marshmallows.
Look What You Can Make with a Paper Plate
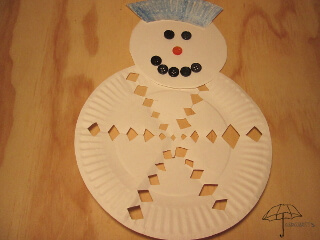
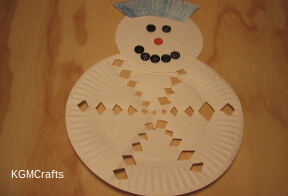
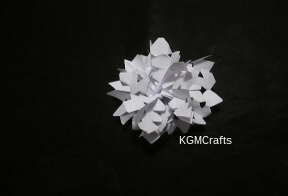
It’s a snowflake. No, it is a cute snowman.
You will need;
- Two paper plates
- Scissors
- Glue
- Buttons
A snowflake has six sides and is symmetrical.
The hard part with making a snowflake in a paper plate is cutting the folded cardboard. Here is a way to make it a little easier.
Fold the plate in half. Mark the center of the plate and on the rim.
Next, fold the right outside edge to the center mark on the bottom of the plate. Fold the left side behind the right. You should have a cone shape.
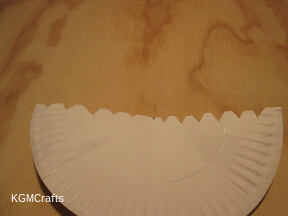
Now unfold so that the plate is folded in half. Cut triangles out along the fold.
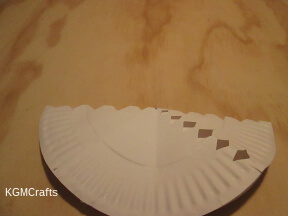
Next, open, so the plate is whole. Then fold along another uncut line. Cut out more triangles.
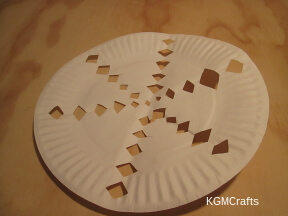
Now unfold and cut on the last fold. You should have a snowflake with six sides.
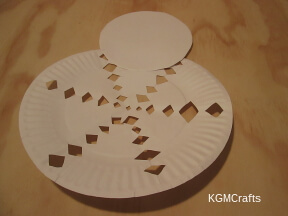
Cut the rim off another plate. You will want the center piece and a small piece of the rim.
Glue the circle onto the snowflake piece. This will be the head of the snowman.
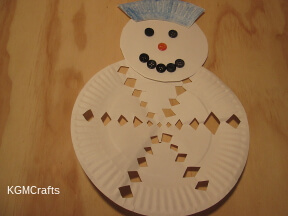
Cut a piece of the rim that will fit on the top of the head for a hat. With a crayon, color your hat. Glue to the top of the head. The hat looks something like a sailor's hat.
If you want a more traditional top hat or stocking cap, cut shapes from construction paper.
Glue buttons on for facial features. If you don’t have buttons, you could cut shapes from construction paper and glue on. Or you could use a marker or crayon and color the face.
“Frosty the Snowman was a jolly, happy soul……”
Coming up next, two tiny snowman crafts for kids.
Make One Out of a Pipe Cleaner
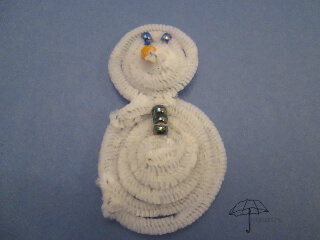
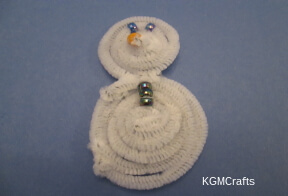
Can you really make a pipe cleaner snowman? Well, he turned out really cute. He kind of looks like Olaf in the movie Frozen.
Supplies;
- Three white pipe cleaners
- Six small pony beads
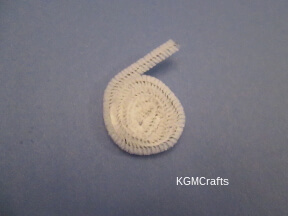
Place a pipe cleaner on a flat surface and bend it in a circle.
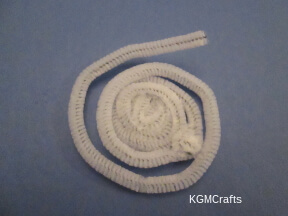
To make the circle bigger, add another pipe cleaner.
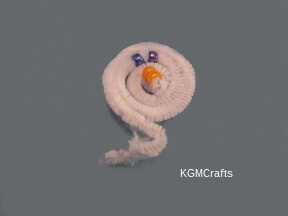
Thread two orange beads on one end of a third pipe cleaner. Fold the end over the beads so that the beads won’t fall off.
Fold the pipe cleaner into another circle.
Near the top of the circle, place two small beads for eyes.
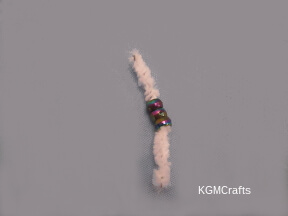
Add three beads to a small piece of pipe cleaner.
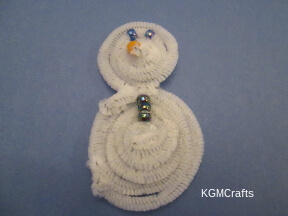
Place the smaller circle on top of the bigger one so that it looks like a snowman. Twist the ends together.
Place the strip with the beads over the circle so that it looks like the snowman has buttons. If it is still Christmas, hang this on your tree.
Another Tiny Snowman
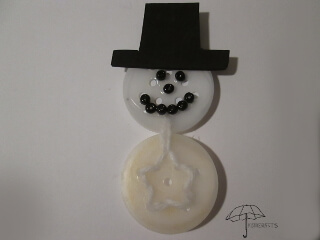
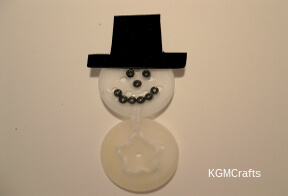
A cute little snowman to decorate your fridge.
You will need;
- 2 white spice caps the part with the holes
- White yarn
- A scrap of white paper
- Black seed beads
- Tacky glue
- Craft foam
- Magnet
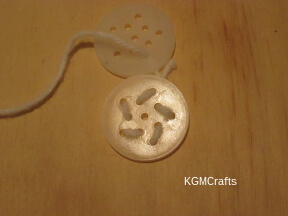
Cut an 18-inch piece of white yarn. Tie a knot in one end. Tape the other end so that it is easier to slide through the holes. Sew around the outside holes.
When you get to the top hole, connect the two spice lids by threading the yarn through one of the bottom holes.
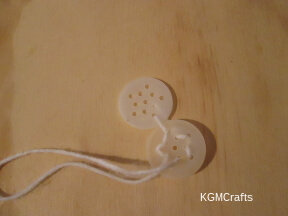
Go around the holes in the bottom lid from right to left. You should now see a star shape.
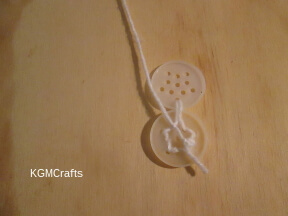
Tie the two ends of the yarn together and cut off the excess.
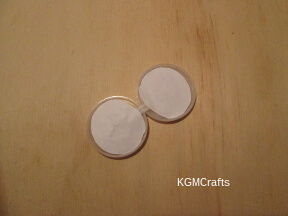
Add paper circles to the back.
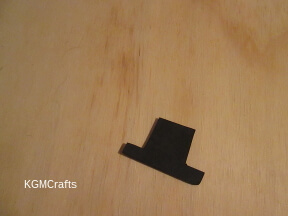
Cut a rectangle of black craft foam 2 by 1 1/4 inches. To make the rim of the hat. Cut 1/2 by 1/4 inches from the sides and then up.
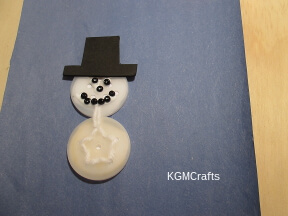
Glue the hat to the top of the snowman.
Use tacky glue to glue the seed bead on the top circle to make the eyes, nose, and mouth. Let dry.
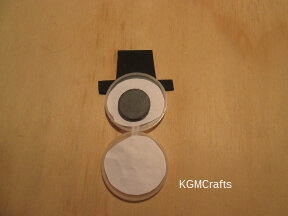
When it is dry, turn the snowman over and add a magnet to the back.
Snowman Crafts for Kids - Pictures
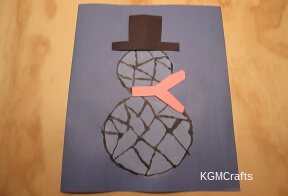
Stained Glass Snowman
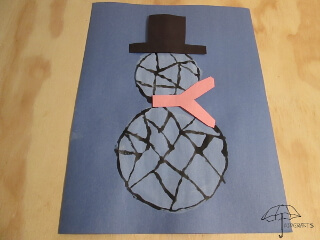
Black and white, cold in the wintry night. Blizzards and fun, endless snow from above.
You will need;
- A blue sheet of construction paper
- Pencil
- Washable white paint
- Painting sponge
- Black paint
- White glue
- A scrap of black construction paper
- A scrap of your favorite colored paper for the scarf
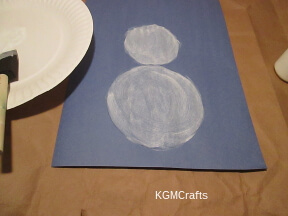
Draw a 4 3/4 inch circle near the bottom of the paper. On top of the circle, you just drew, draw a 3 1/4 inch circle.
Paint inside the circles white and let dry.
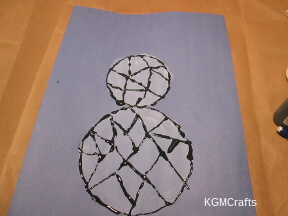
Mix half black paint and glue in a 2 oz glue bottle. Shake so that the paint and glue mix.
Draw angled lines inside the snowman.
Use the black glue to go over the lines and the circles. Let the glue dry.
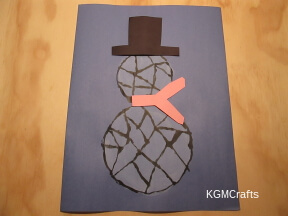
Cut a rectangle of black construction paper 4 by 2 1/2 inches. Cut the rim 1 by 1/2 inch.
To make the scarf, cut a “Y” shape. The bottom is 3 inches and 1/2 inch wide. The arms are 2 inches by 1/2 inches wide.
Glue the hat and scarf to the snowman, so he won't get cold.
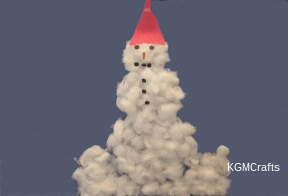
Cotton Ball Snowman
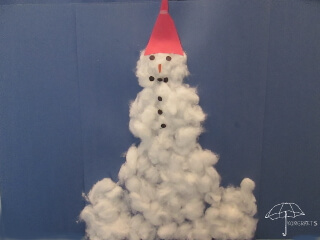
Making a cotton ball snowman is a great sensory project for young kids. Pulling cotton balls apart is a stress-reducing activity that your kids will love doing.
You might want to have some baby wipes or a wet paper towel to wipe sticky fingers on. Gluing the cotton to the paper can get sticky.
Supplies;
- Lots of cotton balls
- Construction paper
- Glue
If you are not good at drawing circles freehand, use round shapes to draw around.
On an 8 by 11 inches piece of construction paper, draw three overlapping circles. The larger circle is on the bottom. Then a medium-sized one for the middle and a small one for the head.
Have your child pull apart several cotton balls. You will need a pile of cotton.
Place glue inside the large circle and have your child add pieces of cotton. When the circle is full, add glue to the next circle. Continue until the snowman is covered.
If you have leftovers, you can make a snow scene on the bottom of the paper. You could even put small dots of cotton to represent snowflakes falling from the sky.
With a hole punch, make circles for eyes and buttons. Have your child glue them on. Cut a small piece of orange paper to make a carrot nose.
Make a triangular shape that will fit on the top of your snowman. It will look something like a stocking hat. Glue it to the head.
The cotton ball snowman will make a nice scene for a bulletin board for either December or January. If you have several children, you could work together and make a large snowman.
Out in the cold, rolling balls of snow. Piling them to make a man. Or you could just stay in all cozy and warm, making snowman crafts for kids.
