- Home
- Sunday School
- Winter Crafts for Children's Church
Easy Winter Crafts for Children's Church
by Karen & Grace Morris
Use these winter crafts for children's church to decorate after the Christmas decorations are taken down. The kids can make snowmen, snowflakes, or pictures. Each one comes with a Bible verse.
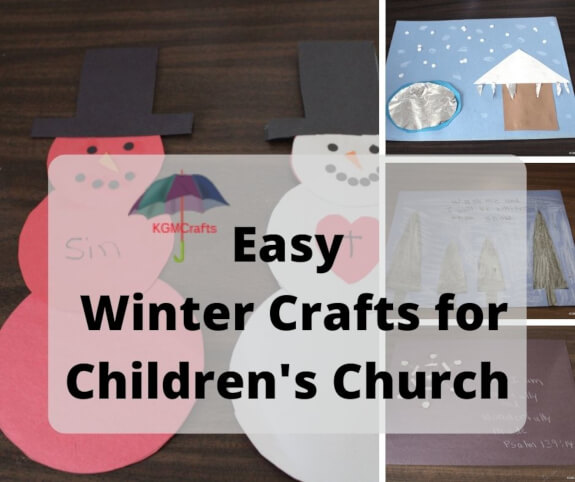
The pictures will take you to the individual winter crafts for children's church.
So, you do not like messy crafts? There are low-mess options.
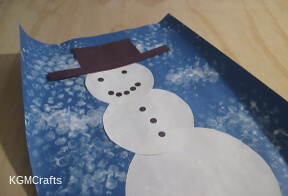
Snowman Craft for Isaiah 1:18
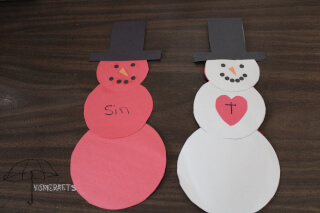
Though your sins are like scarlet, they shall be as white as snow. Isaiah 1:18
You will need;
- Red construction paper
- White paper
- Black construction paper
- Scissors
- Glue Stick
- Hole punch
- Crayons or markers
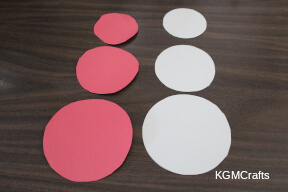
Make a 4 1/2 inch circle, a 3 1/2 circle, and a 2 1/2 circle from white and red paper. You could use other sizes but, you need a large, medium, and a small circle.
To make a snowman, glue the small red circle to the top of the medium. Then glue the large circle to the other two. Do the for the white circles.
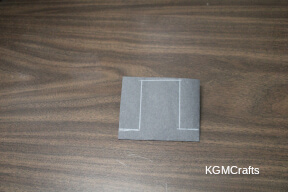
To make the hats, fold a 4 by 6 inch rectangle in half so that is 3 inches high. Make a mark 1/2 inches from the fold and 1 inch from each side. Continue the line up to the cut edge. Cut on the line and the fold.
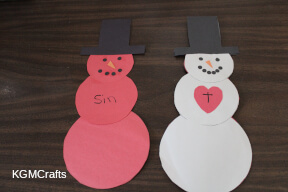
Use the hole punch to make circles for the eyes and mouth. You will need enough for the red and white sides. Cut a small triangle from orange paper for each nose.
A less messy option is to use a crayon or marker to make the nose, eyes, and mouth.
Glue the black pieces to the white and red snowman.
To finish your snowman, write sin on the red side.
Also, from the red paper, cut a small heart. In the center of the heart, draw a cross. Glue the heart to the white snowman.
Glue the white to the red snowman.
Find more snowman crafts here.
Winter Crafts for Children's Church
Ice and Snow Pictures
Ice Picture
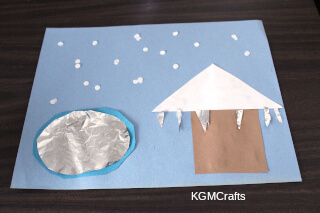 option 1
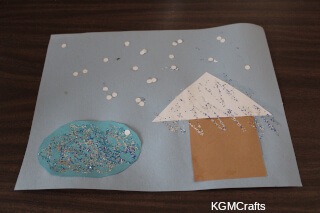 option 2
In Job 37, Elihu talks about God and the weather. In verse six, we learn that God tells the snow to fall on the earth. In verse ten, God gives ice and freezes the waters.
Supplies;
- Light blue paper for the background
- A scrap of dark blue construction paper
- Scraps of brown paper
- White paper
- Scissors
- White crayon
- White glue
- Silver and/or blue glitter (optional)
- Foil (optional)
- Hole punch (optional)
This craft has three options to make the snow and ice.
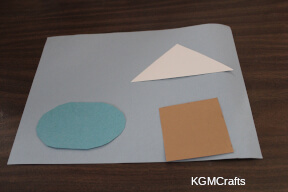
Cut a 4 1/2 by 3-inch rectangle from dark blue paper. Cut off the corners to make it into an oval. This will be a pond or lake. Glue to the background. You could use a glue stick for this part.
To make the house, cut a 3-inch square from brown paper. Also, cut a 5 1/2 by 2 1/2 by 3 1/2 triangle from white paper for the roof.
Making the pond and house is the same for each option.
Option 1 This one is not messy at all.
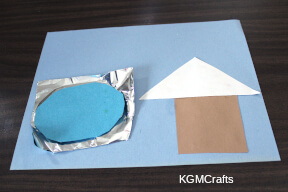
Cut a piece of foil slightly smaller than the blue oval. Then glue the foil to the center of the oval to represent ice.
Also, cut some small triangles from the foil and glue them to the edge of the white paper. The triangles will represent icicles.
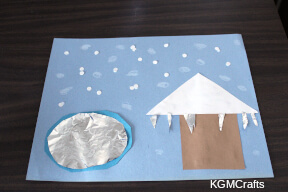
With a white crayon or pencil, make some dots to represent snowflakes.
Option 2 is a little messy.
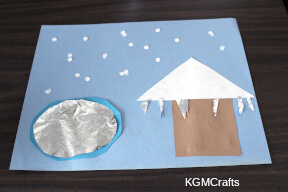
Instead of a white crayon, use a hole punch and glue to make the snowflakes.
Option 3 is messy but fun.
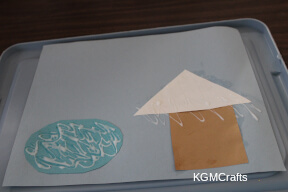
Place the picture in a tray.
Cover the oval with white glue. Also, make some lines with the glue on the edge of the white paper.
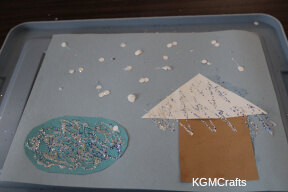
Sprinkle the glue with glitter to represent ice. To make it less messy, use a tray to catch the glitter.
Use a hole punch to make snowflakes.
Whiter than Snow Picture
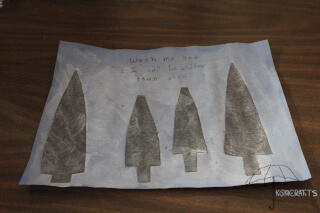 painted picture
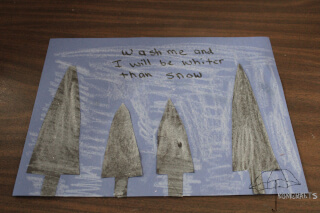 colored picture
Purge me with hyssop, and I shall be clean: wash me, and I shall be whiter than snow. Psalm 51:7
You will need;
- Blue construction paper for the background
- Black construction paper
- Scissors
- Glue stick
- White paint (optional)
- White crayon
- Paper plate (for paint optional)
- Sponge paintbrush (for paint option)
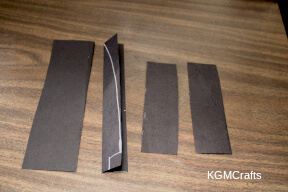
Cut two rectangles from black paper. They need to be 7 by 2 inches. Cut two more rectangles, 5 by 1 1/2 inches. Draw a Christmas tree shape on the rectangles.
An easy way is to fold the rectangles in half. Then draw a line near the fold for the trunk of the tree. Next, bring the line to the cut edge and the corner near the fold. Cut on your line.
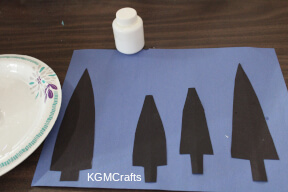
Glue your trees to the background.
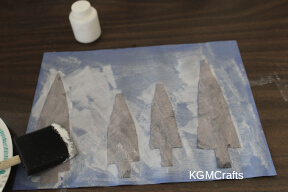
Pour some paint on the paper plate. Then paint the trees and background with the sponge.
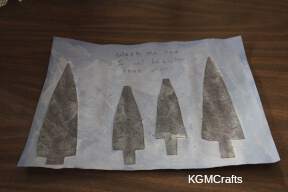
When the paint is dry, write, “wash me and I will be whiter than snow” with a pen or marker.
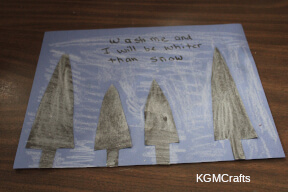
If you don't want to paint, you can color the trees white with a crayon. Be careful not to press too hard so that you rip the trees.
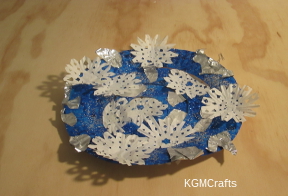
Snowflake
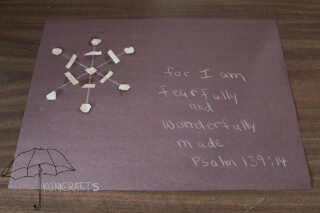
In Psalm 139:14, we read that we are fearfully and wonderfully made.
Supplies;
- Blue or black paper for the background
- White pencil or crayon
- Ruler
- Scraps of foil
- Glue
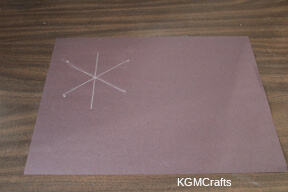
Draw a 4-inch line on one side of the background. Mark the center point.
Draw two 4 inch lines through the center point. Each of the lines should measure 2 inches from the center line. This will make the snowflake symmetrical.
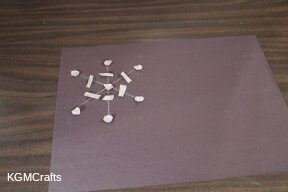
Use the lines to make a unique snowflake. You can glue foil to different parts to make it look shiny.
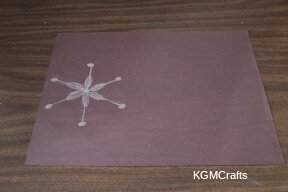
Or you could make your snowflake without the foil.
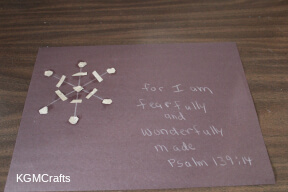
Don't forget to add the Bible verse.
Here are more snowflakes you can make.
Have fun teaching the Bible with these winter crafts for children's church.
